I recently made a post about Blackout’s Mini-H-Quad. It is a great small size FPV platform, that will possibly host full size/full potency FPV equipment that is normally mounted on bigger quads. Sounds great for a lightweight personal drone that you can easily fit in a medium sized PC bag together with the radio and a handful of batteries. Get yours HERE.
In this post I would like to share my current setup for the Mini H Quad. It is probably not the lightest possible configuration. I bet I could take off at least 5/10 grams of weight with some minimization here and there. Possibly the photos below could be a source of inspiration, or criticism, for others who wish to build or already built the same quad.
**WARNING**
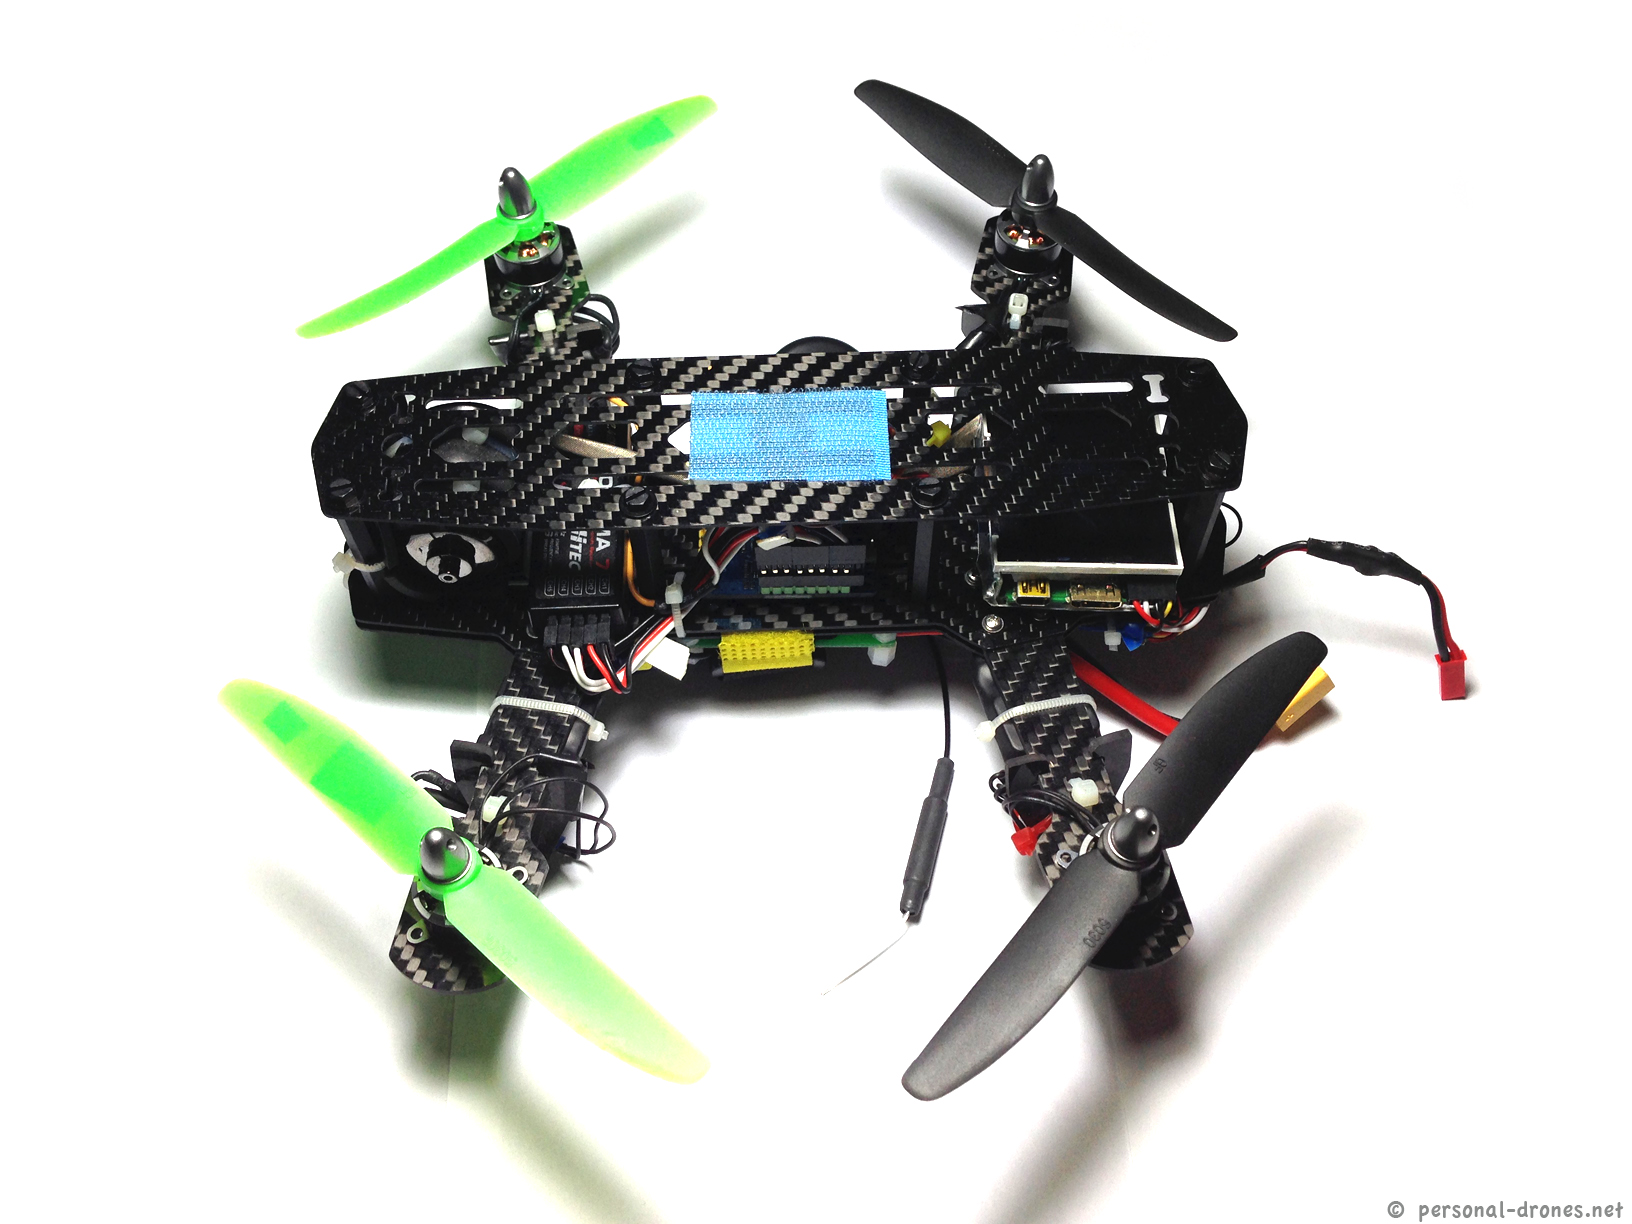
On maiden tests outside, the setup presented here proved to be too heavy to fly reliably and take some decent altitude after just a couple of minutes of battery usage. Therefore, although the build could still be of inspiration for some aspects, I cannot recommend it as such. In the current version, the Horizon HD camera which has a somewhat heavy board for recording was replaced by a 808 #16 camera, much lighter. Also the power distribution board was removed and replaced by a connector similar to this one, adapted for the task. All wires were shortened to the bare minimum. I don’t have an appropriate scale to weight and quantify, however I could easily have removed some 40-50 grams of stuff, possibly more. Now everything runs smooth again. Here is a quick photo of the latest setup:
Here’s a first short video taken with this latest setup: https://www.youtube.com/watch?v=T0KEo0lejTI
*************
Technical specifications
- Frame: Mini H Quad – Link
- Flight Controller Board: RCTimer Multiwii SE V2.5 – Link
- Motors: Tiger motors T-Motor MT 1306-10, KV 3100 (1-2S) – Link
- Esc: Hobbyking BlueSeries 12A flashed with SimonK firmware – Link 1 (flashed) – Link 2 (not flashed with SK)
- Power distribution board – Link
- Video TX: Immersion RC 600Mw – Link
- Camera: Horizon HD V3 – Link
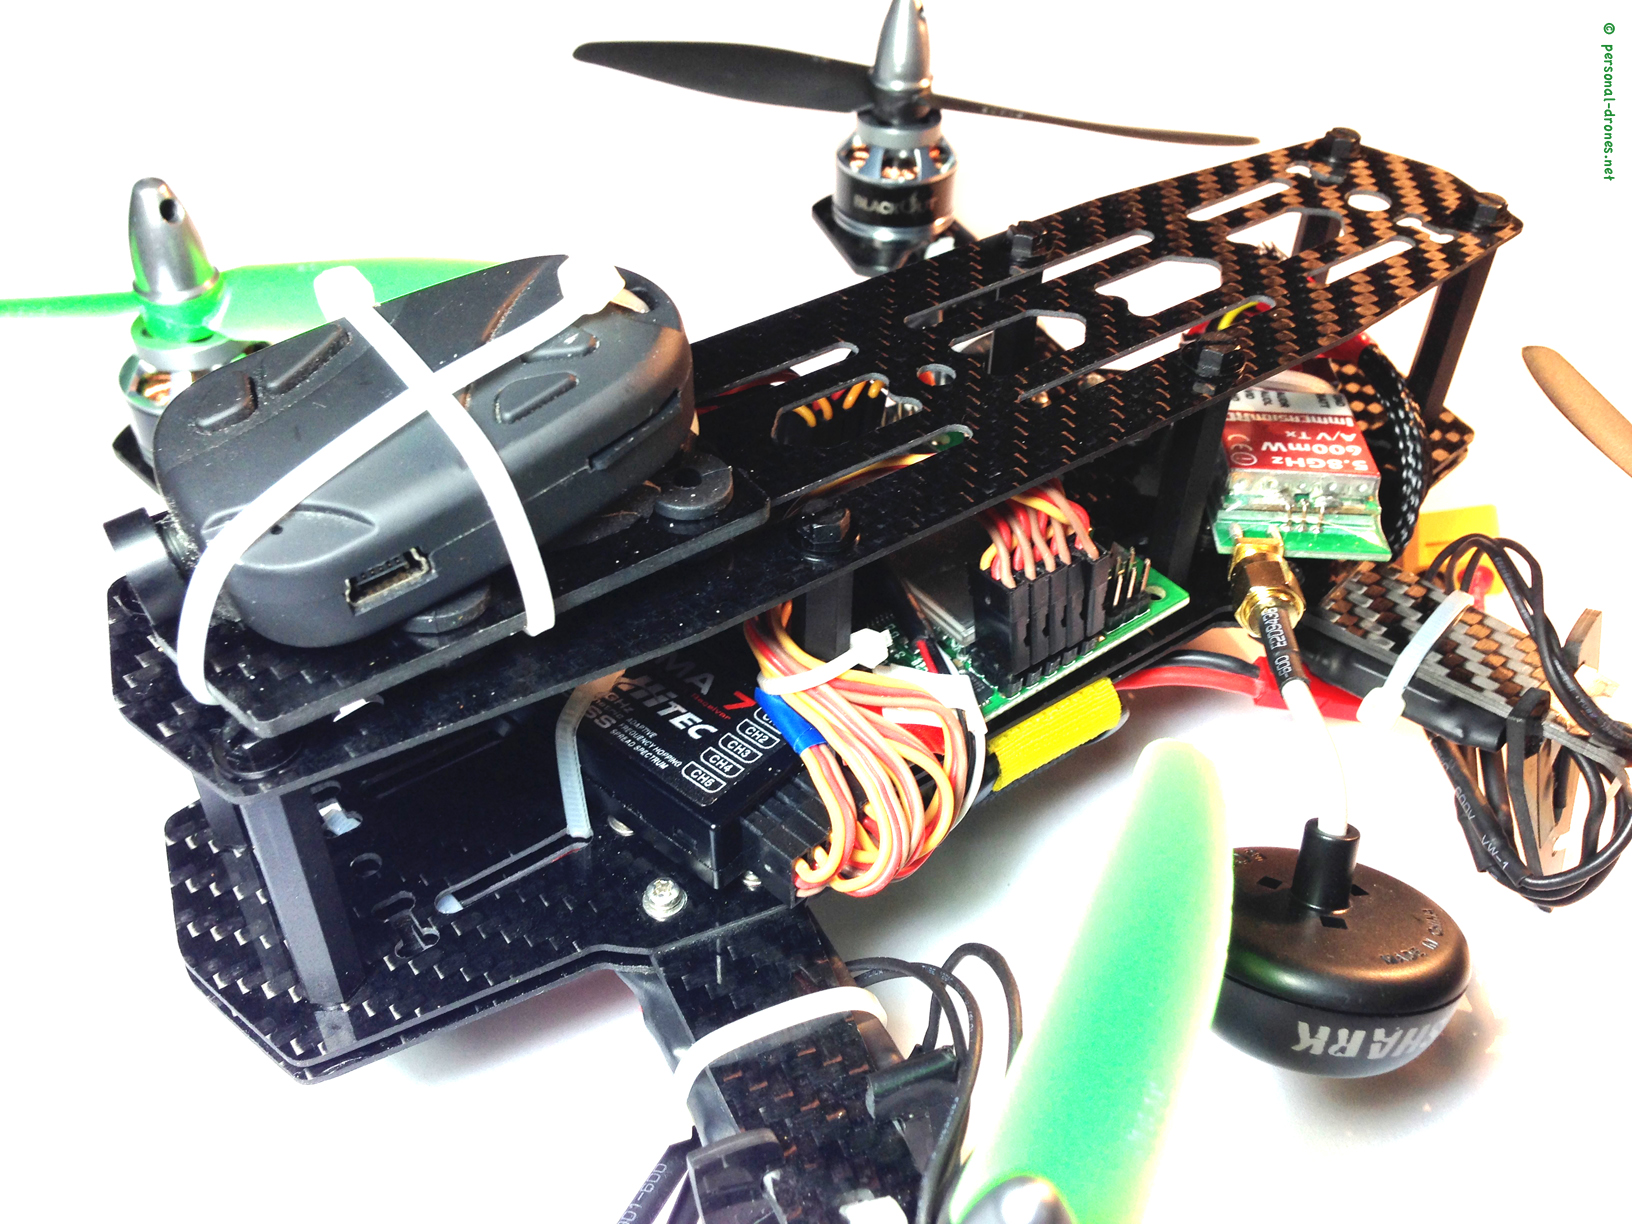
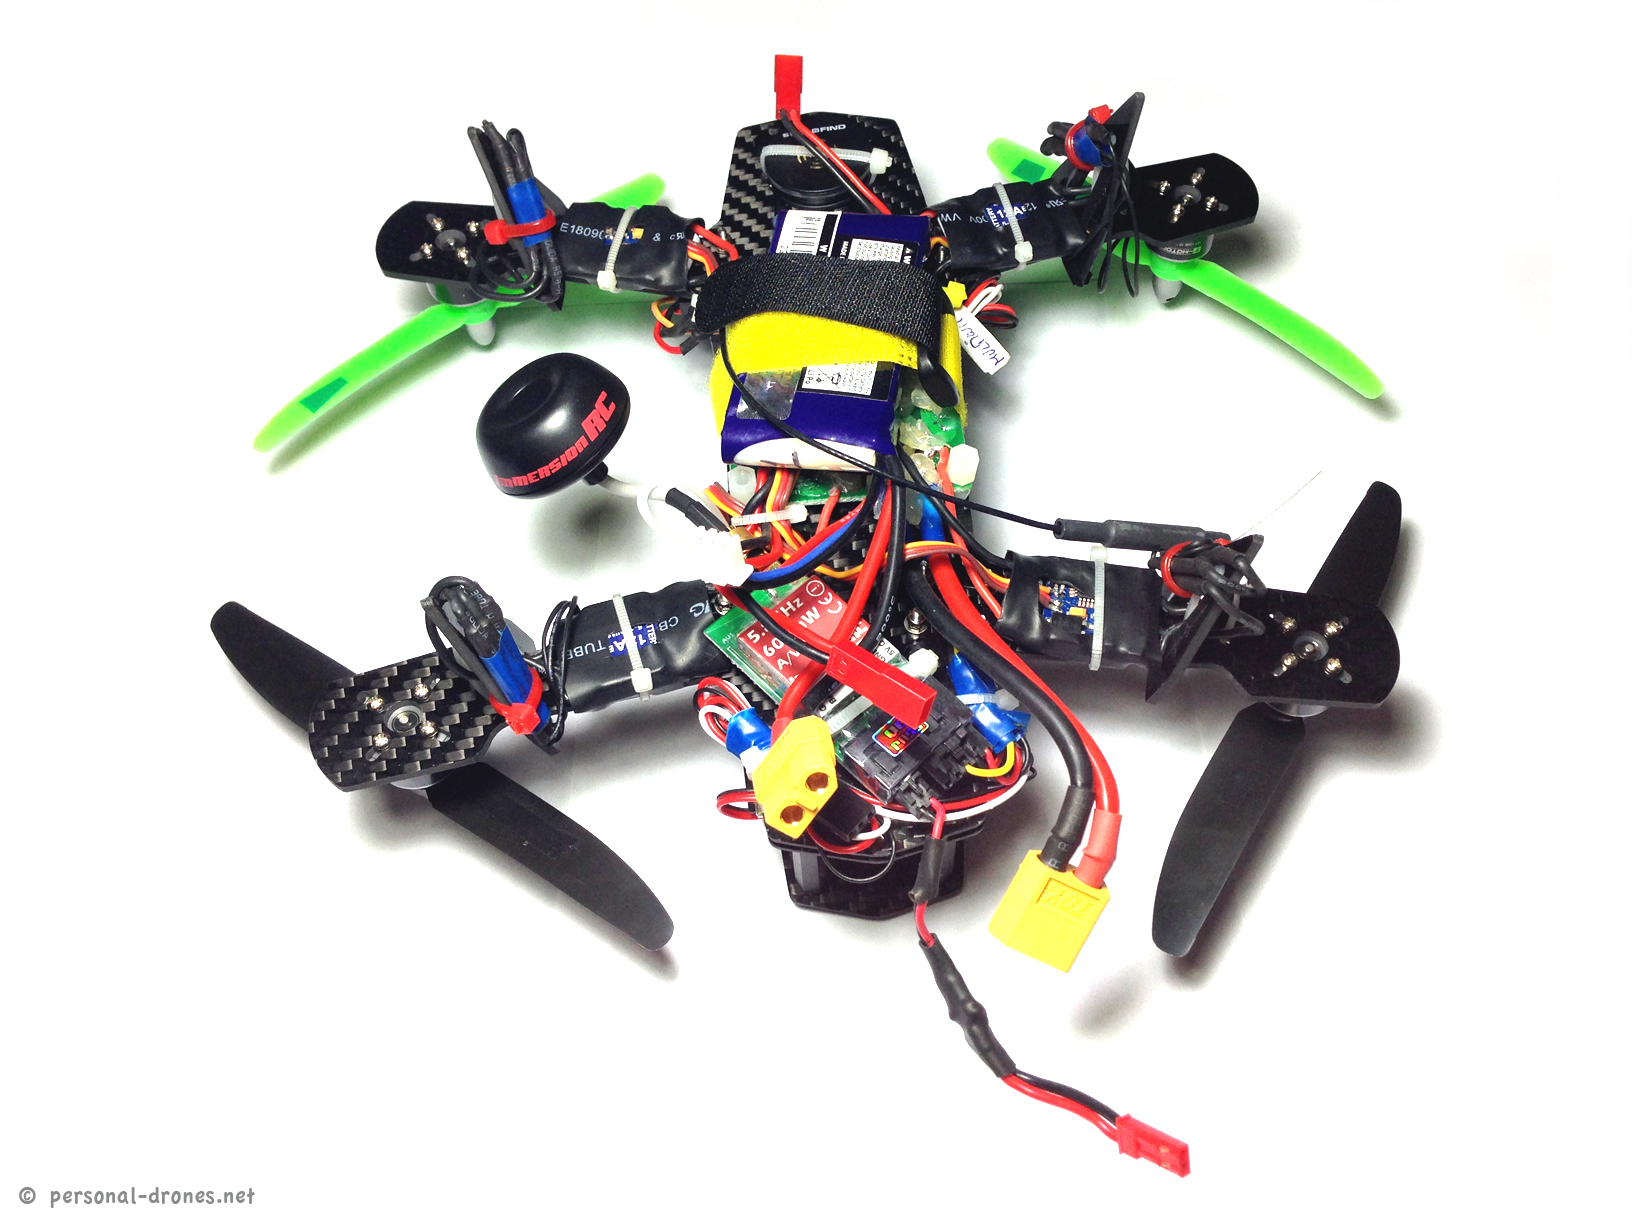
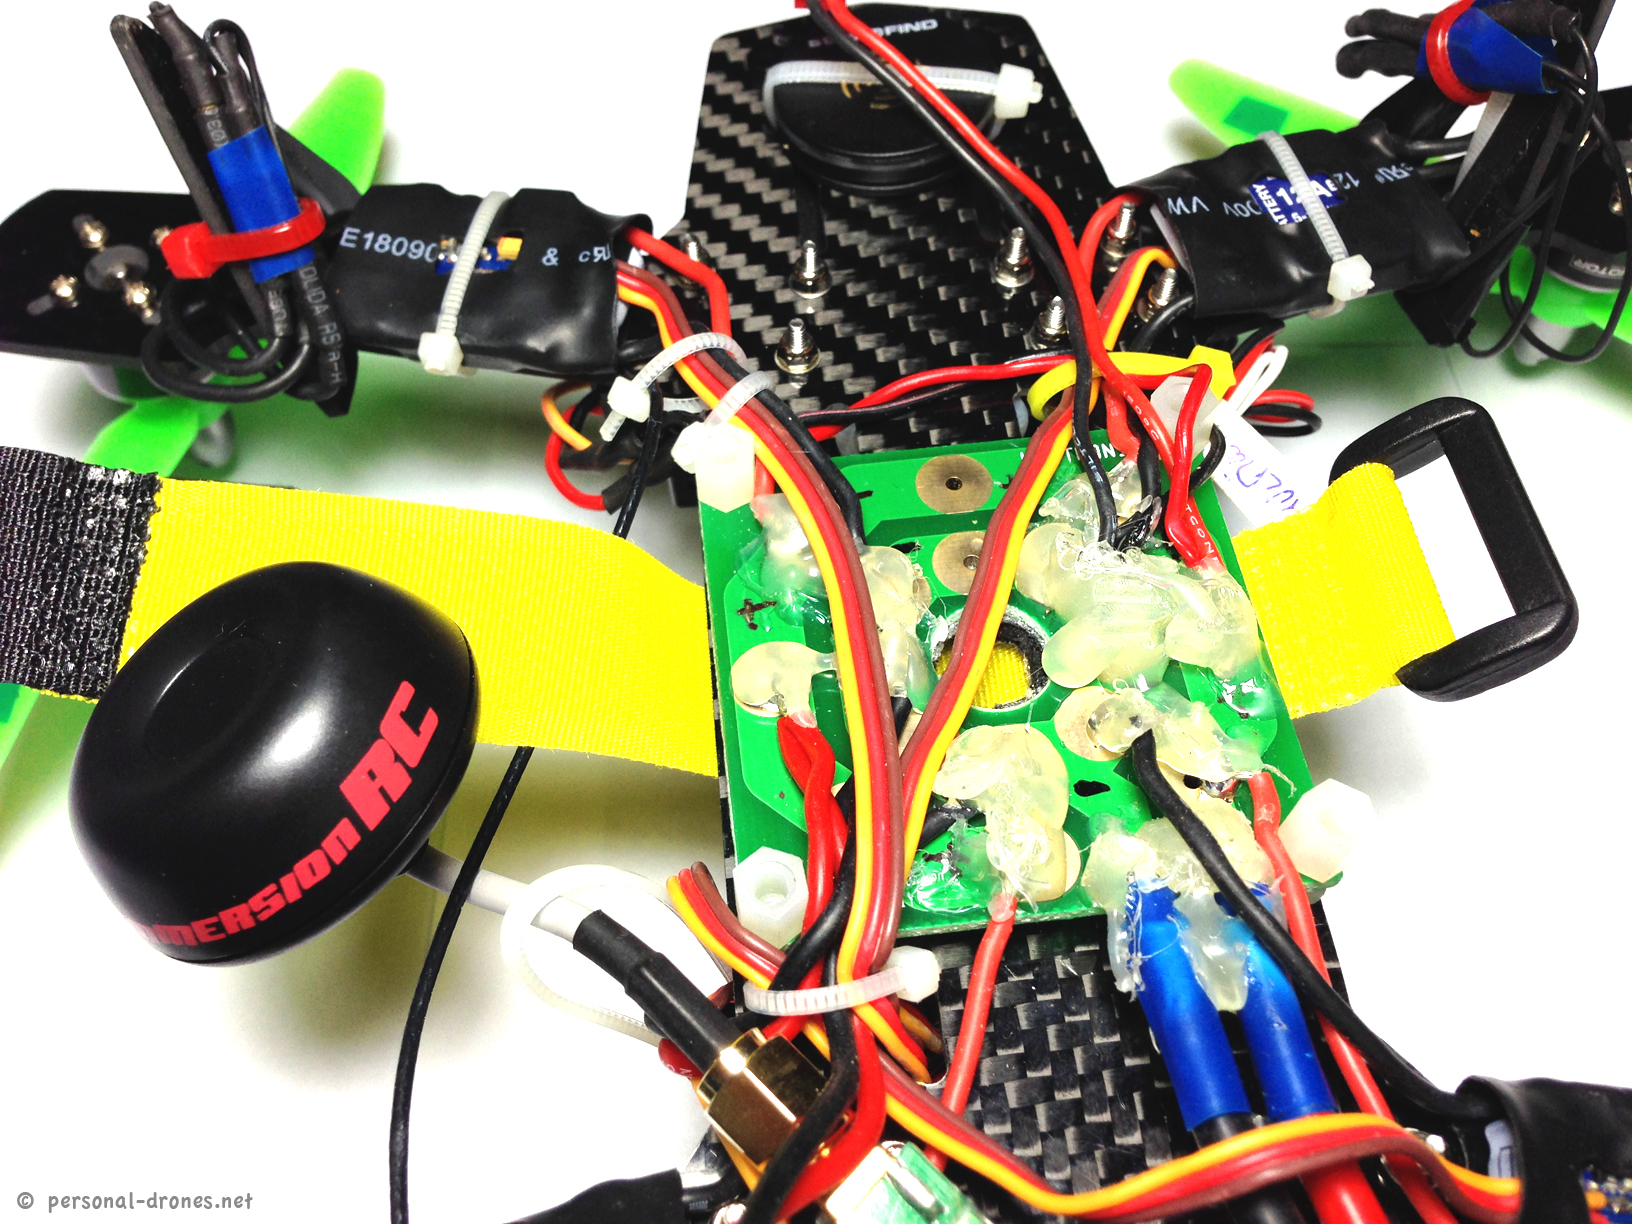
Let’s start with a full size view from the top.
I have a battery strap on the top, however the battery can also fit in the bottom part. I can also use two batteries at the same time by hooking one on the top and the other on the bottom, and attach them to two different connectors that go to the power board so as to have a parallel arrangement that will double the Amps while keeping the correct voltage.
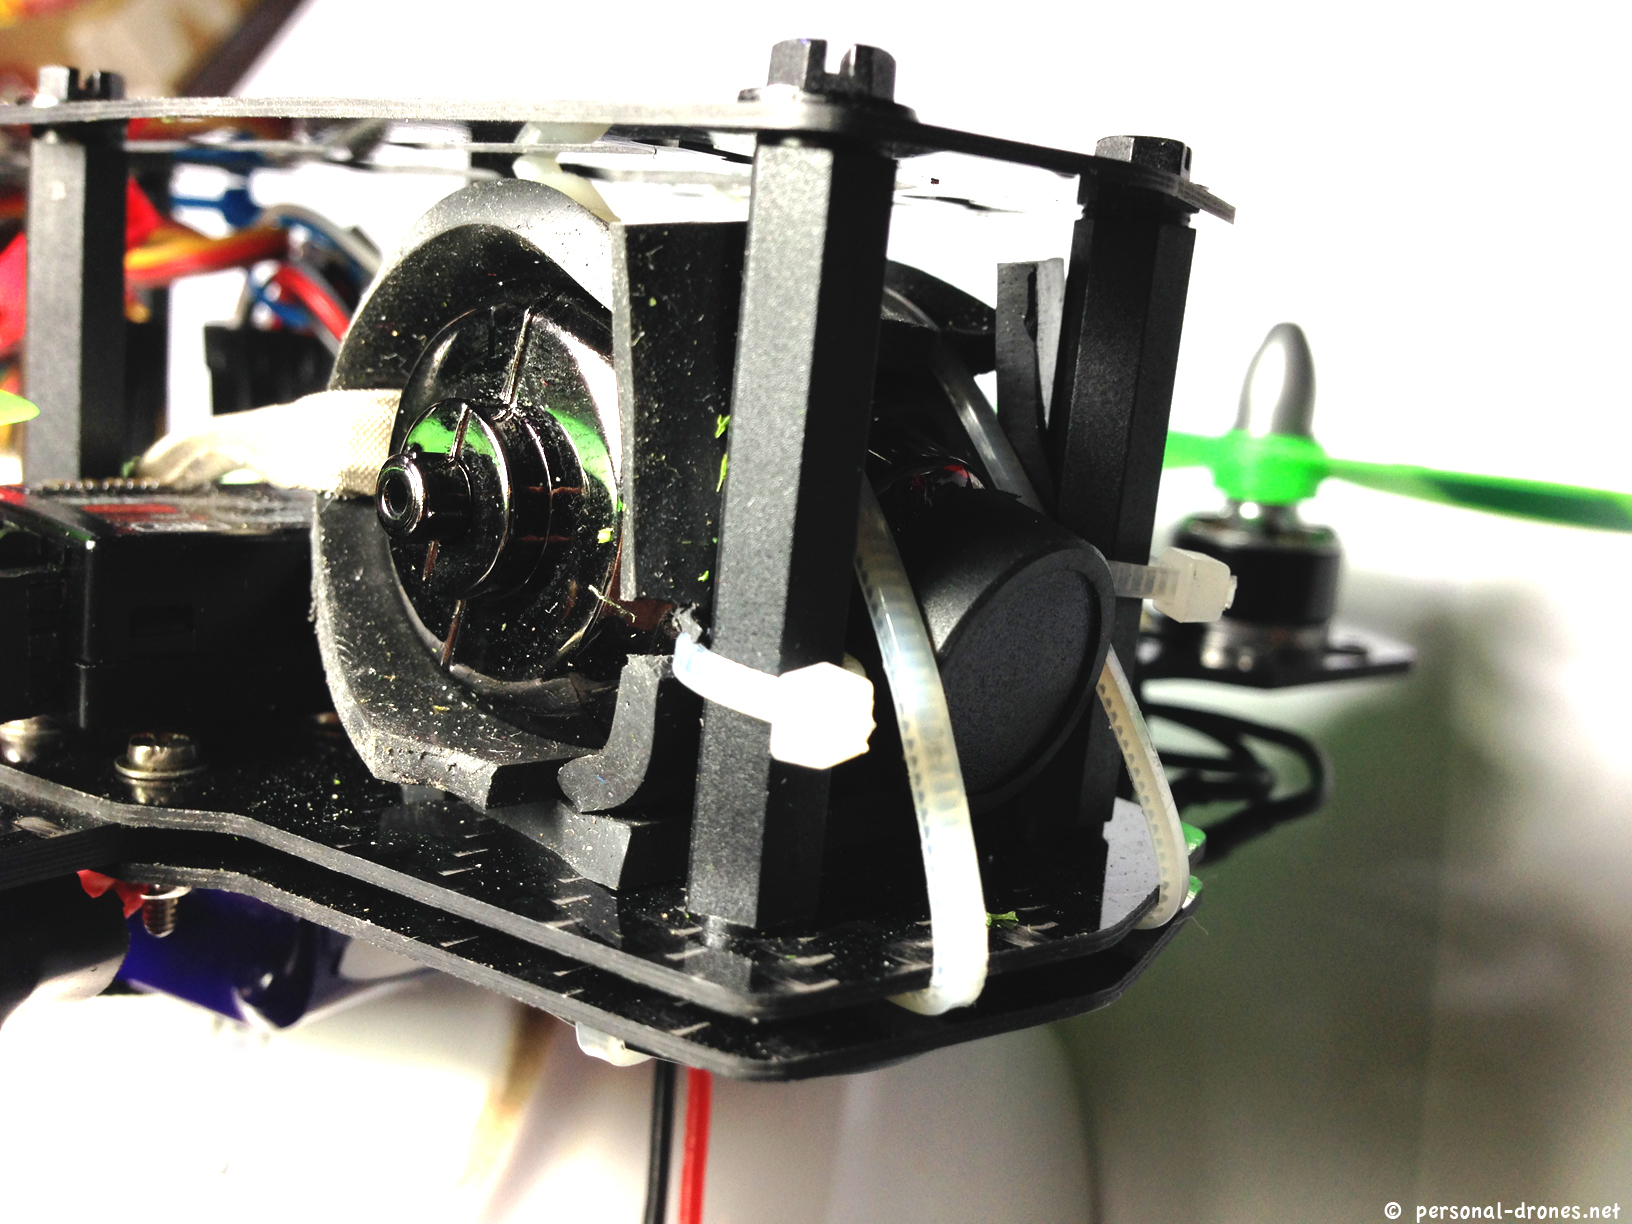
A little close up:
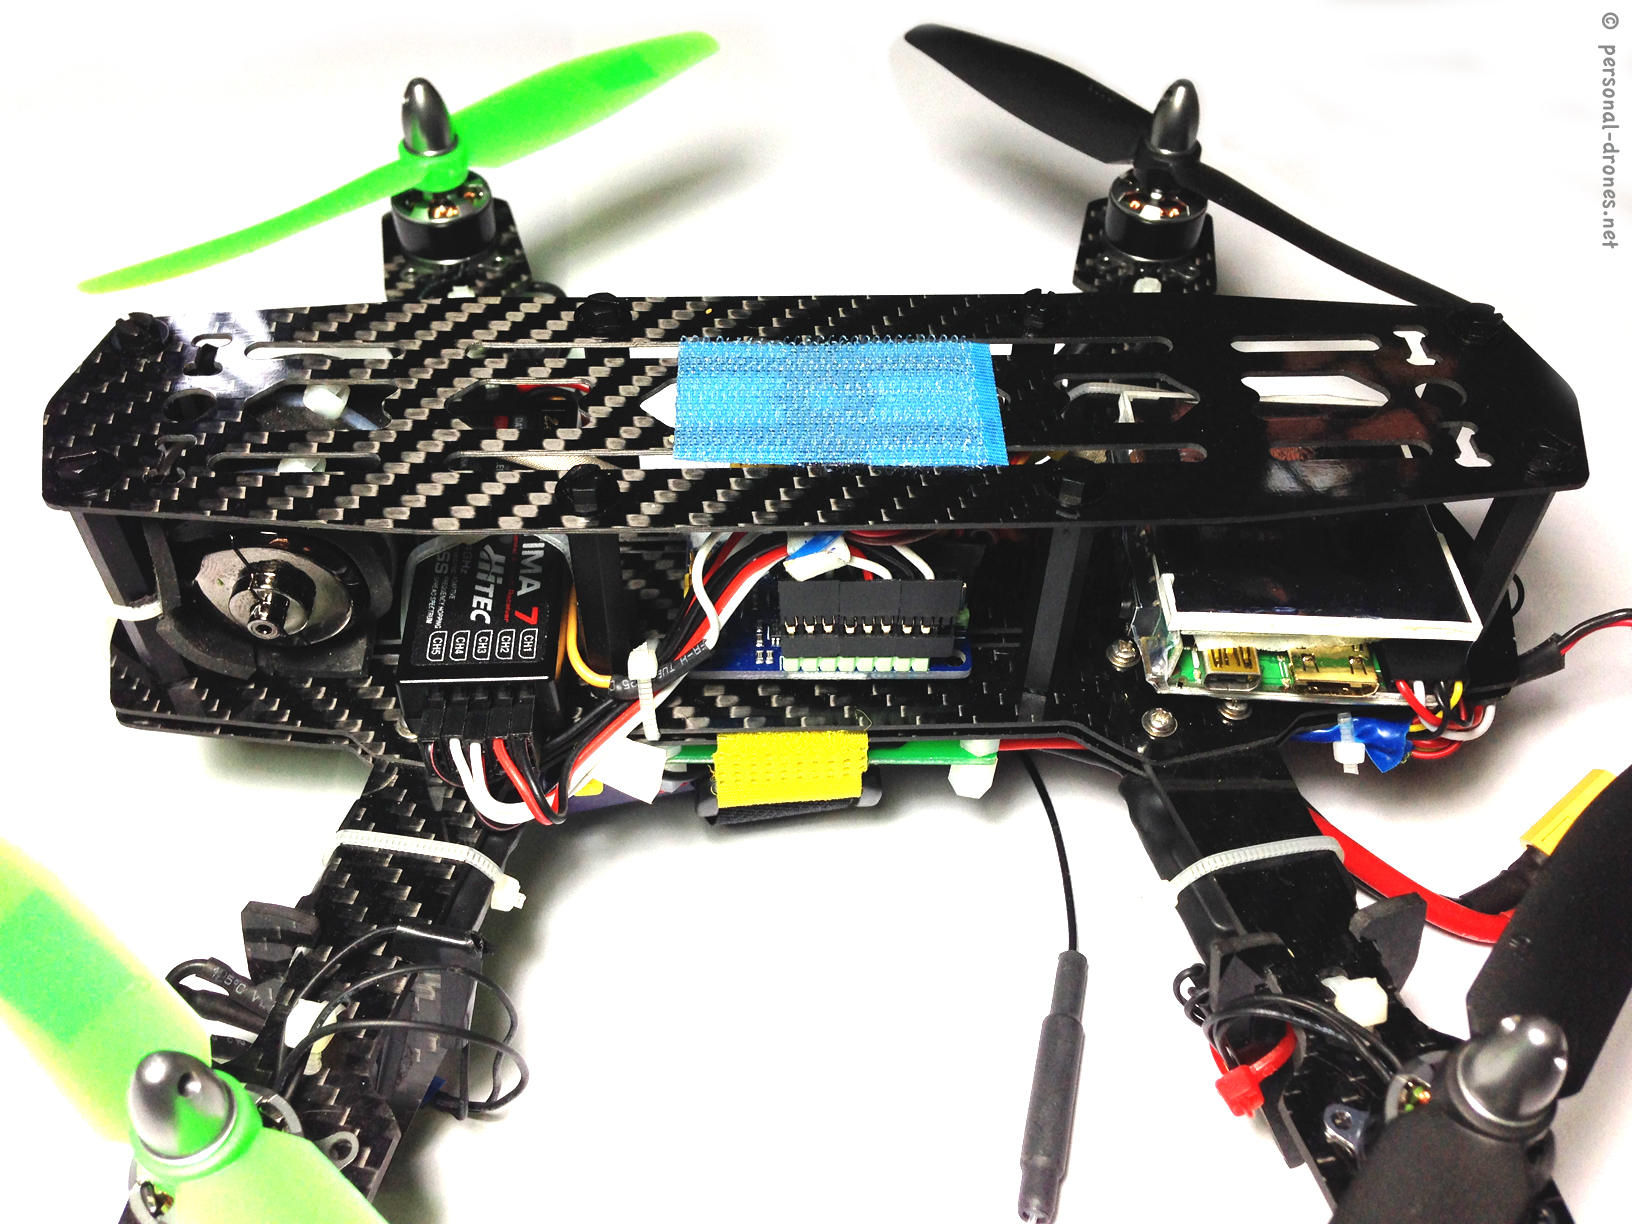
From left to right we have the Horizon HD camera module with the optics, an Optima 7 Hitec receiver for my Aurora 9, the multiwii board, the Horizon HD camera board.
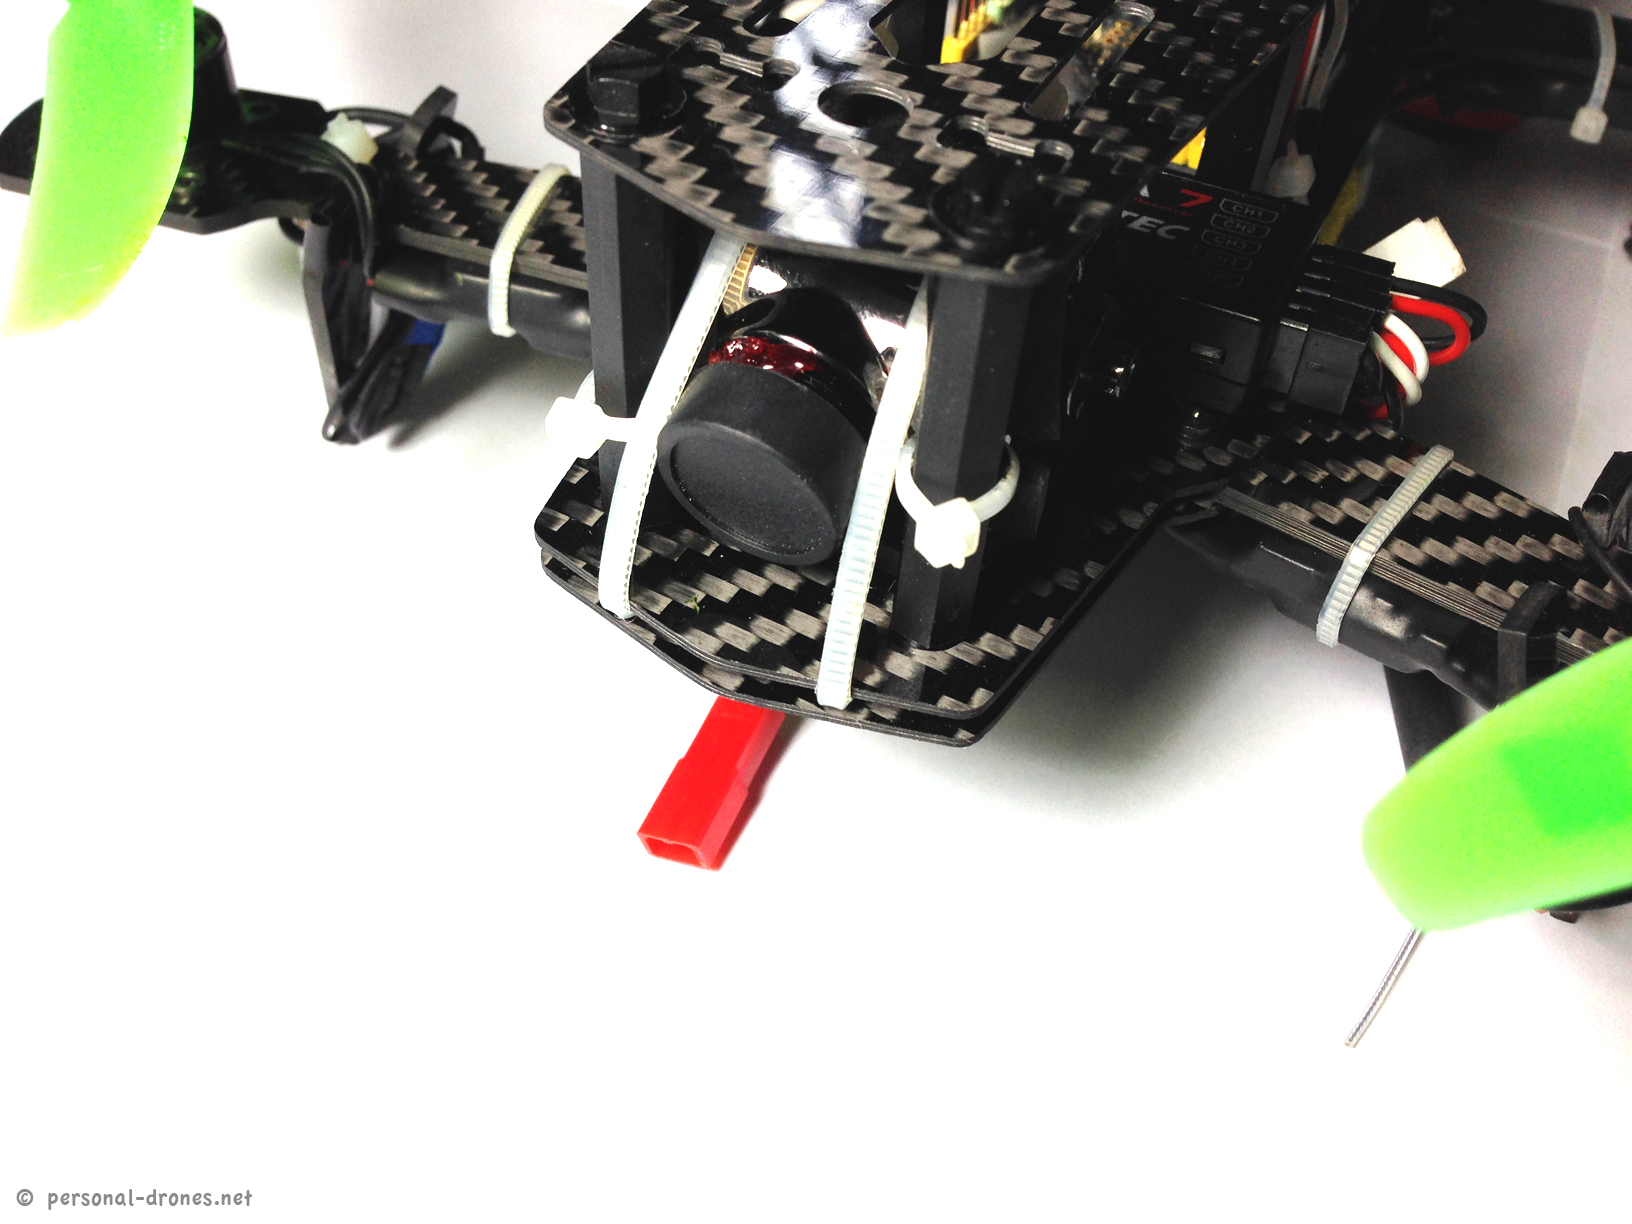
Here are some details of the camera, which is wrapped in a sorbothane layed to dampen vibrations, and held in place by two zip ties. Other two zip ties are used to keep in place two pieces of sorbothane between the frame vertical spacers and the camera itself.
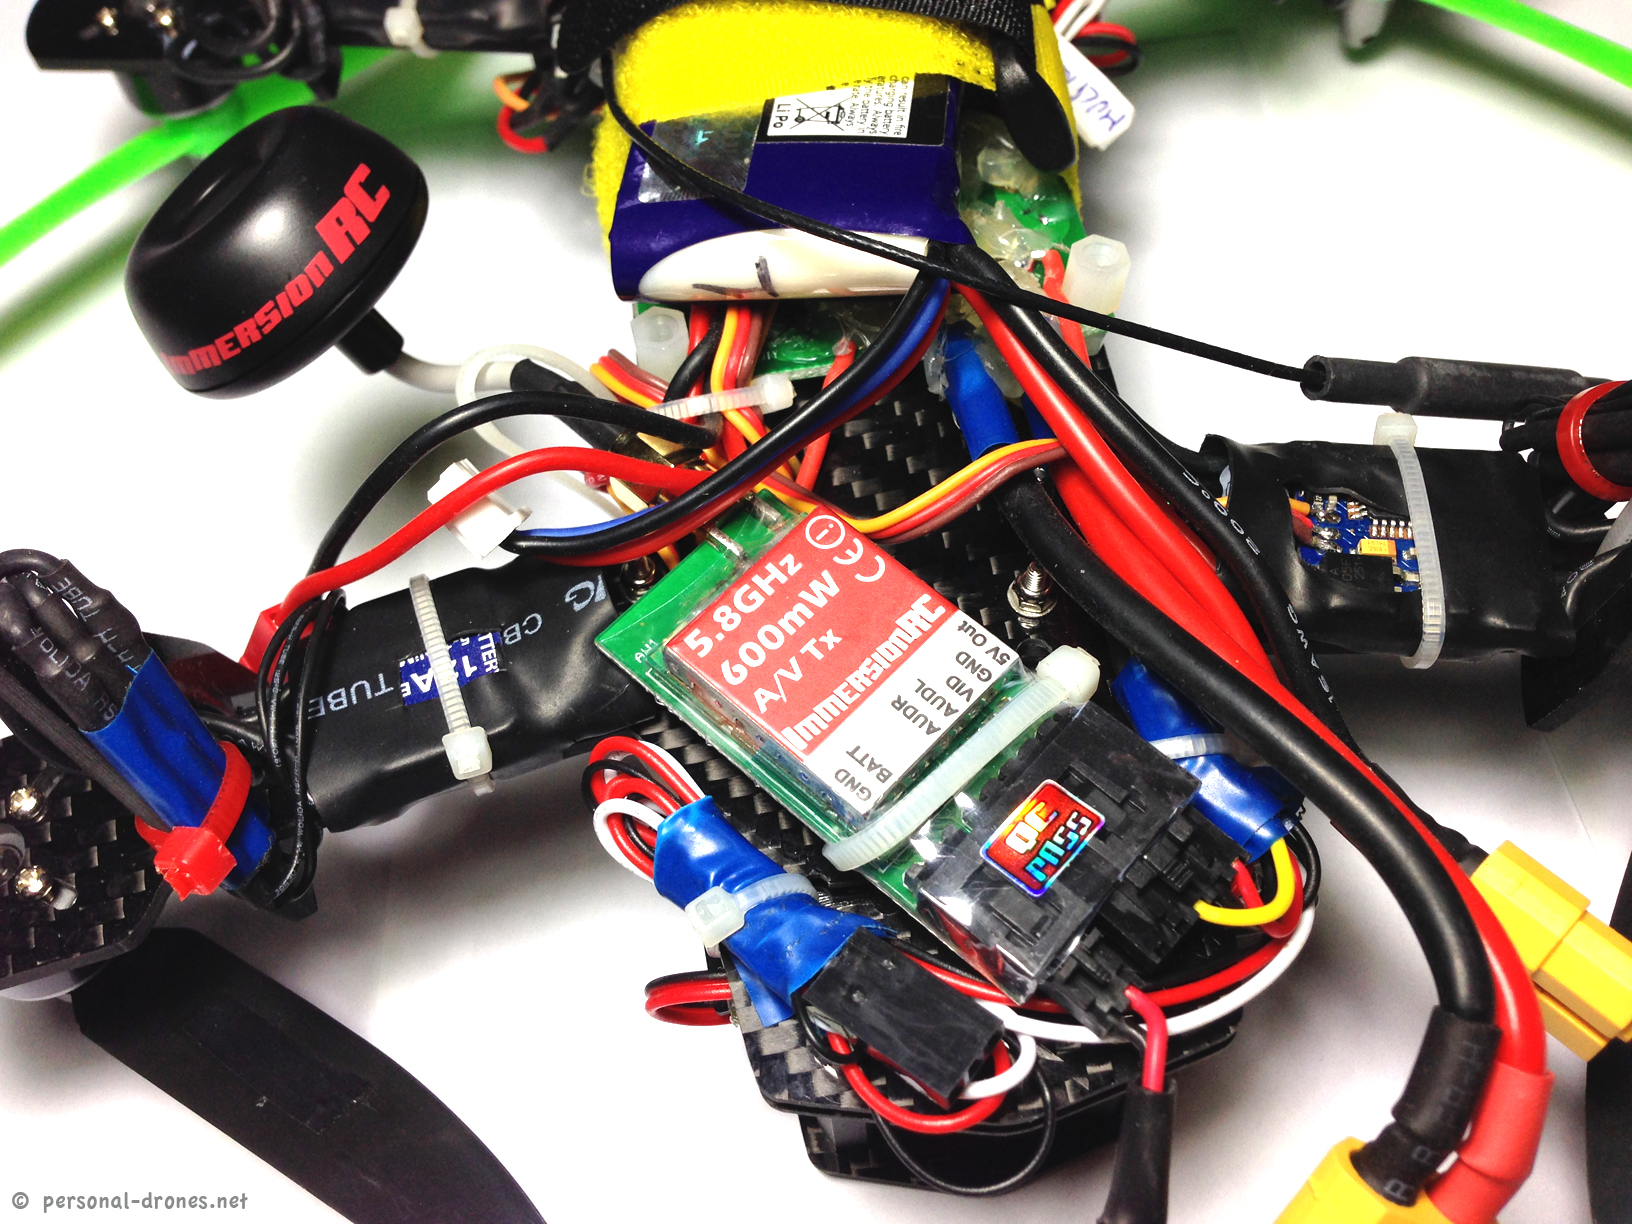
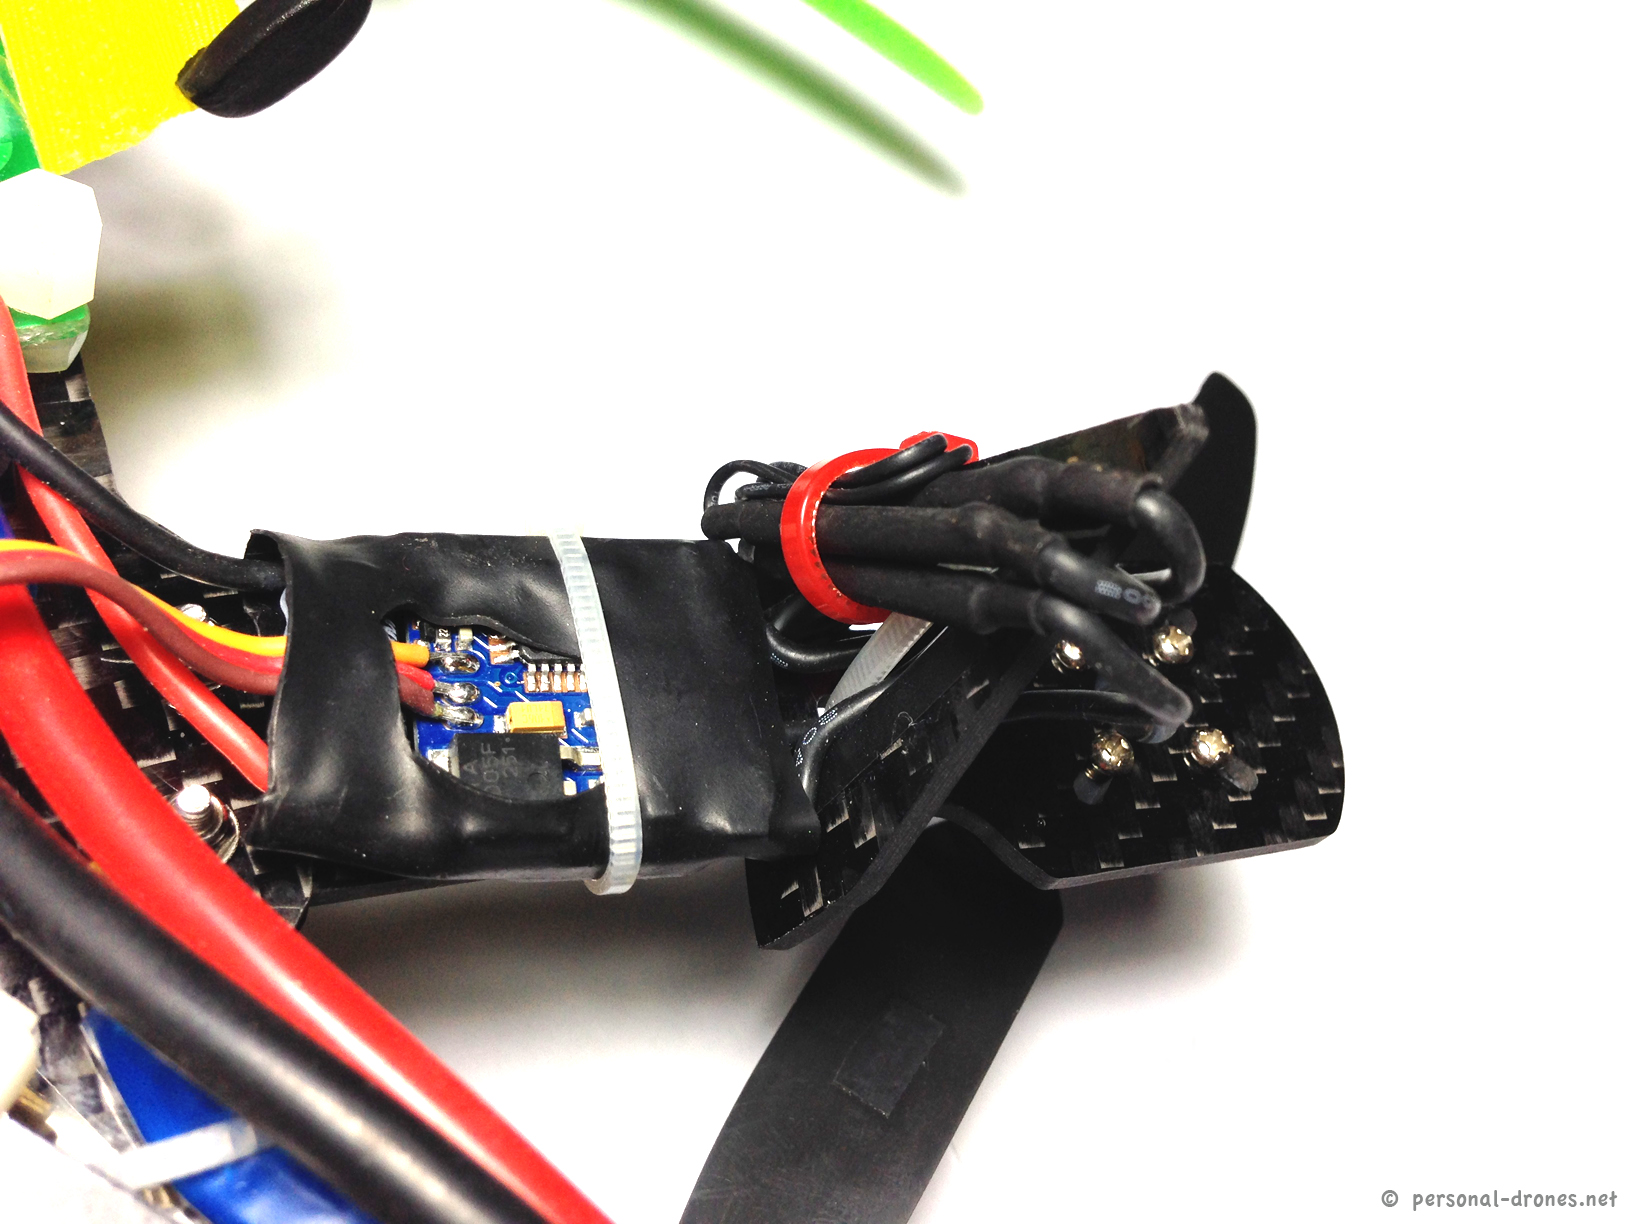
The Immersion RC 600Mw video transmitter is mounted below the quad. Here’s a full view of the bottom part of the quad:
I decided to place the video antenna between two arms, so that it should be protected in case of crashes. It points downwards, because this is how it should point for best communication with the corresponding receiver antenna on the receiver end, pointed upwards.
Here’s a close up on the Immersion TX:
Here is a view of the Horizon HD V3 camera board. This carries the SD card for video recording and all the wires for powering the camera and connection with the video transmitter.

And the other side:
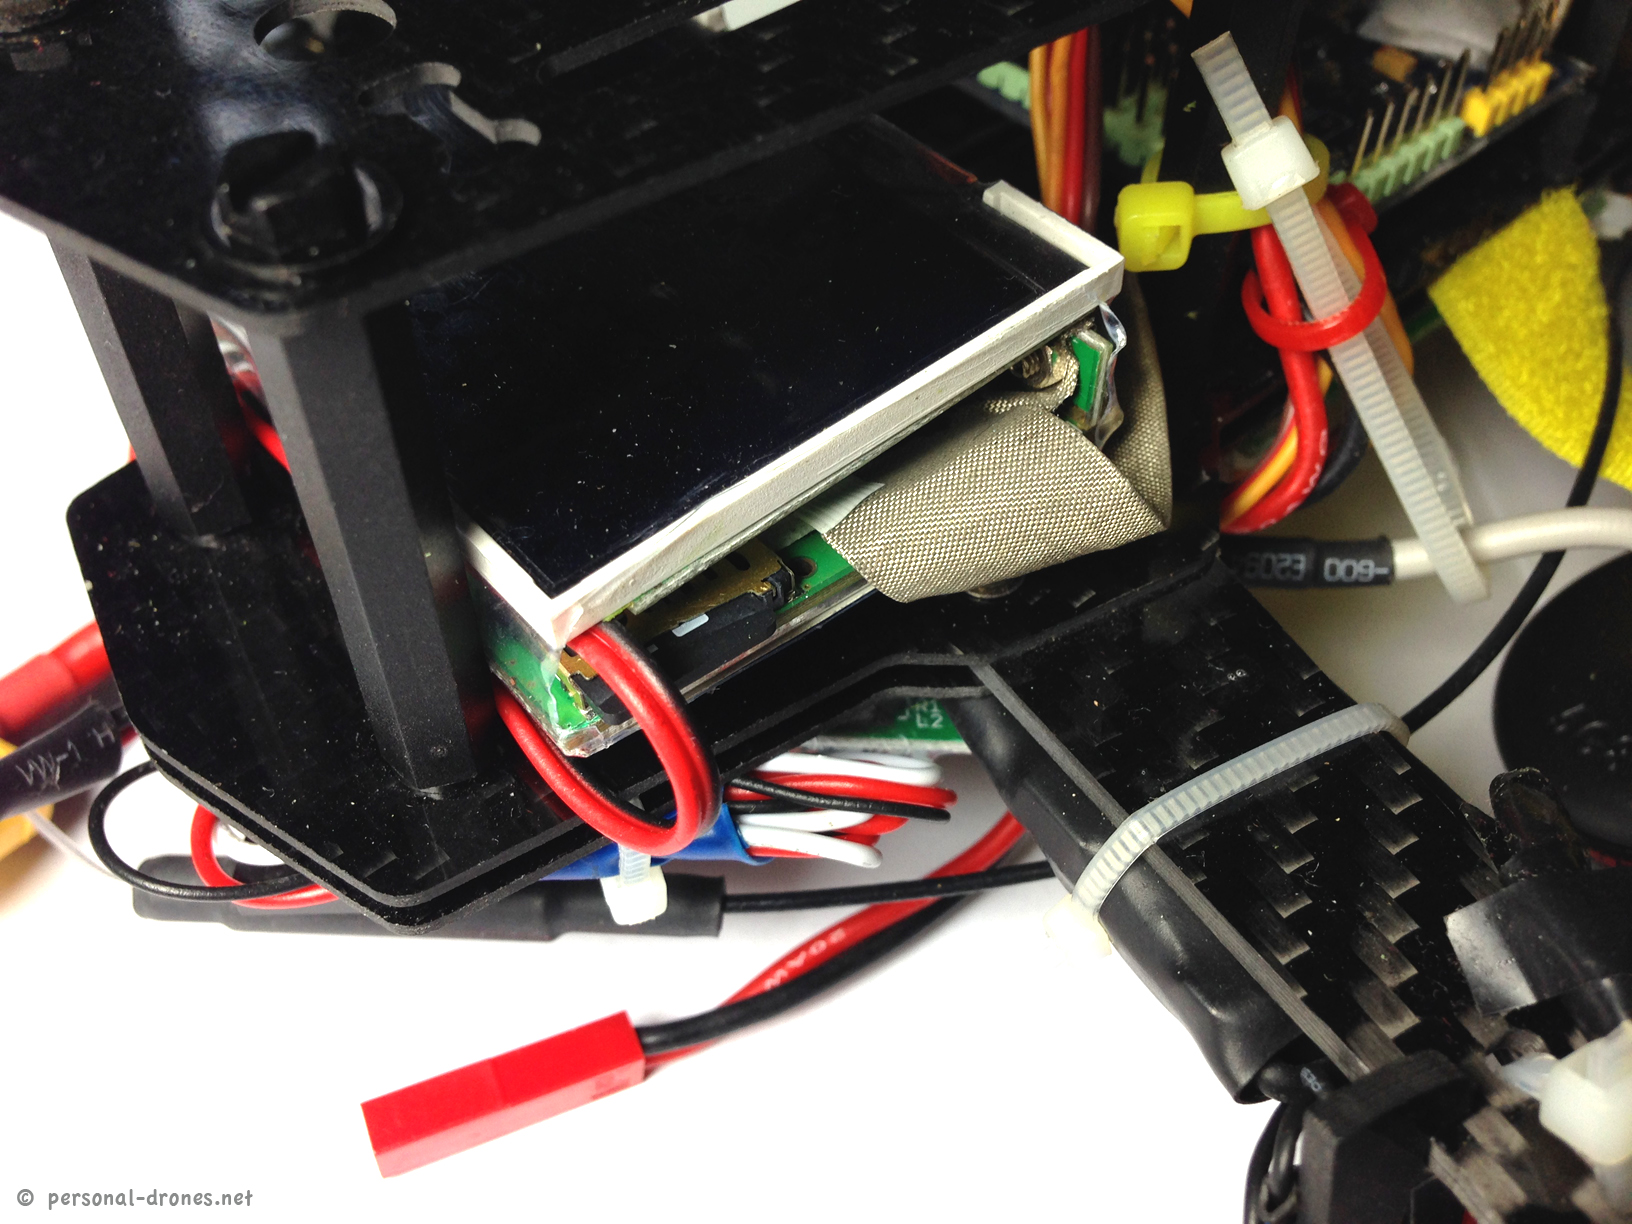
This is a detail of the connections between the camera board and the transmitter:
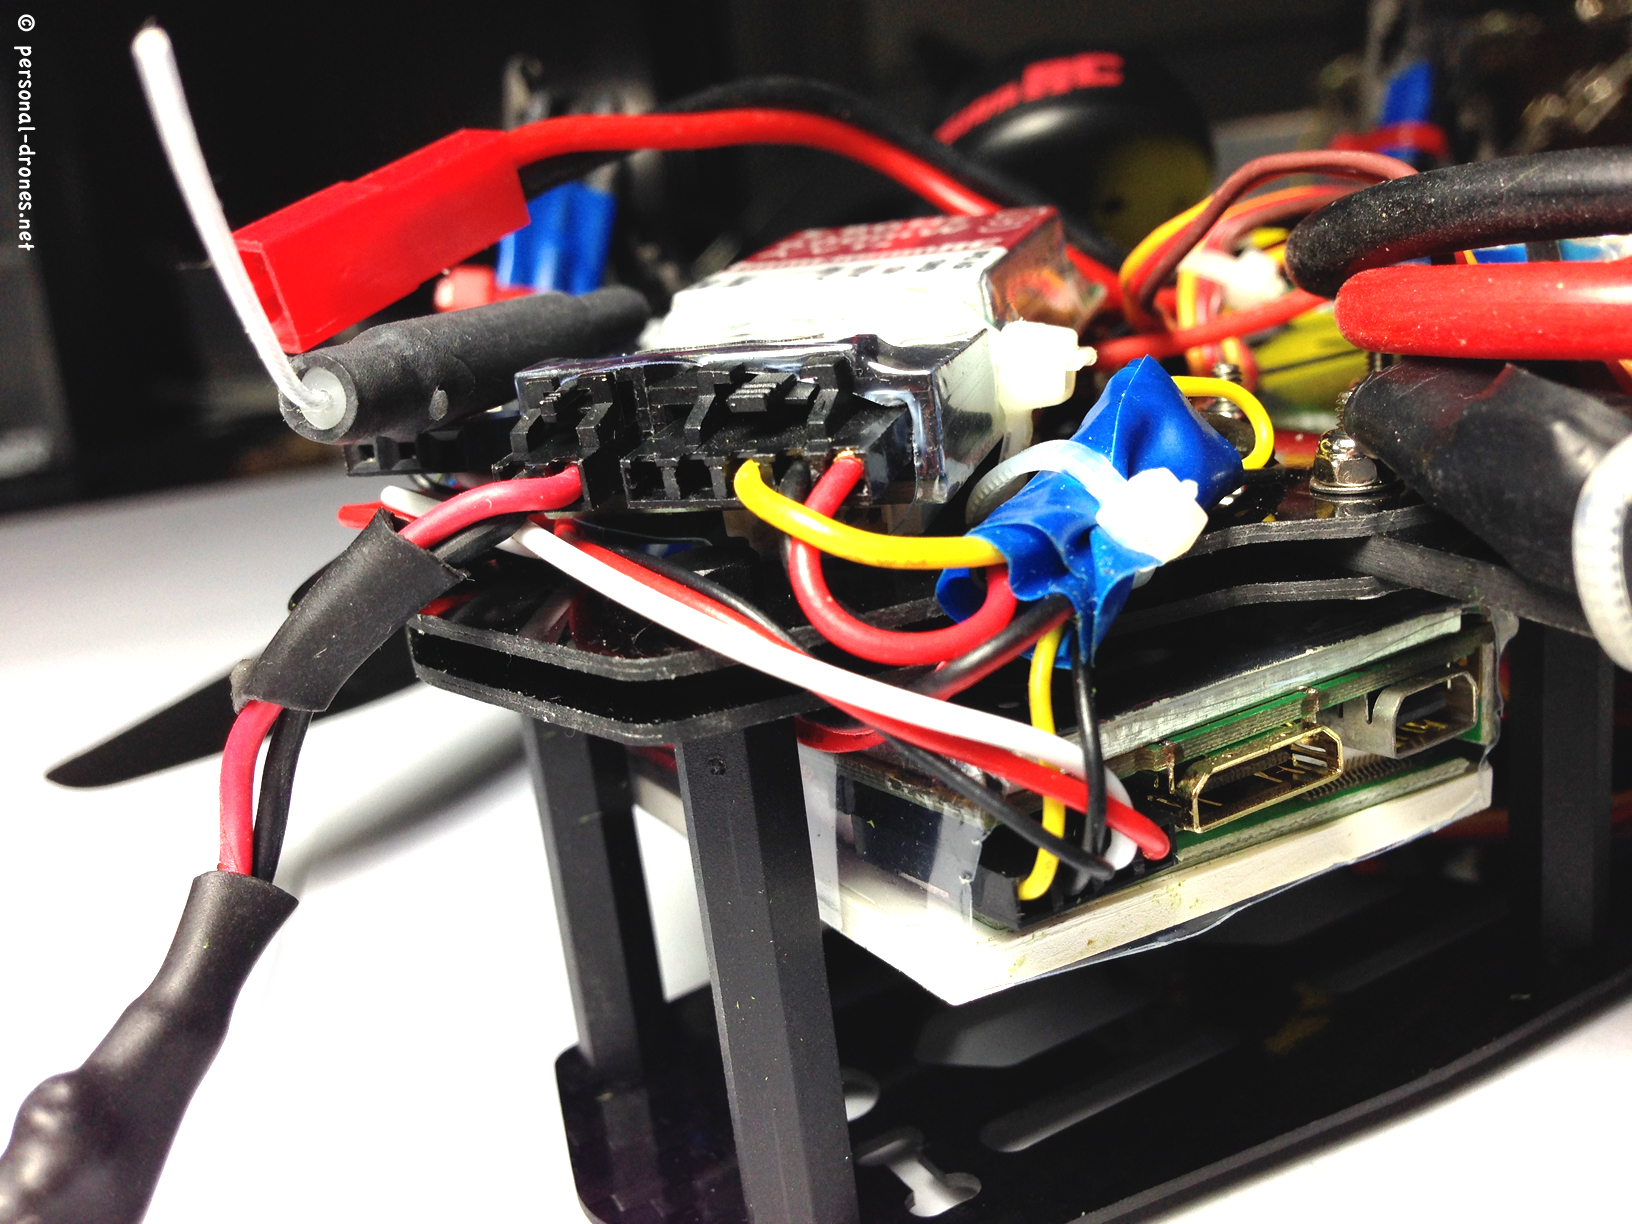
The camera is powered directly from the 5V out of the Immersion transmitter. The ground (black) cable of the transmitter was soldered to both the ground for camera power and the ground for camera video. Working nicely.
Here are a couple of more build details, to complete the picture. The power connections were done through a small power distribution board from Hobbyking:
I have soldered 3 JST plugs to the board. Two can be used for batteries and one for the video system. In addition there is a main power cord with a standard XT60 connector. So I can use both batteries with XT60 and JST plugs, which comes handy.
To connect motors with ESCs I have used 2mm gold connectors. The wires were than zip-tied to the landing gear to keep them out of the way. In retrospective I could have soldered the motor wired directly to the ESCs to save some weight. However this way I can eventually replace motors without too many desoldering-resoldering around.
Finally, I sticked a “Sick and Find” on the quad, to be able to locate it if it crashes. This is a nice system with the strong limitation that effective range is about 50-100m. However within range you can page the sticker and have it beep, and the iPhone app works well in telling you the direction in which to look for the quad. So this is not a final location device, but it’s probably much better than having nothing, to locate the quad.

I spent quite a lot of time in understanding how to setup the Multiwii board, as I had no experience with this kind of flight control board before using it in this project. I have an ongoing thread on the topic on GaragePilots and will also probably make a dedicated post here to report my findings.
Hope this overview on my last personal drone build could be useful to you. Please post any comments, criticisms or ideas below, I am very interested.
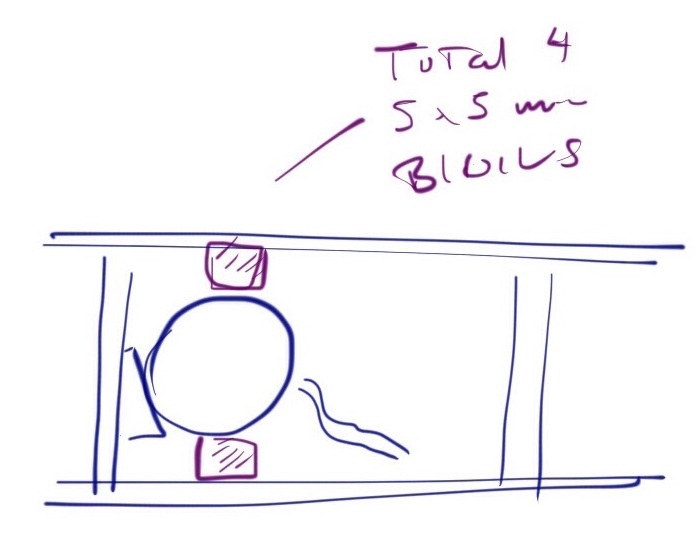
EDIT: I had a very relevant feedback from Bo Lorenzen (check out his BLOG HERE and his custom setup for the Mini H Quad) on what should be the correct use of sorbothane for isolation of the camera from vibrations. The way I used it in the build above is probably not the best one to prevent jello. Here’s Bo comment and a little drawing straight from his iPad:
“you probably need to change the sorbothane instal, the sorbothane sheet don’t actually absorb the vibrations, instead use a thin strip of sorbothane on top and one on bottom, then the camera can move freely. It should move easily a few even maybe 4-5mm if you push it with a finger, but importantly, It should move 2mm with no resistance. Then it will be protected from jello.”
Related Posts
- Building a mini quadcopter for FPV
- Blackout mini H quad for FPV: a small but powerful personal drone
- Advances in setting up Hobbyking’s Integrated PCB Micro Quad PNP with kk2.0 flight controller
I sure wish I could find a wiring schematic for this little Quad. I have had mine about 5 months now and only a few test hops in the garage as the Camera connections and video transmitter hookup is are throwing me for a loop. If you know where I could find the info, I sure would appreciate it.
Regards,
Bob
Bob, the exact wiring depends on the camera and transmitter you have. In many cases the transmitter can supply power to the camera. In this case, at the end of the day, you will just have 3 wires running from camera to transmitter, see for example: http://www.personal-drones.net/flyxcopter-flyx-mini-quadcopter-build-report-and-frame-review/. In other cases, the camera is powered from the battery directly. Then you will just have two wires from the camera to the TX, video and ground. If you post the details of your equipment I will see if I can help. Best – pd
What a MESS