I’d like to report on my latest build in the quest for the perfect mini personal drone. Like the mini H quad and the mini quad for FPV builds, this is again a small quadcopter, that should be possibly slightly smaller than the last one.
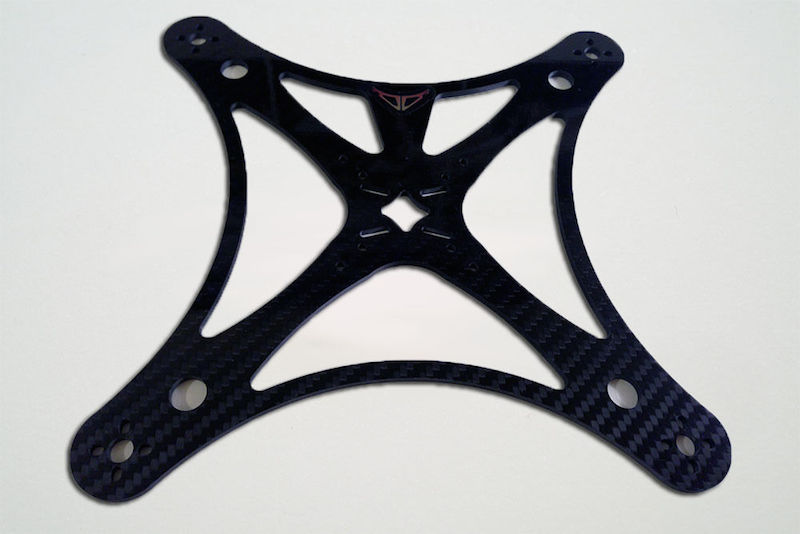
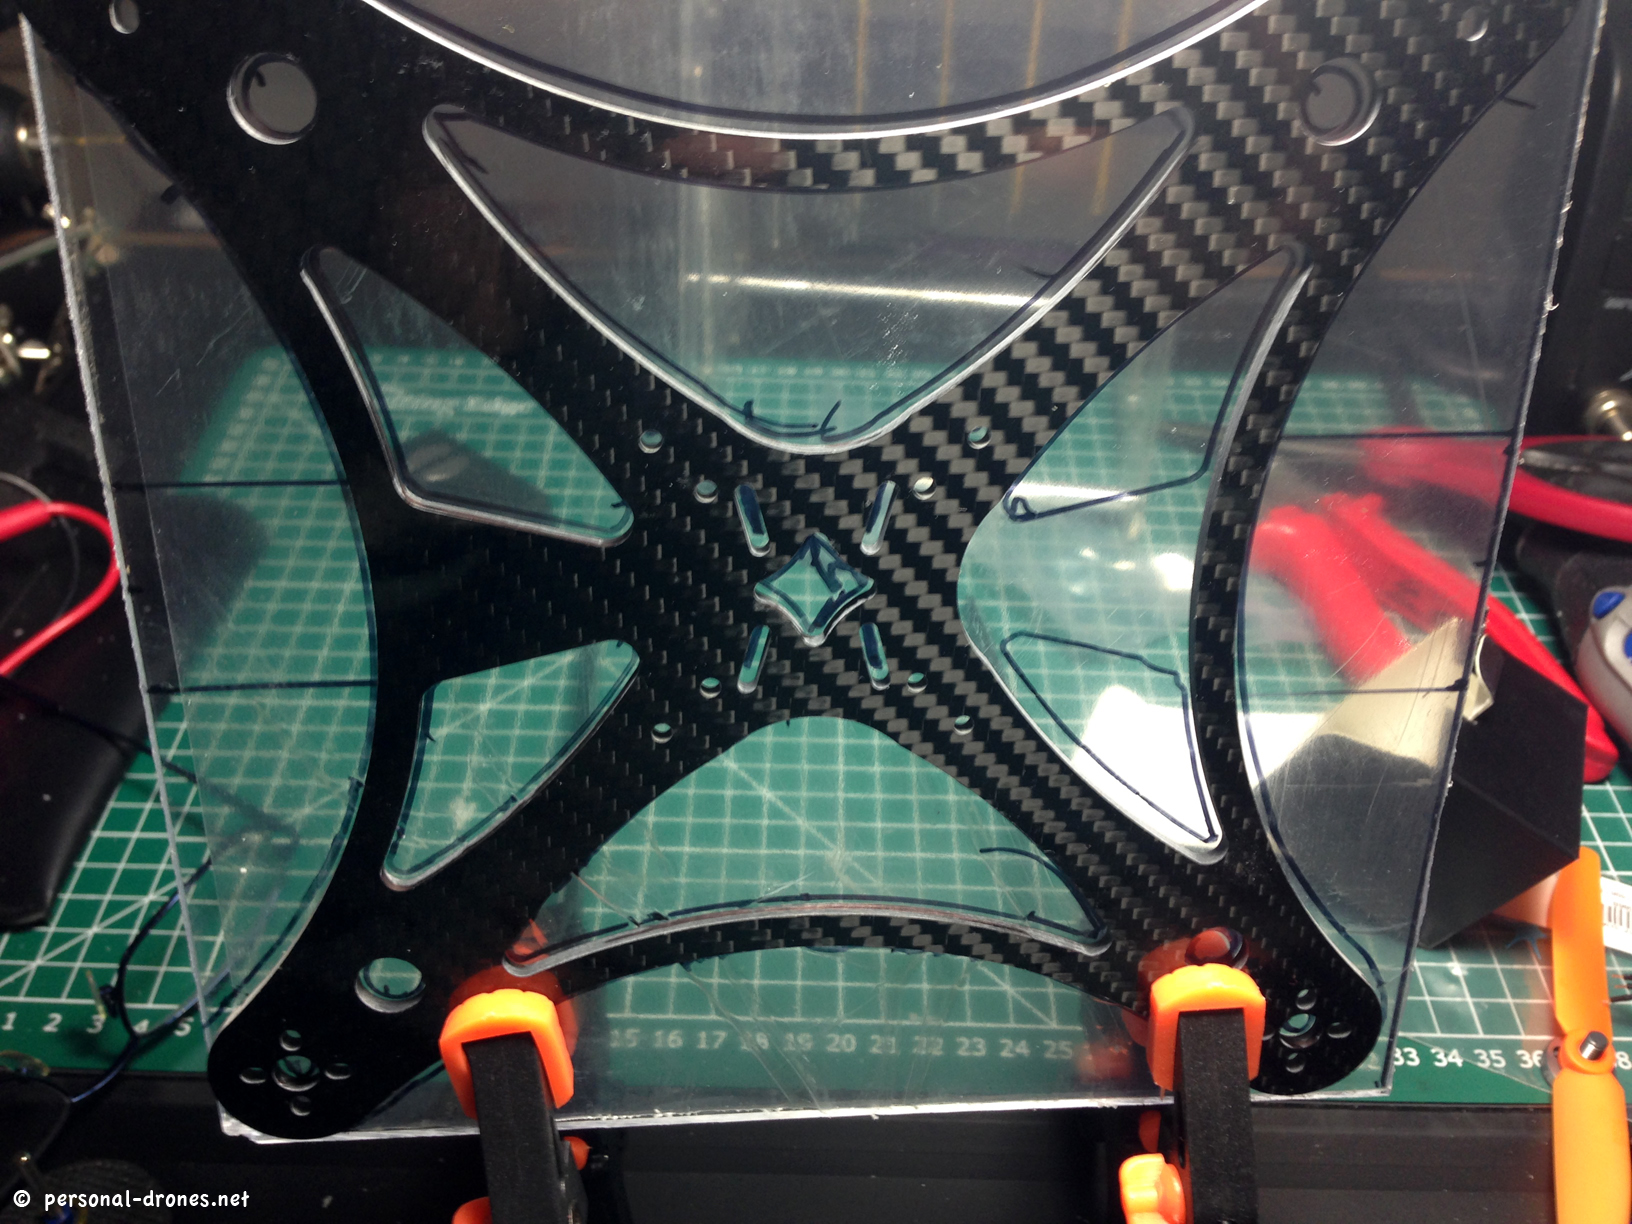
I started from an EcksFibre 230mm frame as a template. The main goal is to modify the design so as to include extension plates for a mobius camera and an immersion RC 600mW video transmitter, for First Person View flight.
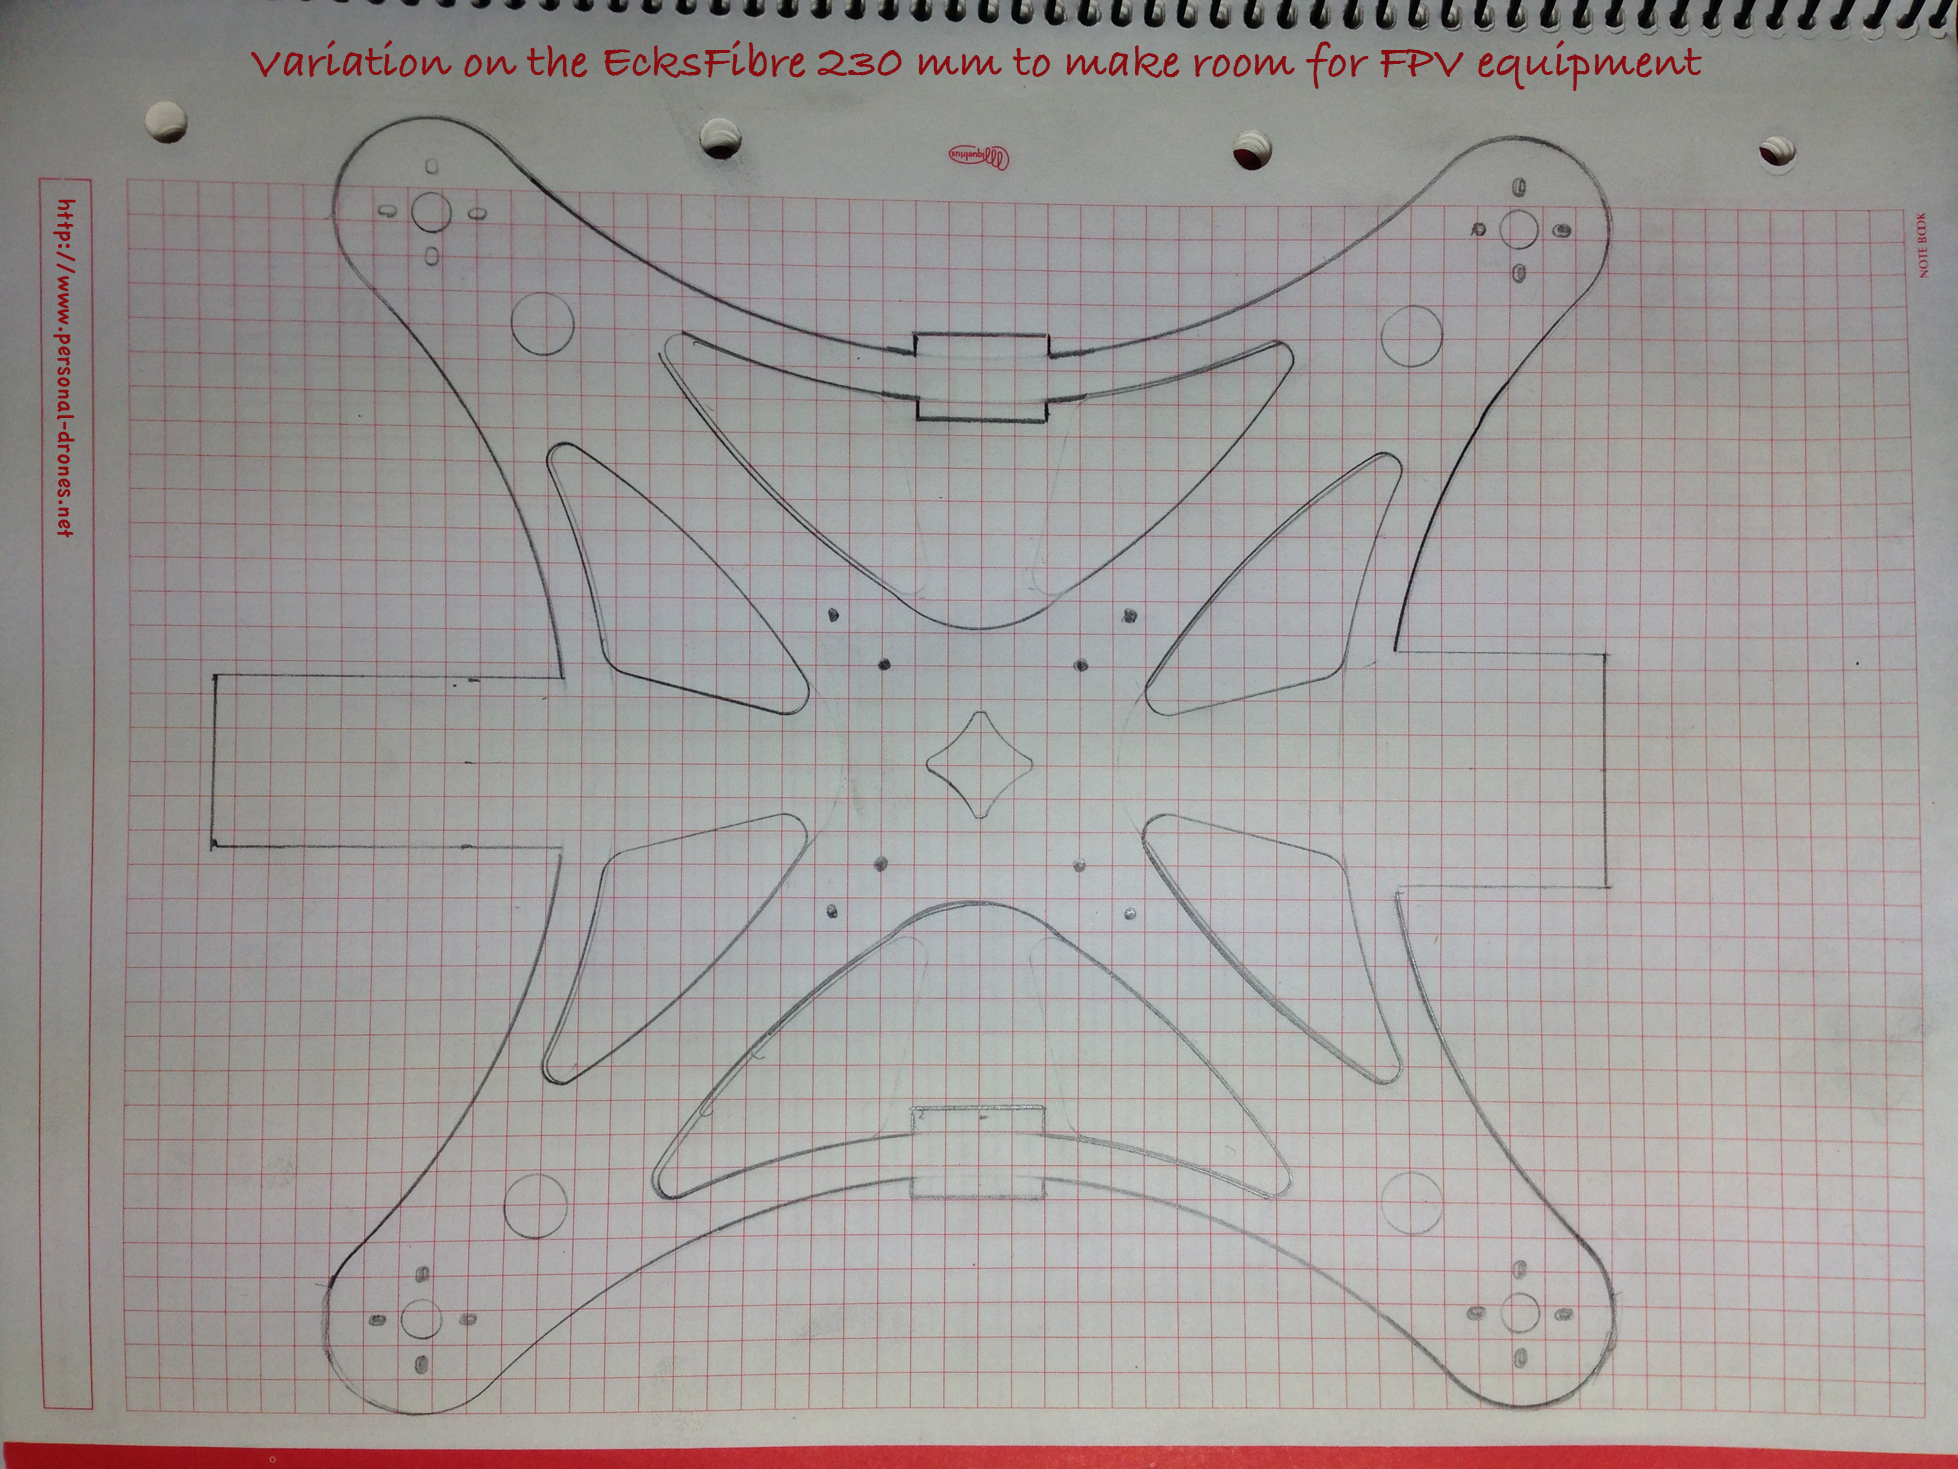
The EcksFibre 230mm frameThe plan: adding extensions for a Mobius camera and an Immersion video transmitter
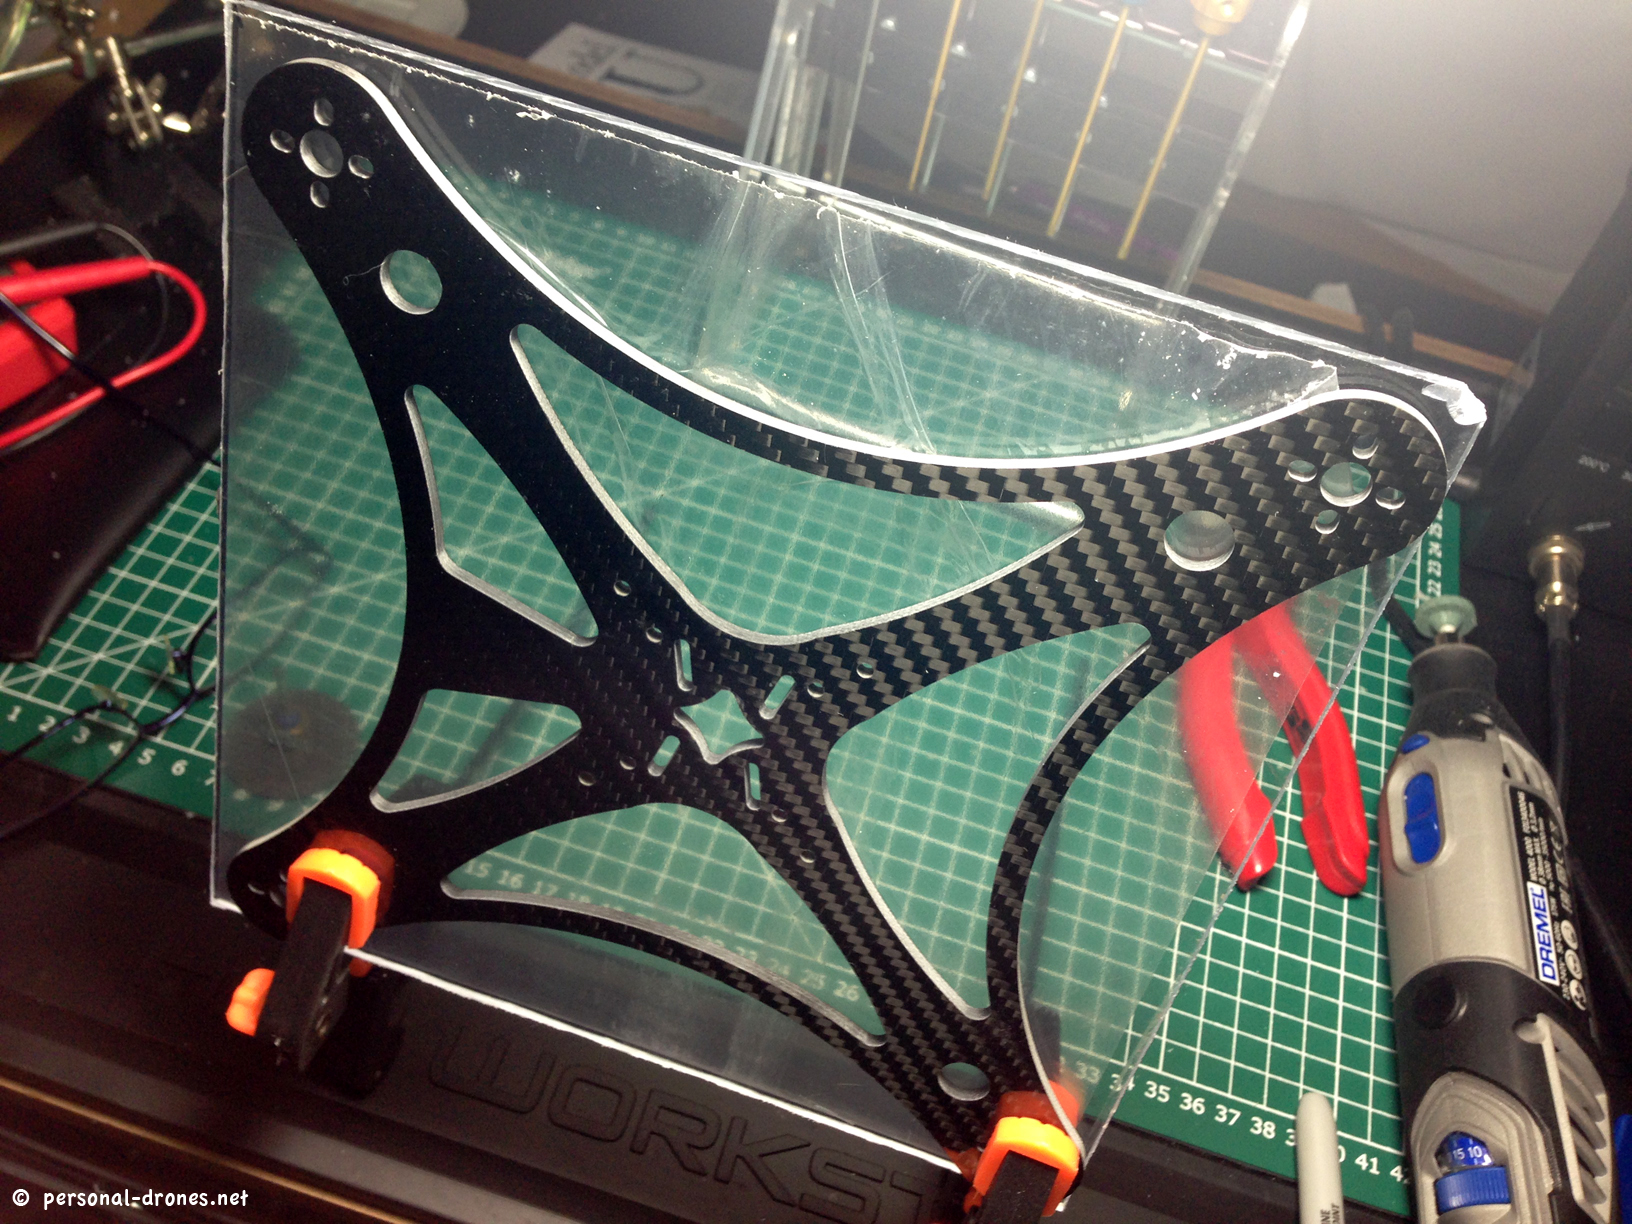
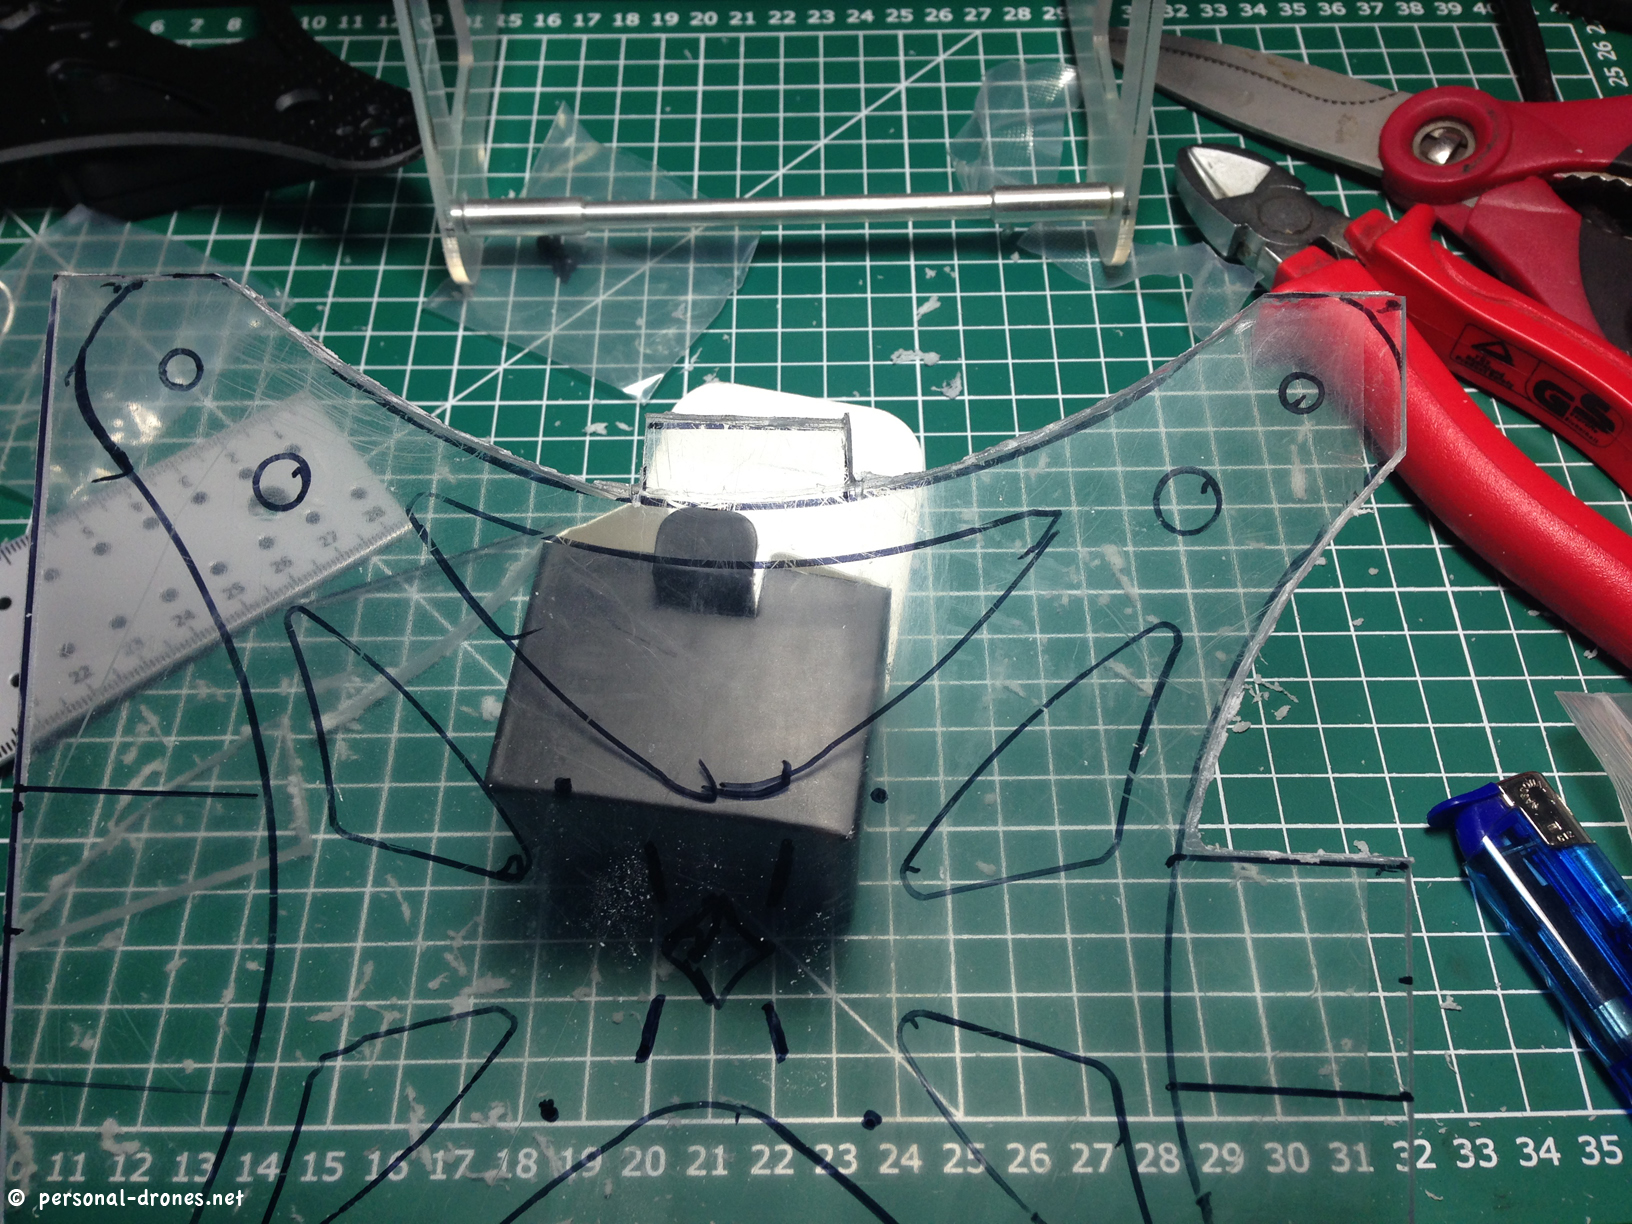
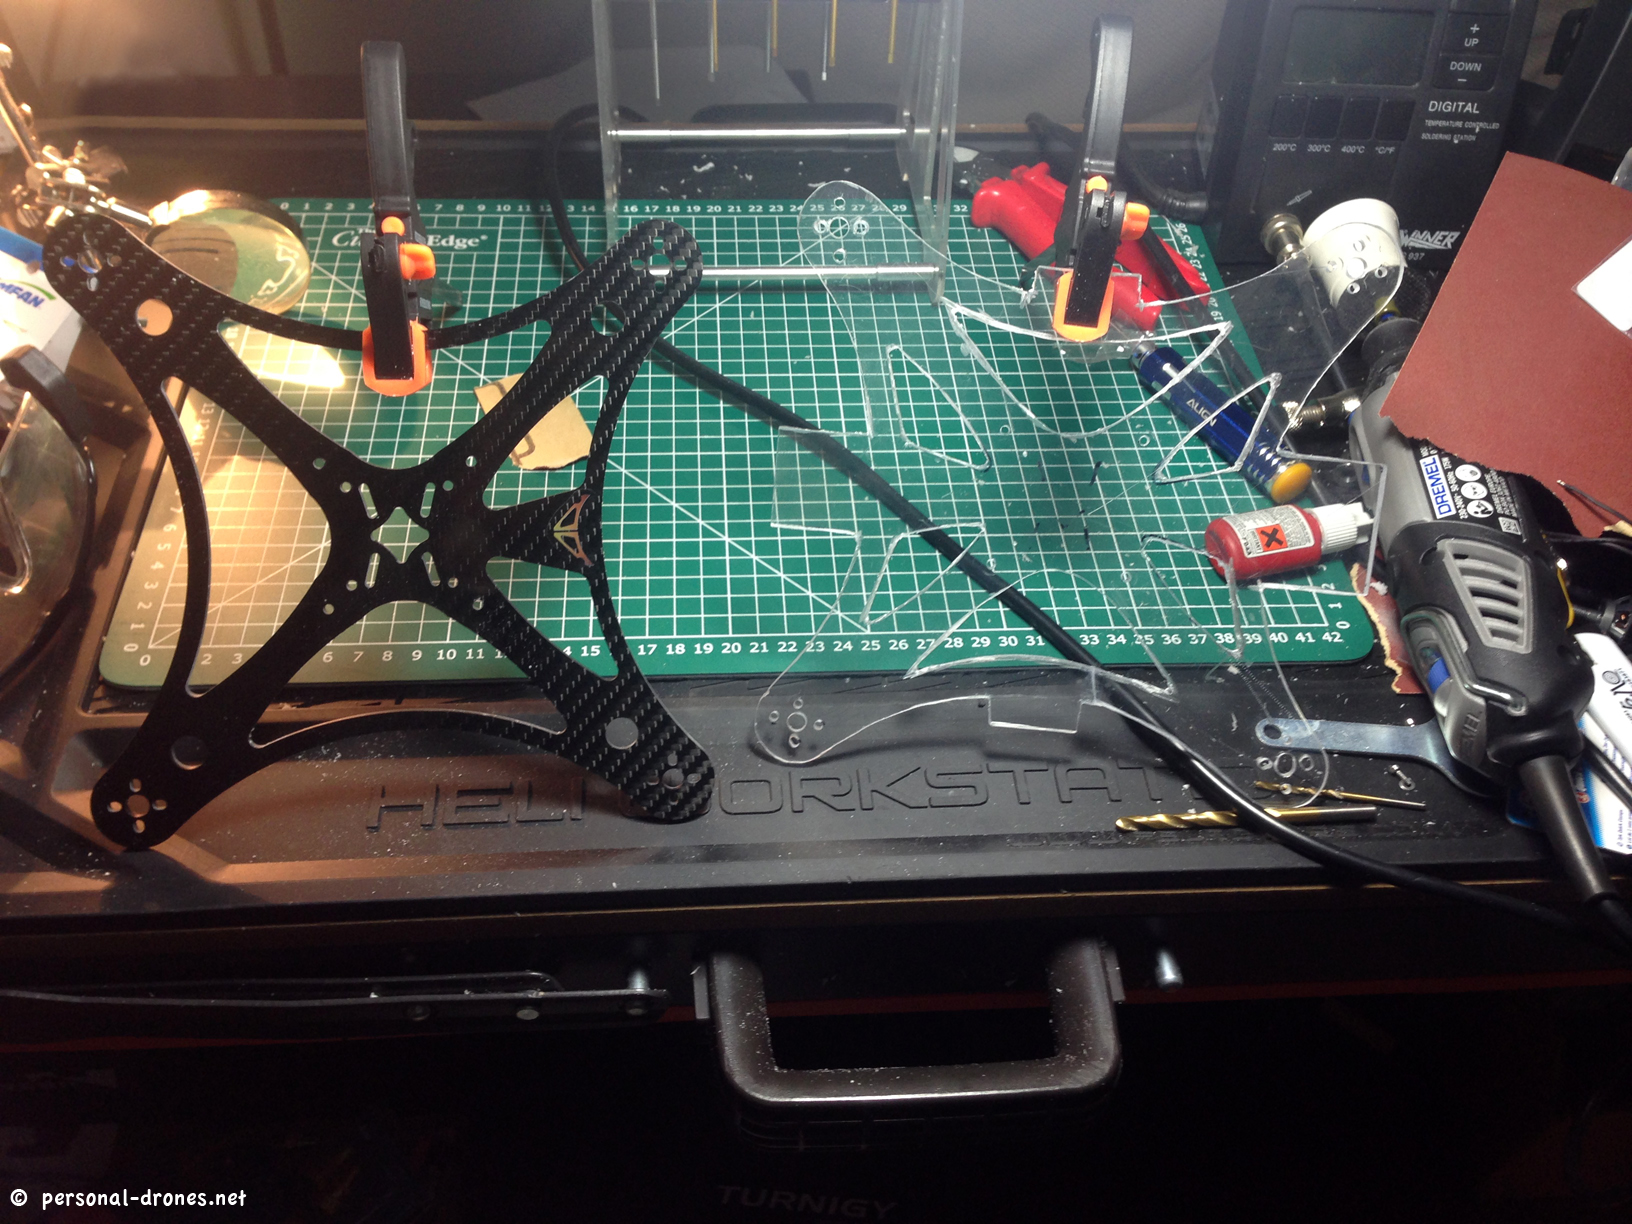
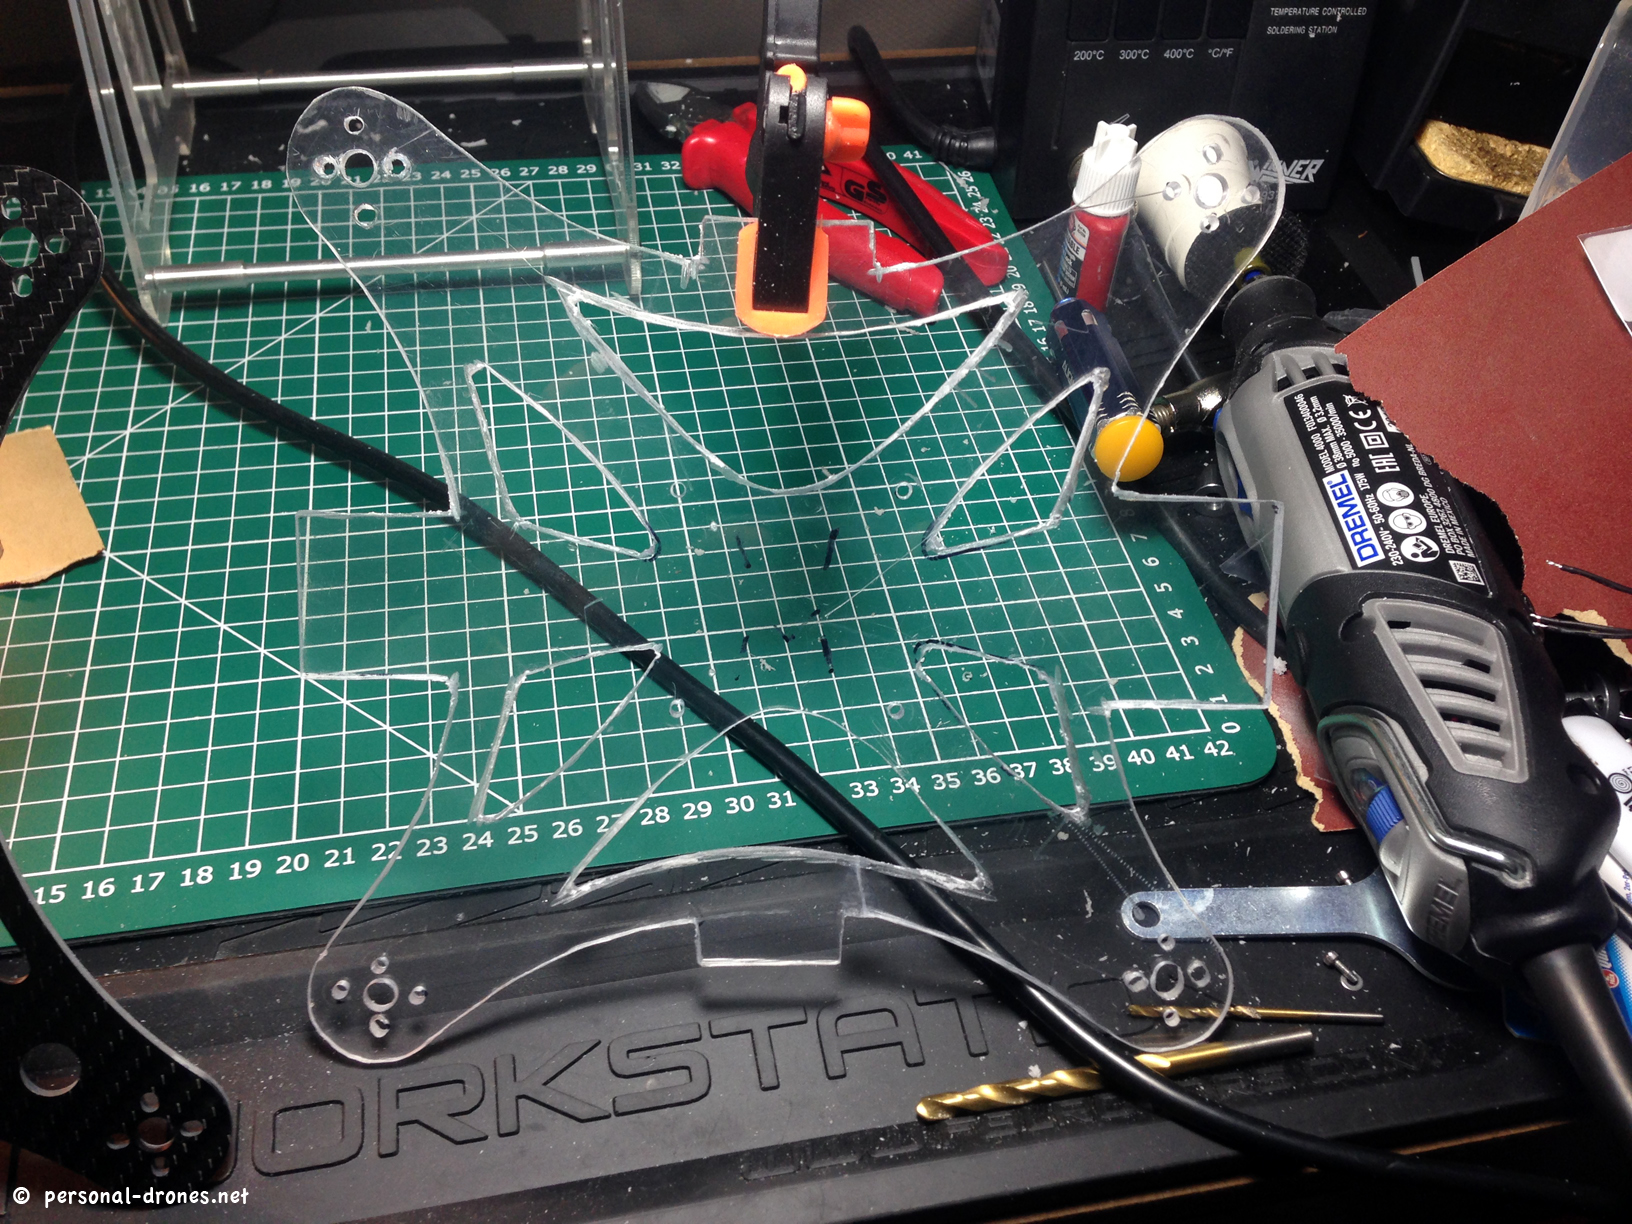
I did cut a 20×20 square of plexiglas and overlayed it to the Ecks
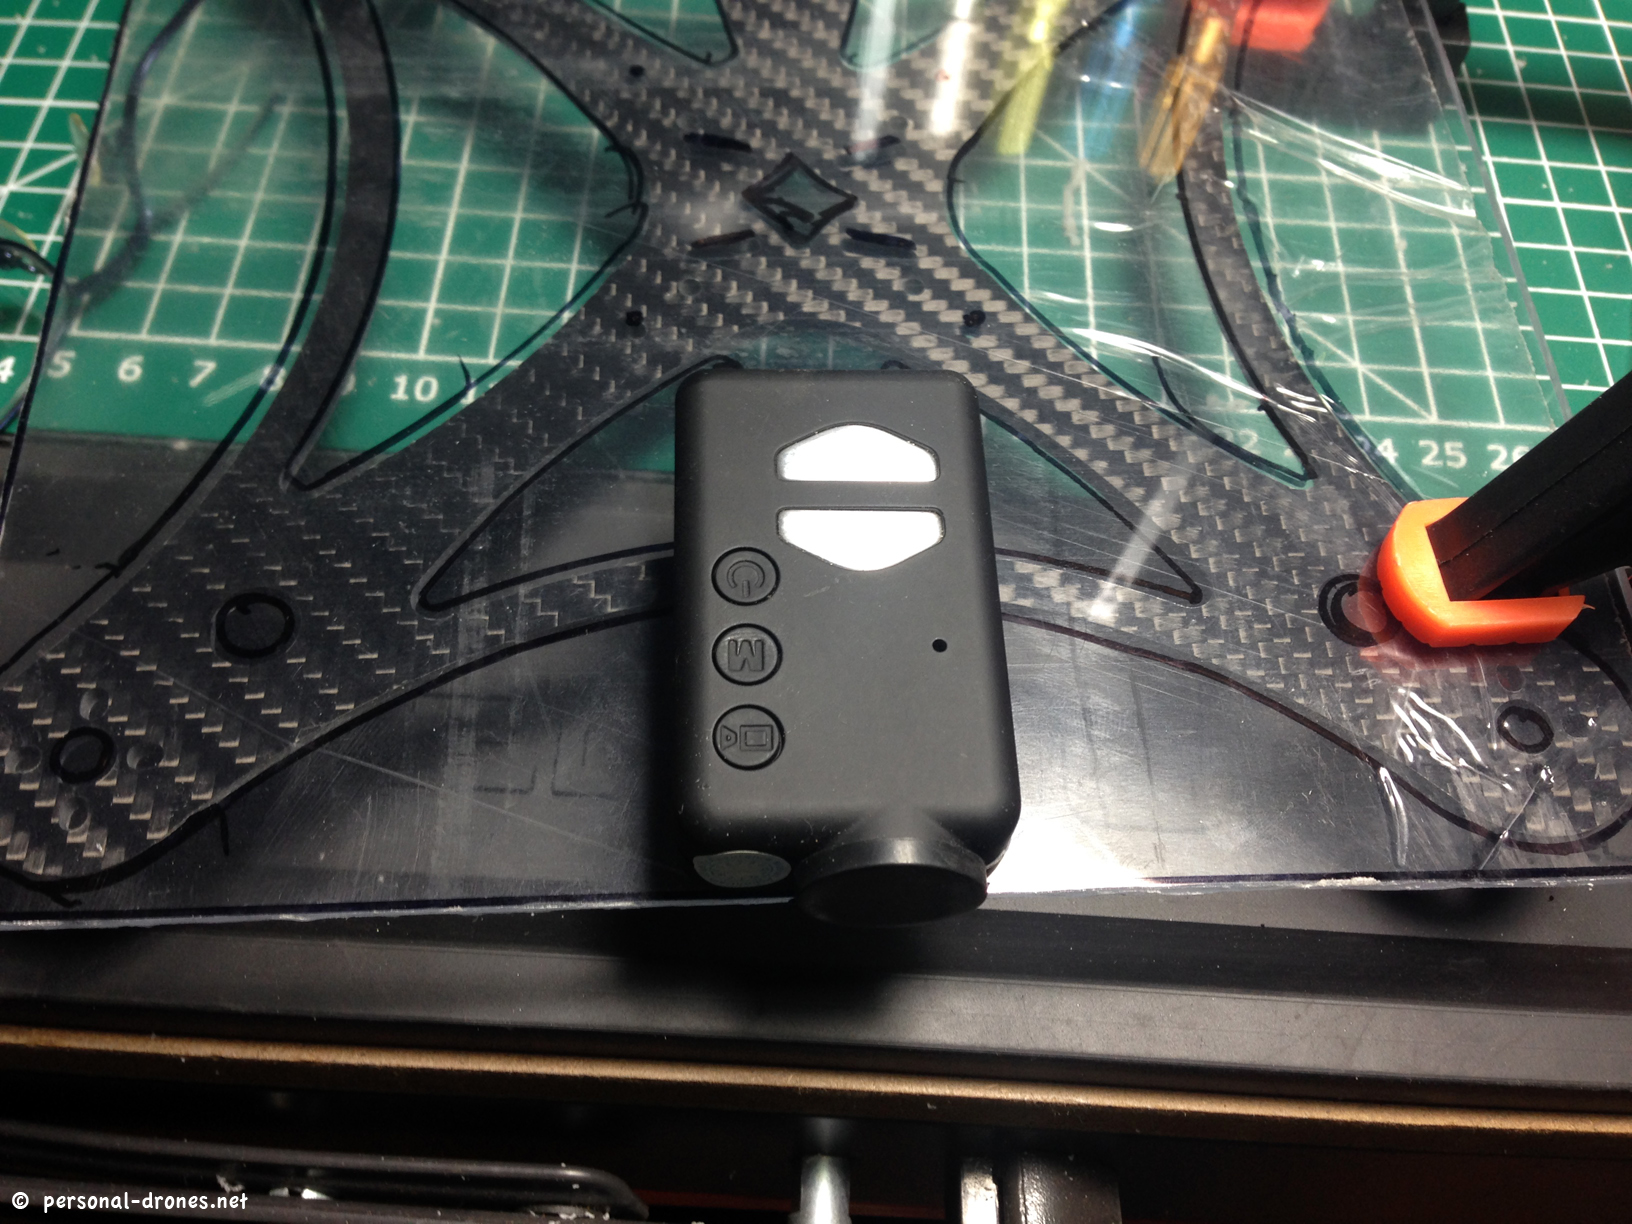
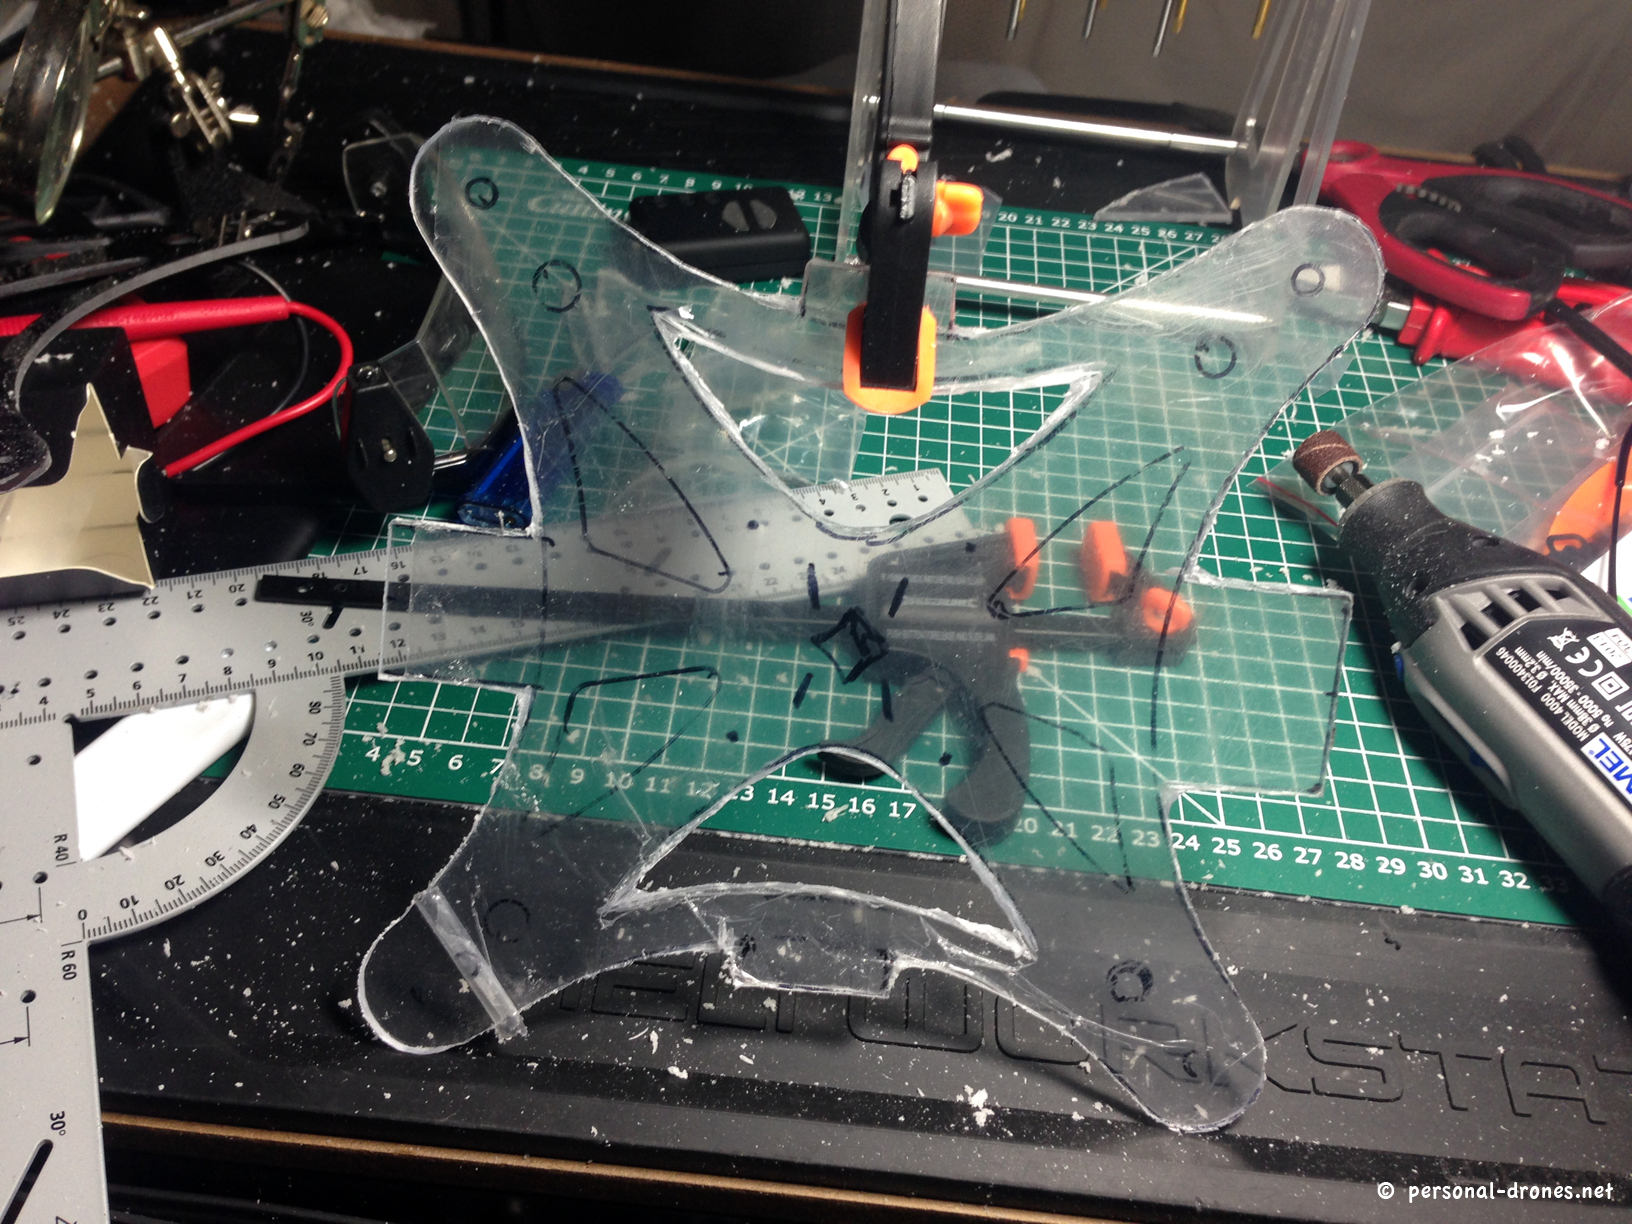
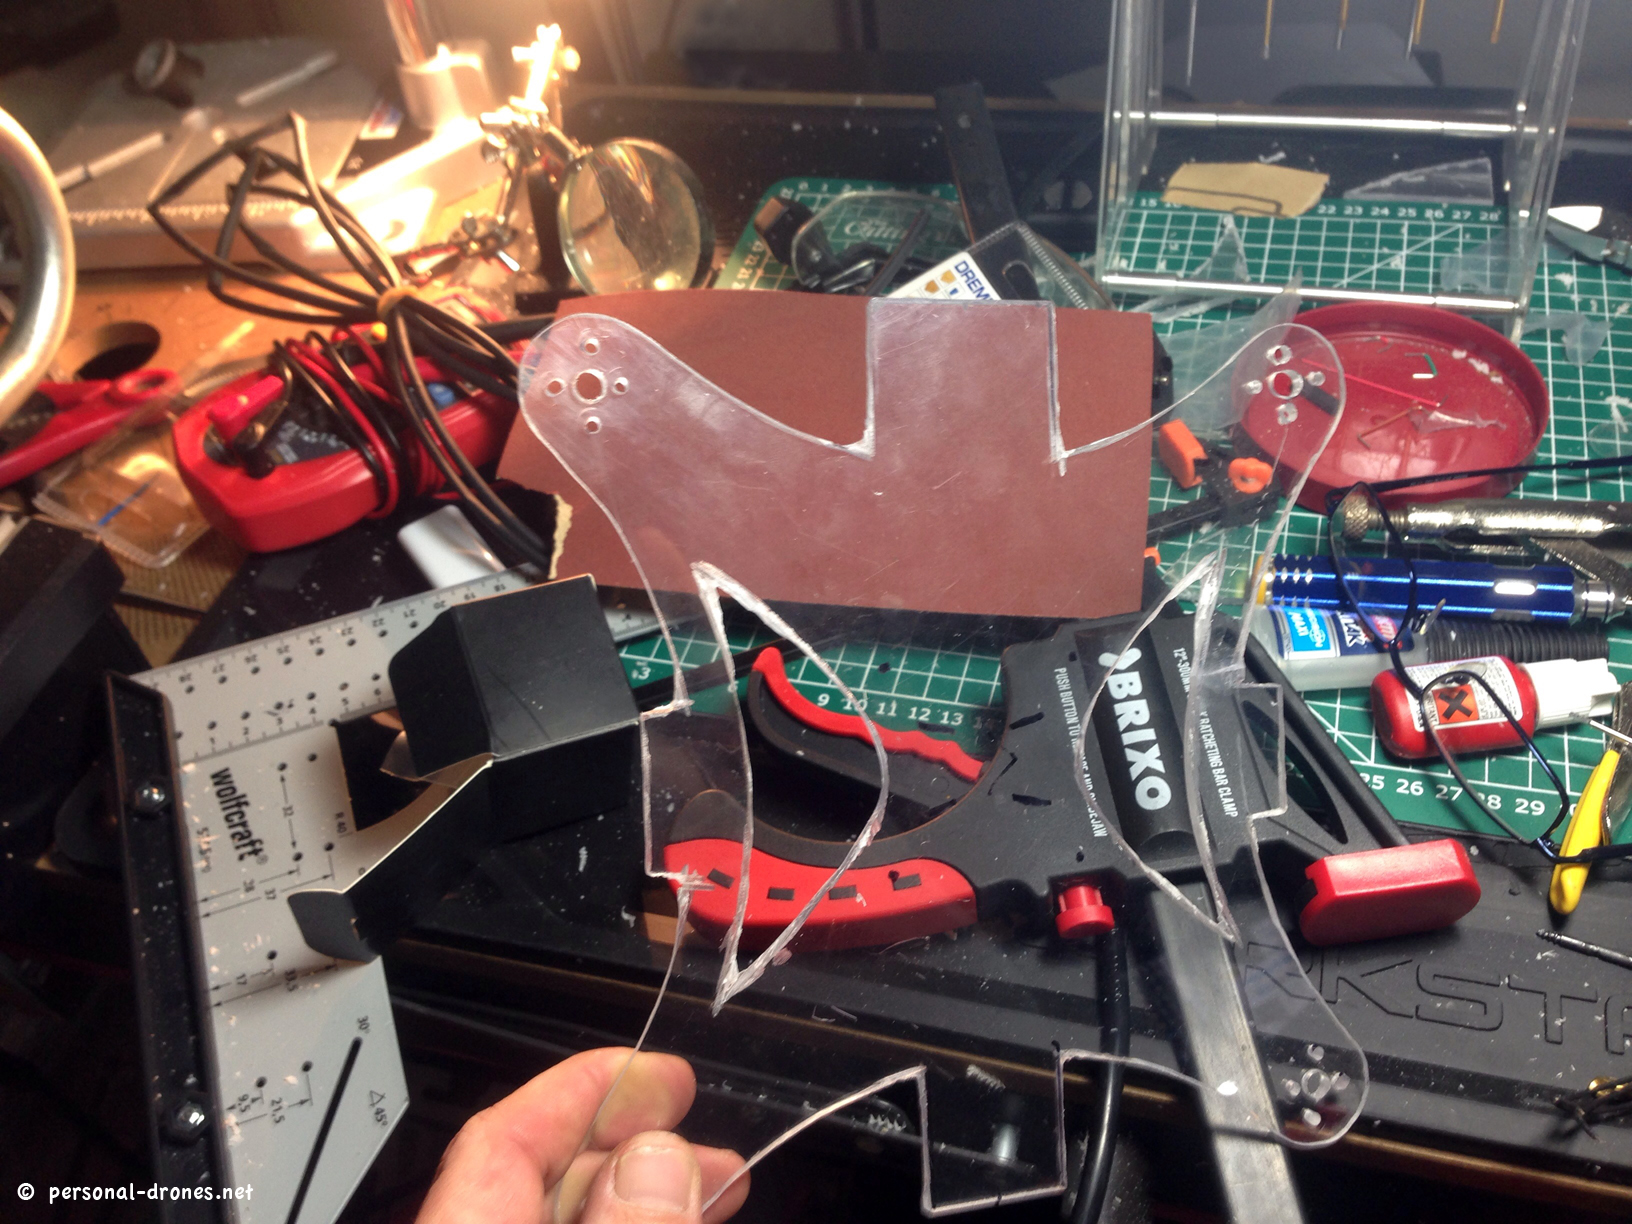
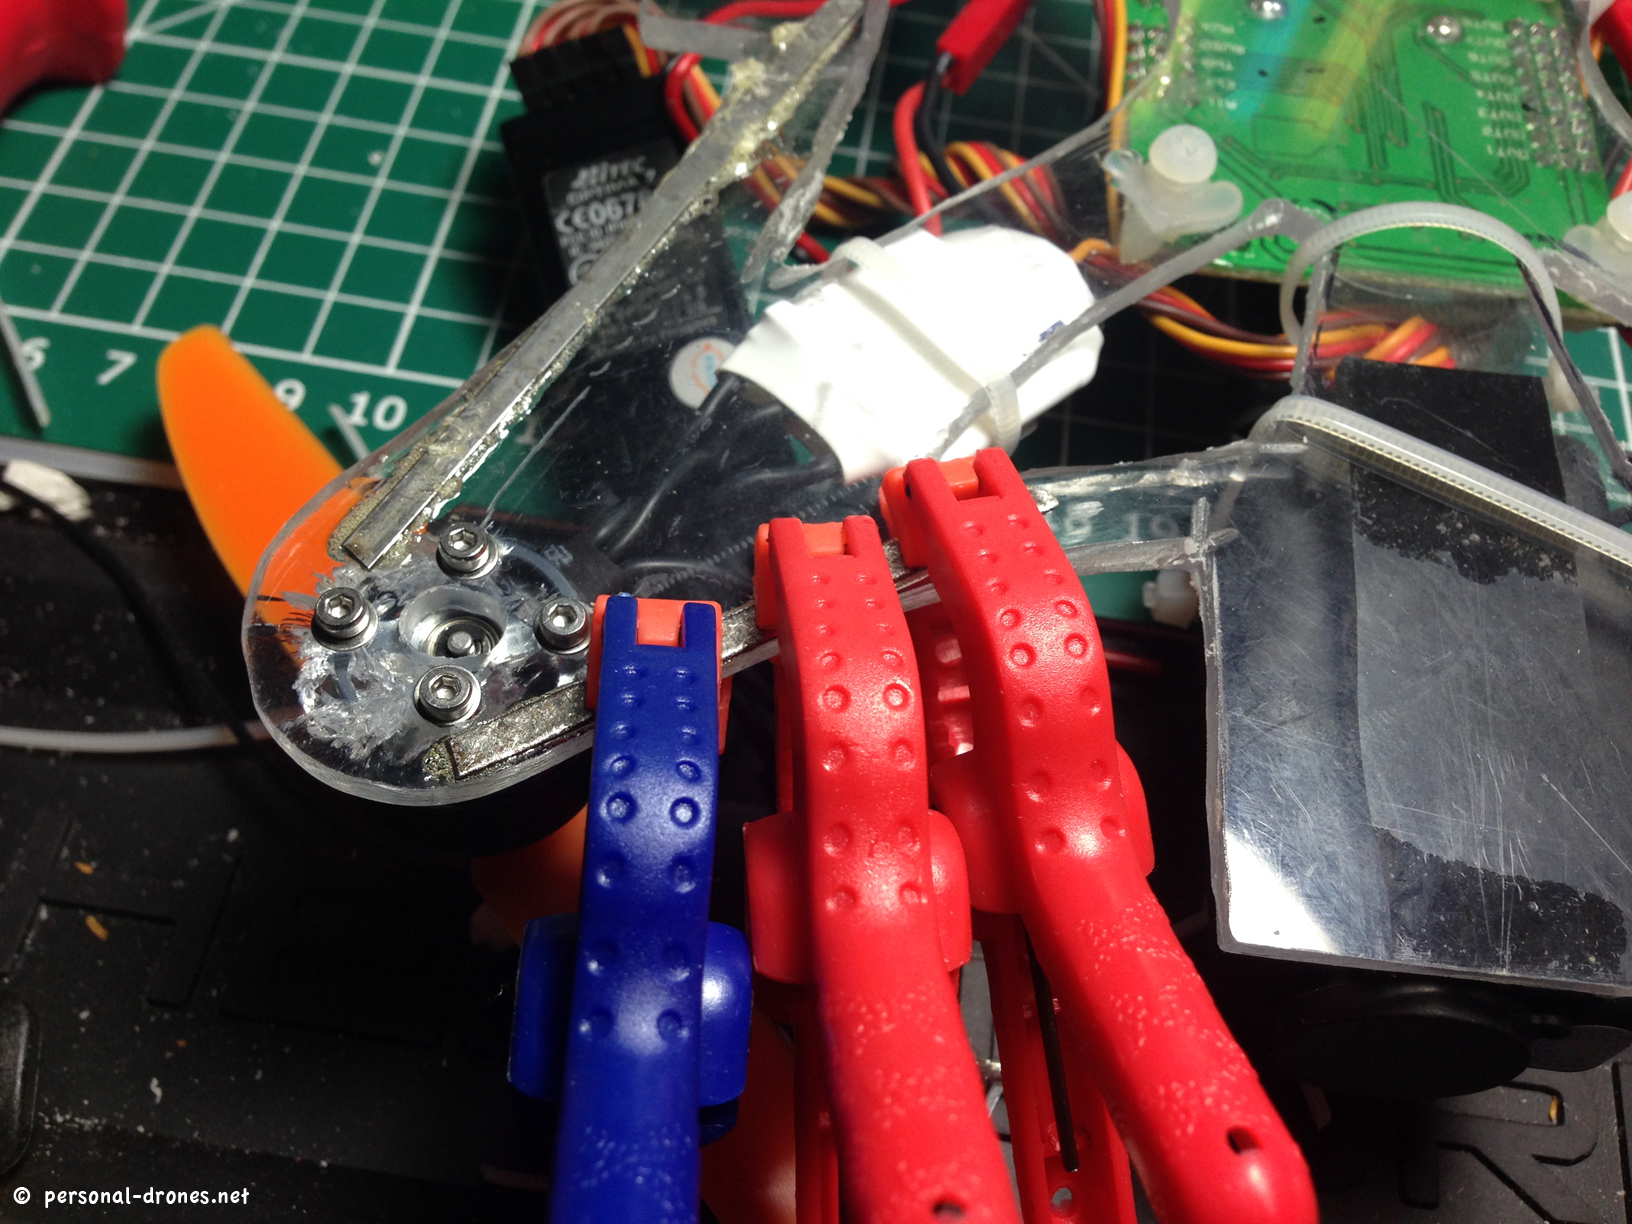
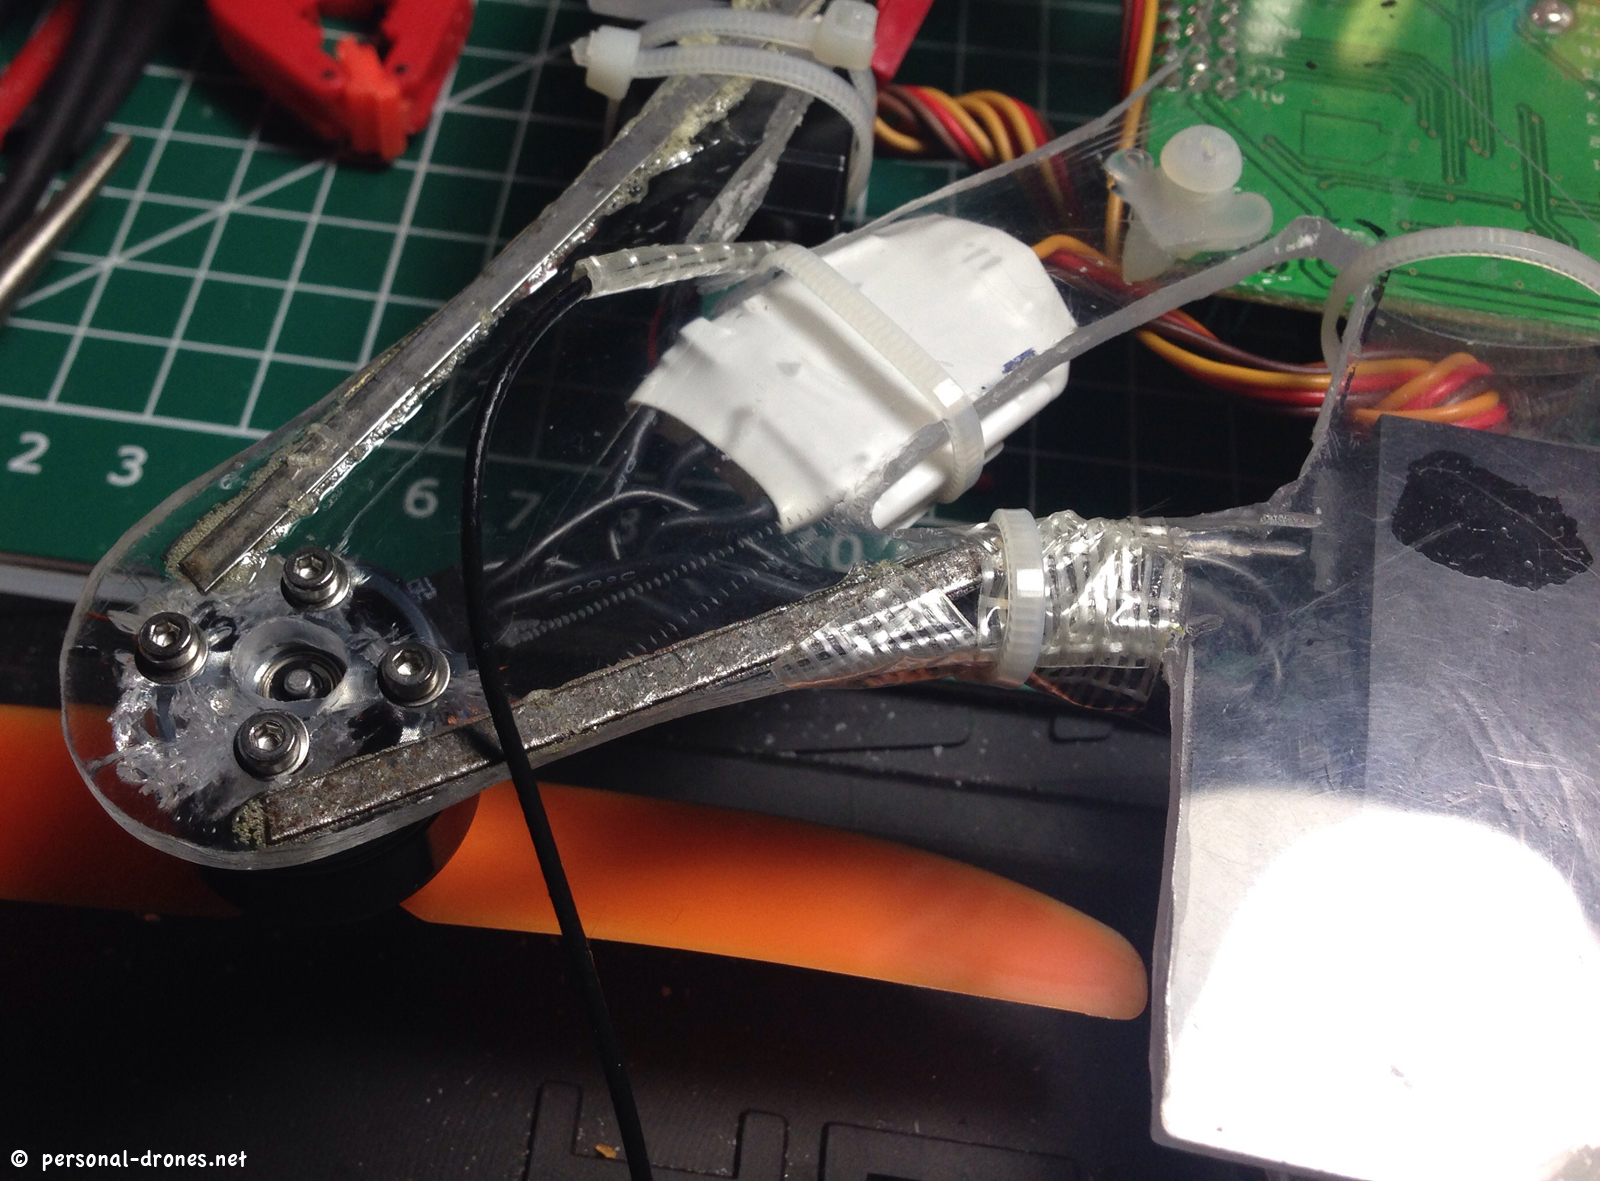
Drawing some lines with a sharpie and taking measures for the mobiusThe basic frame design with the extension plates for the mobius (the bigger one) and the video transmitter.Starting to cut the plexiglas frame. Cutting was done with a standard Dremel diamond rotary blade.A step in cutting the quadcopter frameThe frame, close to finish. Note how I also made a little plate on each side that is not originally there on the EcksFibre, to have a little bit more room for equipment.My frame compared to the EcksFibreFrame finished! Getting the position of the motor holes correct proved to be more challenging than I thought. After drilling all the holes I has to make quite some adjustments (enlarge a few) to find a perfect alignment to the motor holesA while after tightening the motor screws, some cracks appeared on the plexiglas. I decided to reinforce the arms and in particular the areas under the motors, with some metal sticks. Used gorilla glue for the job.One arm of the quadcopter with two metal sticks glued in place
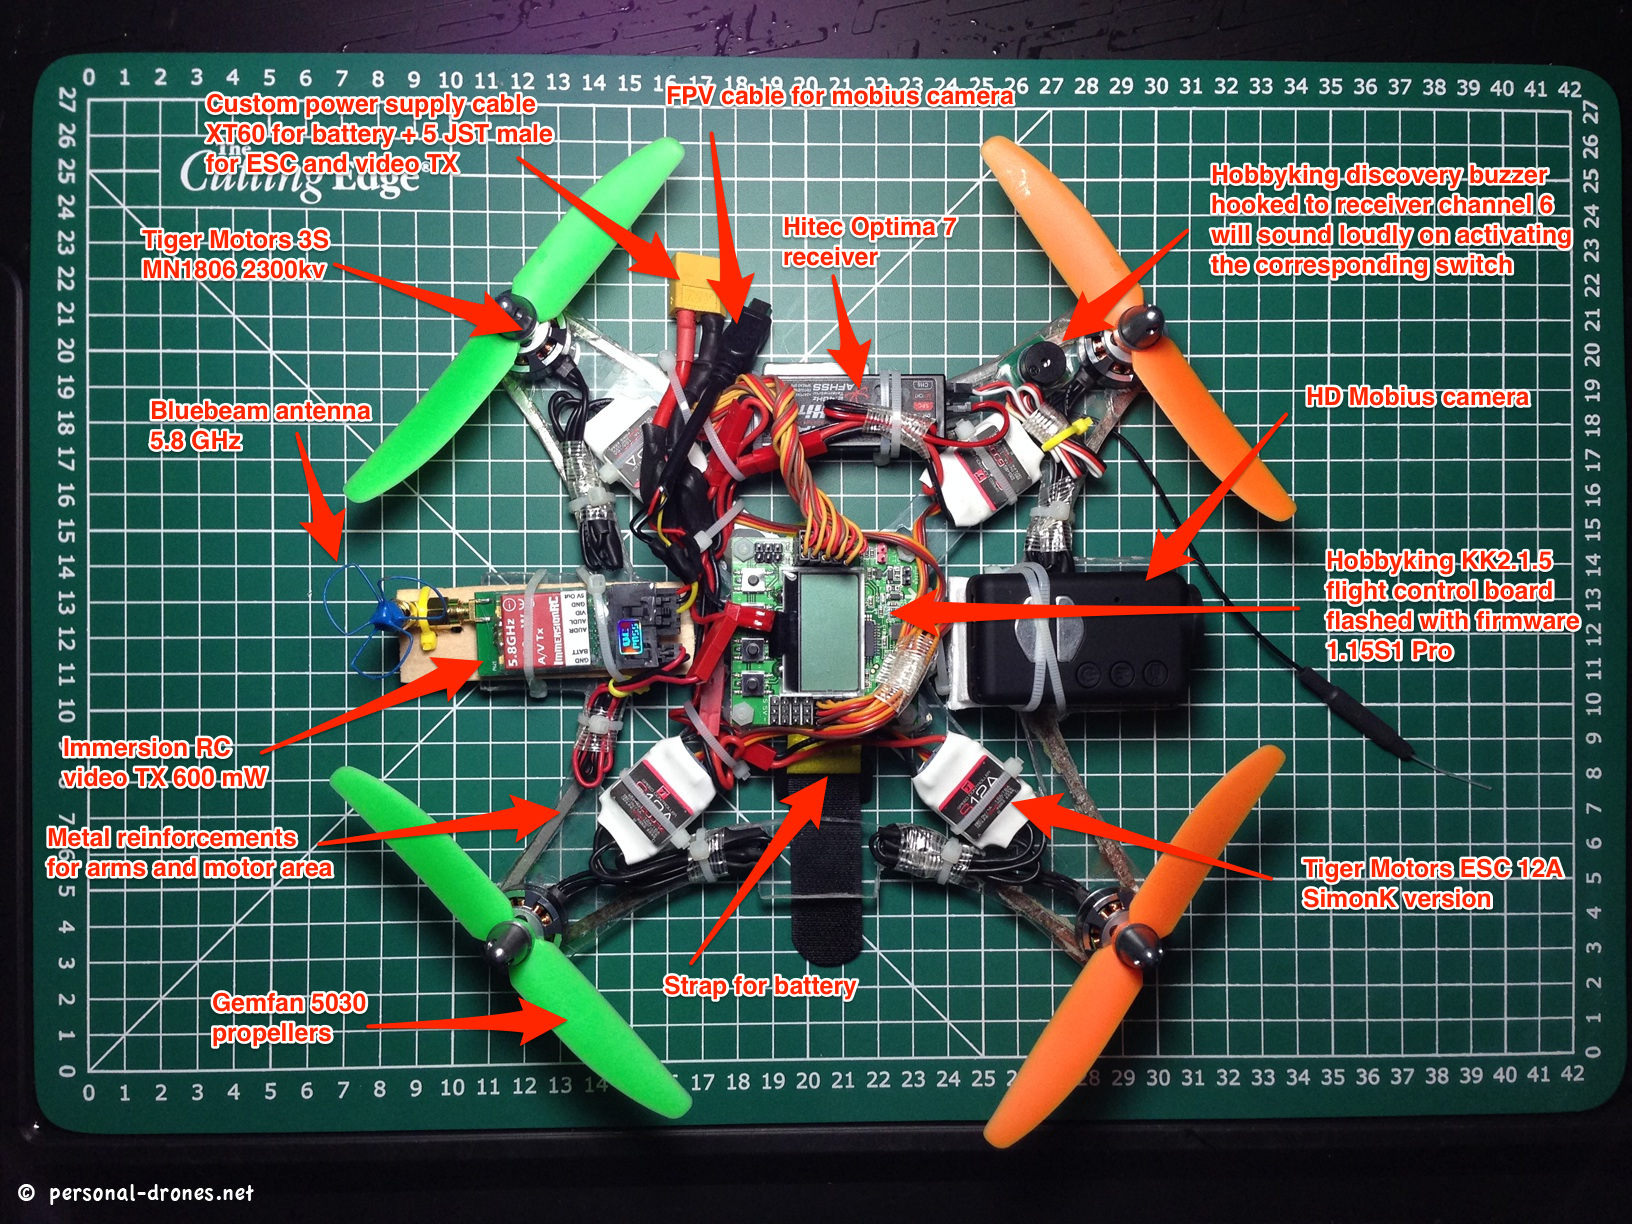
And the build summary, in a picture. Click on the picture for the full size.
Weight 381 gr w/o battery
495 gr with zippy flightmax 3S 1500 mA
A summary of the plexiglas mini quadcopter for FPV build. Click for larger version
A quest toward the perfect quadcopter or multirotor for aerial video and personal flying freedom and a permanent survey on the latest quadcopter news and multirotor news
This website uses cookies to improve your experience. We'll assume you're ok with this, but you can opt-out if you wish.AcceptPrivacy and Cookies Policy
Privacy & Cookies Policy
Privacy Overview
This website uses cookies to improve your experience while you navigate through the website. Out of these, the cookies that are categorized as necessary are stored on your browser as they are essential for the working of basic functionalities of the website. We also use third-party cookies that help us analyze and understand how you use this website. These cookies will be stored in your browser only with your consent. You also have the option to opt-out of these cookies. But opting out of some of these cookies may affect your browsing experience.
Necessary cookies are absolutely essential for the website to function properly. This category only includes cookies that ensures basic functionalities and security features of the website. These cookies do not store any personal information.
Any cookies that may not be particularly necessary for the website to function and is used specifically to collect user personal data via analytics, ads, other embedded contents are termed as non-necessary cookies. It is mandatory to procure user consent prior to running these cookies on your website.