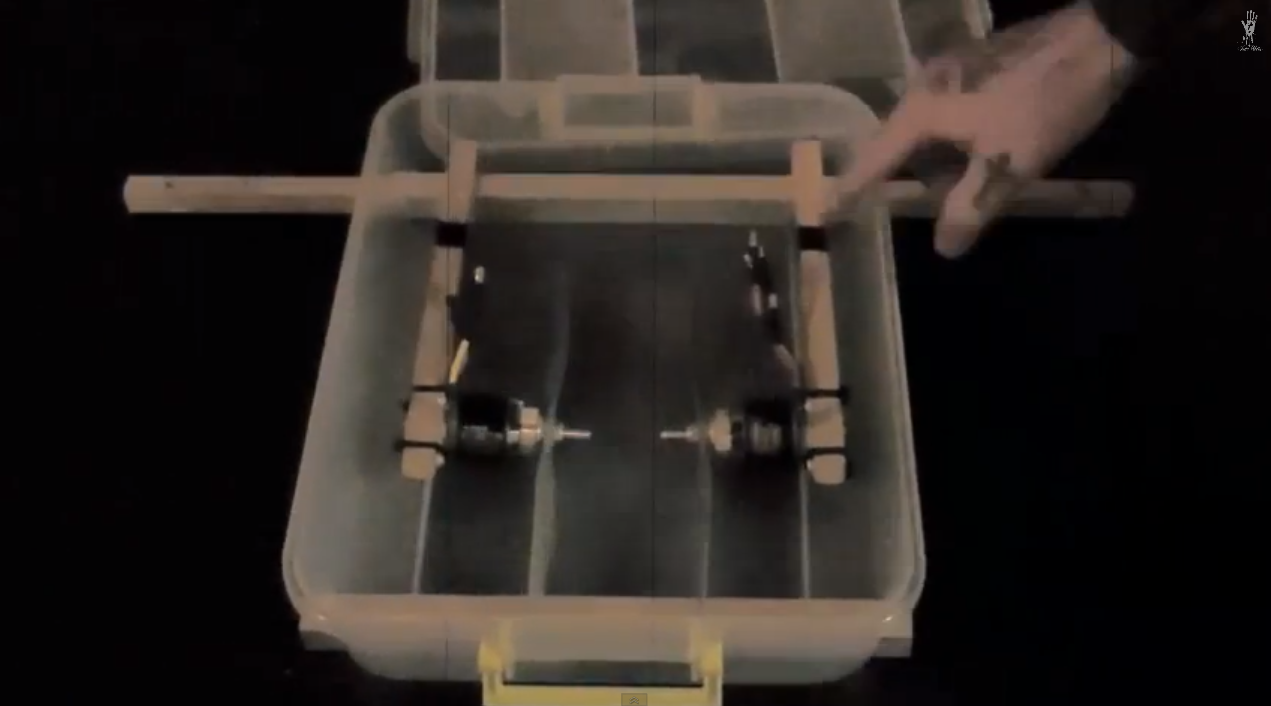
Check out this nice post by Jake Wells on DIYDrones. Features a video that summarizes the build of great DIY quad, out of a plastic box and some wood pieces.
Main features of the quadcopter are portability, durability and to be waterproof.
Check out this nice post by Jake Wells on DIYDrones. Features a video that summarizes the build of great DIY quad, out of a plastic box and some wood pieces.
Main features of the quadcopter are portability, durability and to be waterproof.
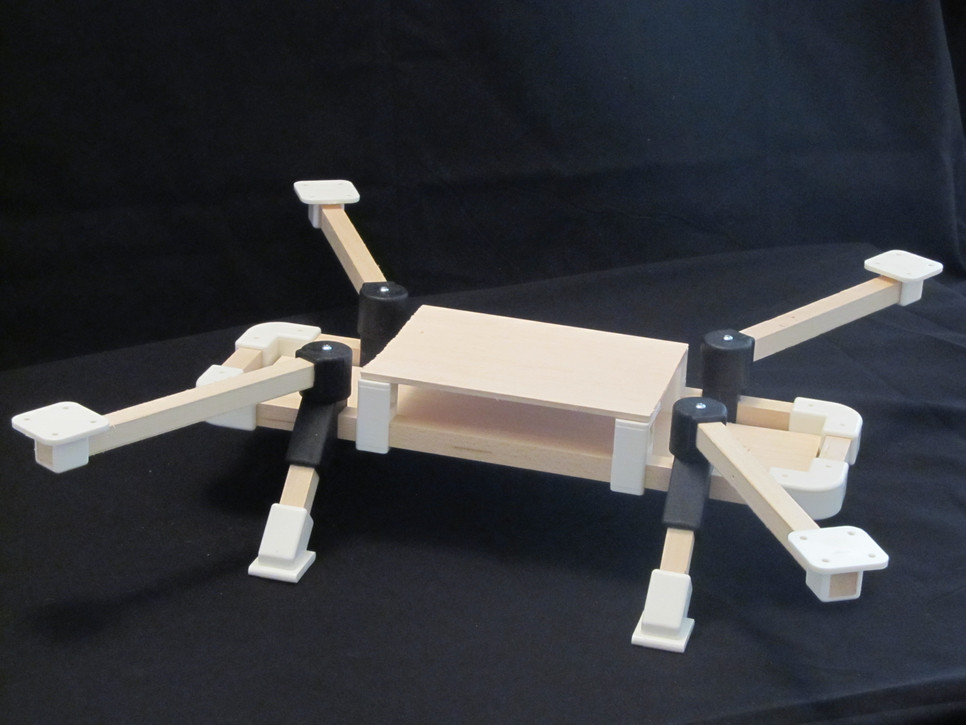
If you followed up to here in this multi part article on the Quadlugs multirotor building system, you know that we are now at a stage in which we have a basically fully assembled 480 mm quadcopter, with motors, escs, and FPV equipment in place. In the image below the placement of the electronics on the lower board is shown. We will have to drill the 4 positions marked by red spots in the figure in order to secure the upper deck in place.
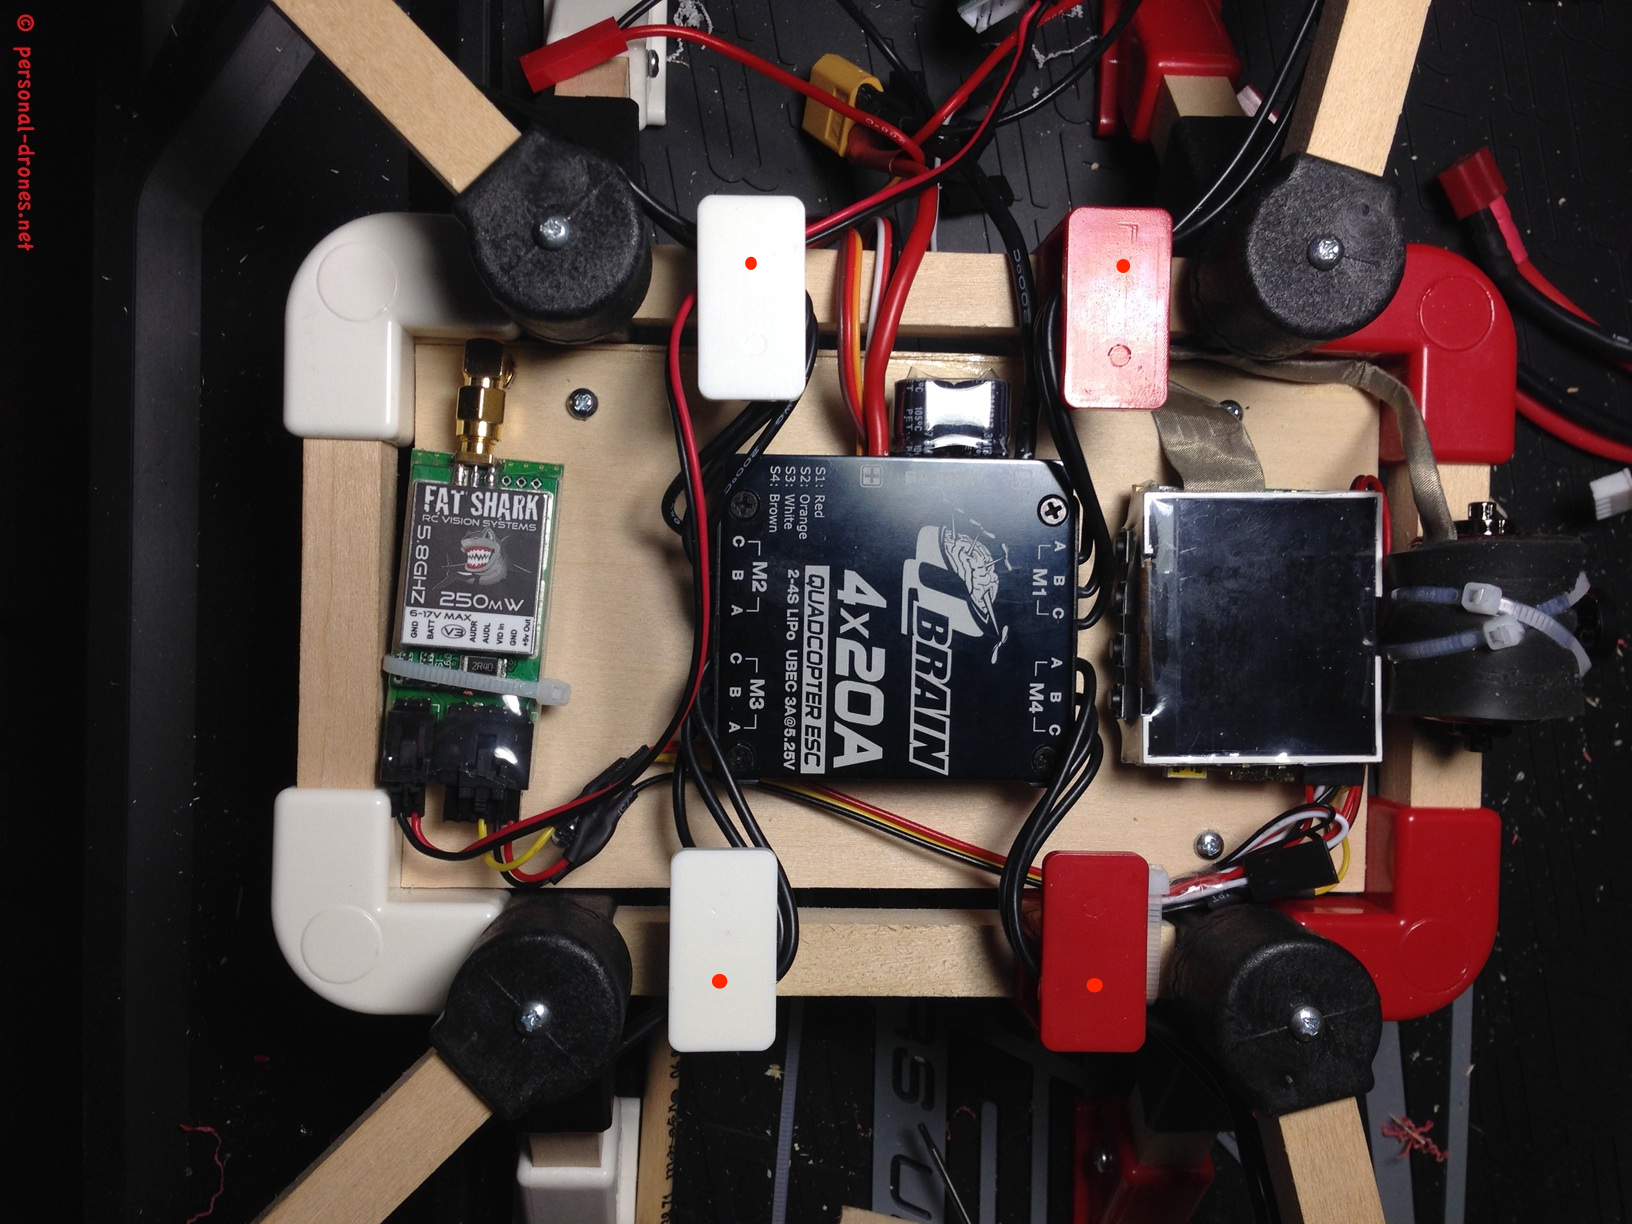
We now need to finish the build by mounting the upper deck with control board and radio receiver. mounting the upper deck is straightforward. First, drill the upper plate lugs in the positions marked in the figure above. You should do this with extreme care as the ESC wires, in the suggested configuration, run into the lug hole. You could also remove the wires while you do this, or drill before inserting the wires. Then with a pencil, carefully mark the position that correspond the the drilled holes to the wood board. Mind that the board, like the lower board, is larger than required. I did cut down mine to 8.5 x 13.5 cm in order to fit this design. Continue reading QUADLUGS MODULAR MULTIROTOR SYSTEM QUADCOPTER BUILD AND REVIEW – PART 4
In part 1 and part 2 of this “build and review” article I made a general overview of the Quadlugs modular system and showed how to fully assemble a 480 mm frame. The whole process takes a few hours, especially the first time, when you have to figure out a number of things. I am sure that on my second build (there will definitely be one) things will go much faster. Also, since the things I had to figure out are all included in this review, if you follow instruction closely, and also check out the Quadlugs build videos, then the build of the frame should be really straightforward. Speed will also depends somehow on your personal DIY skill, although I promise that putting the frame together is something that anyone can do.
The frame is now ready, see part 2. Only the top plate remains to be secured in place, however this will be done after all the electronic equipment is mounted.
Let’s start by fixing the motors to the motor mounts. In this case, the motors came without the needed 3.5 mm gold connectors (link) pre soldered to the wires, so I had to solder the connectors myself:

Continue reading QUADLUGS MODULAR MULTIROTOR SYSTEM QUADCOPTER BUILD AND REVIEW – PART 3
In part 1 of this build and review article I have been looking at the general features of the Quadlugs multirotor modular system and some preparation steps required before the actual frame assembly, namely the drilling of holes in some of the lugs.
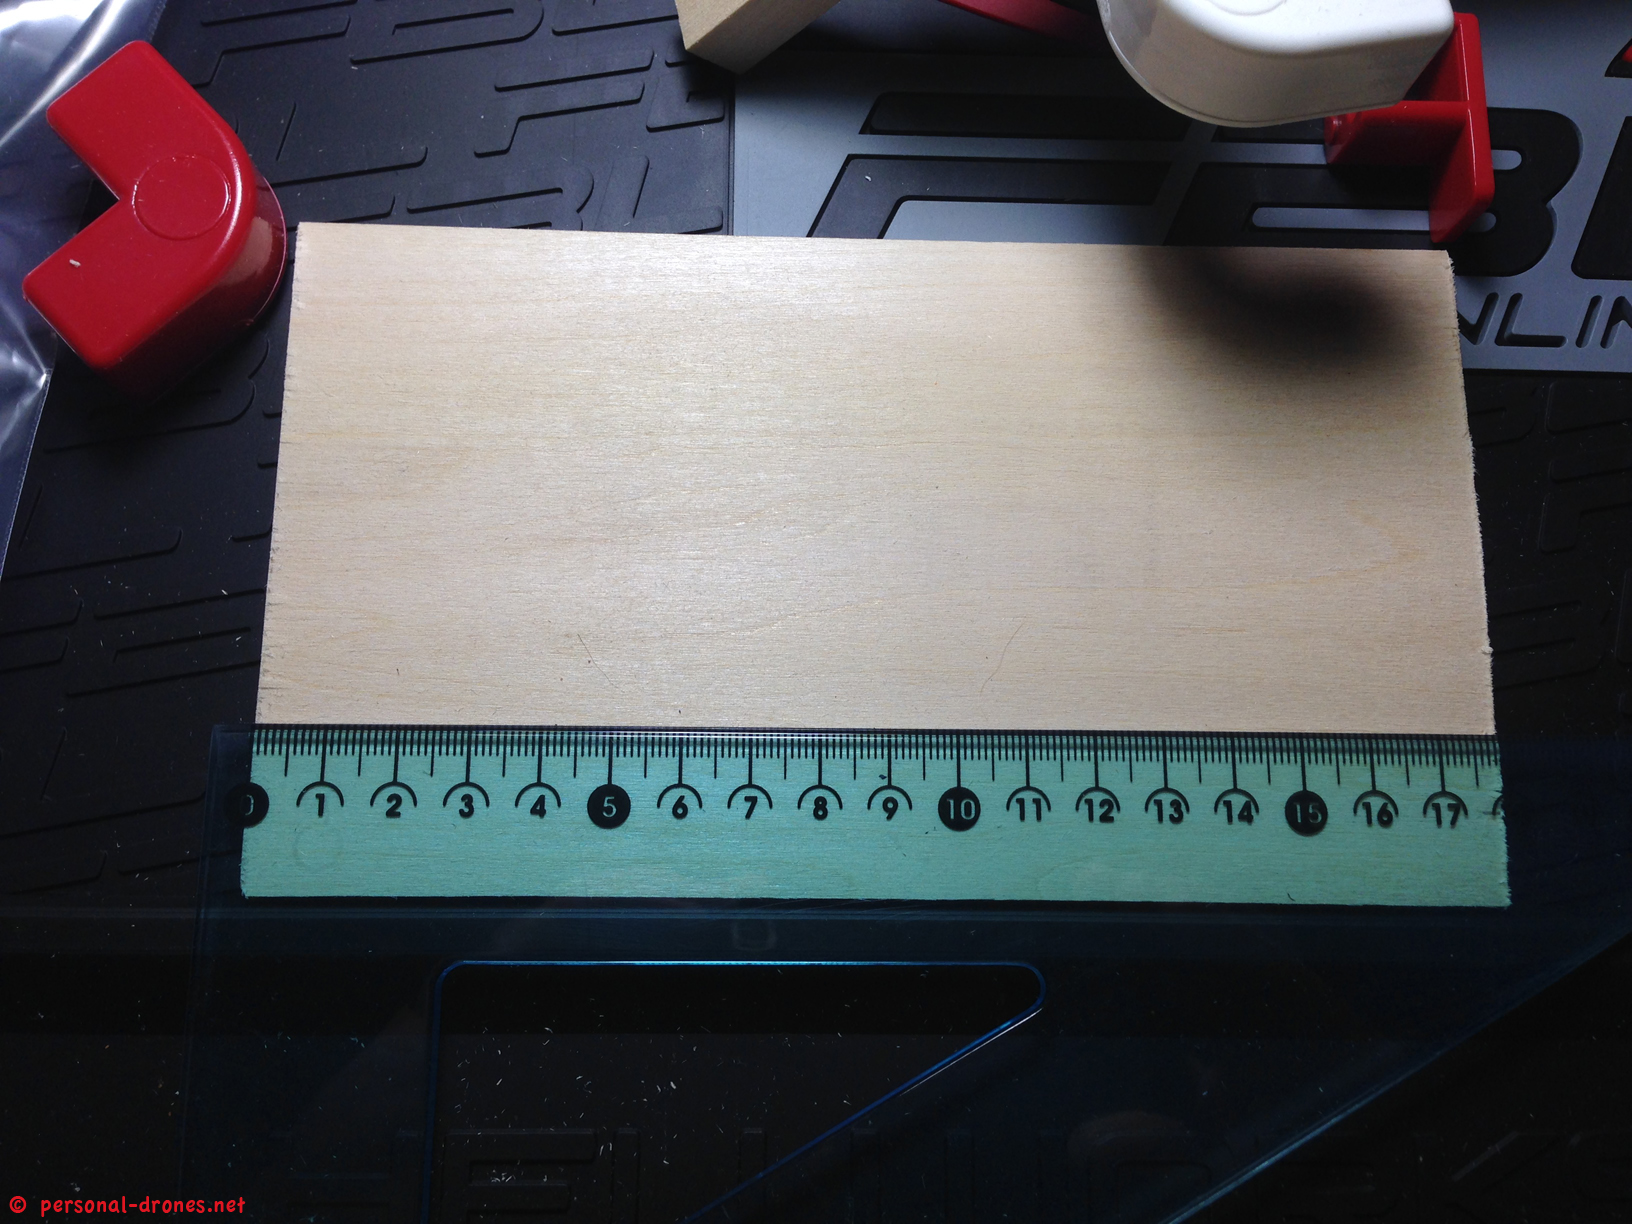
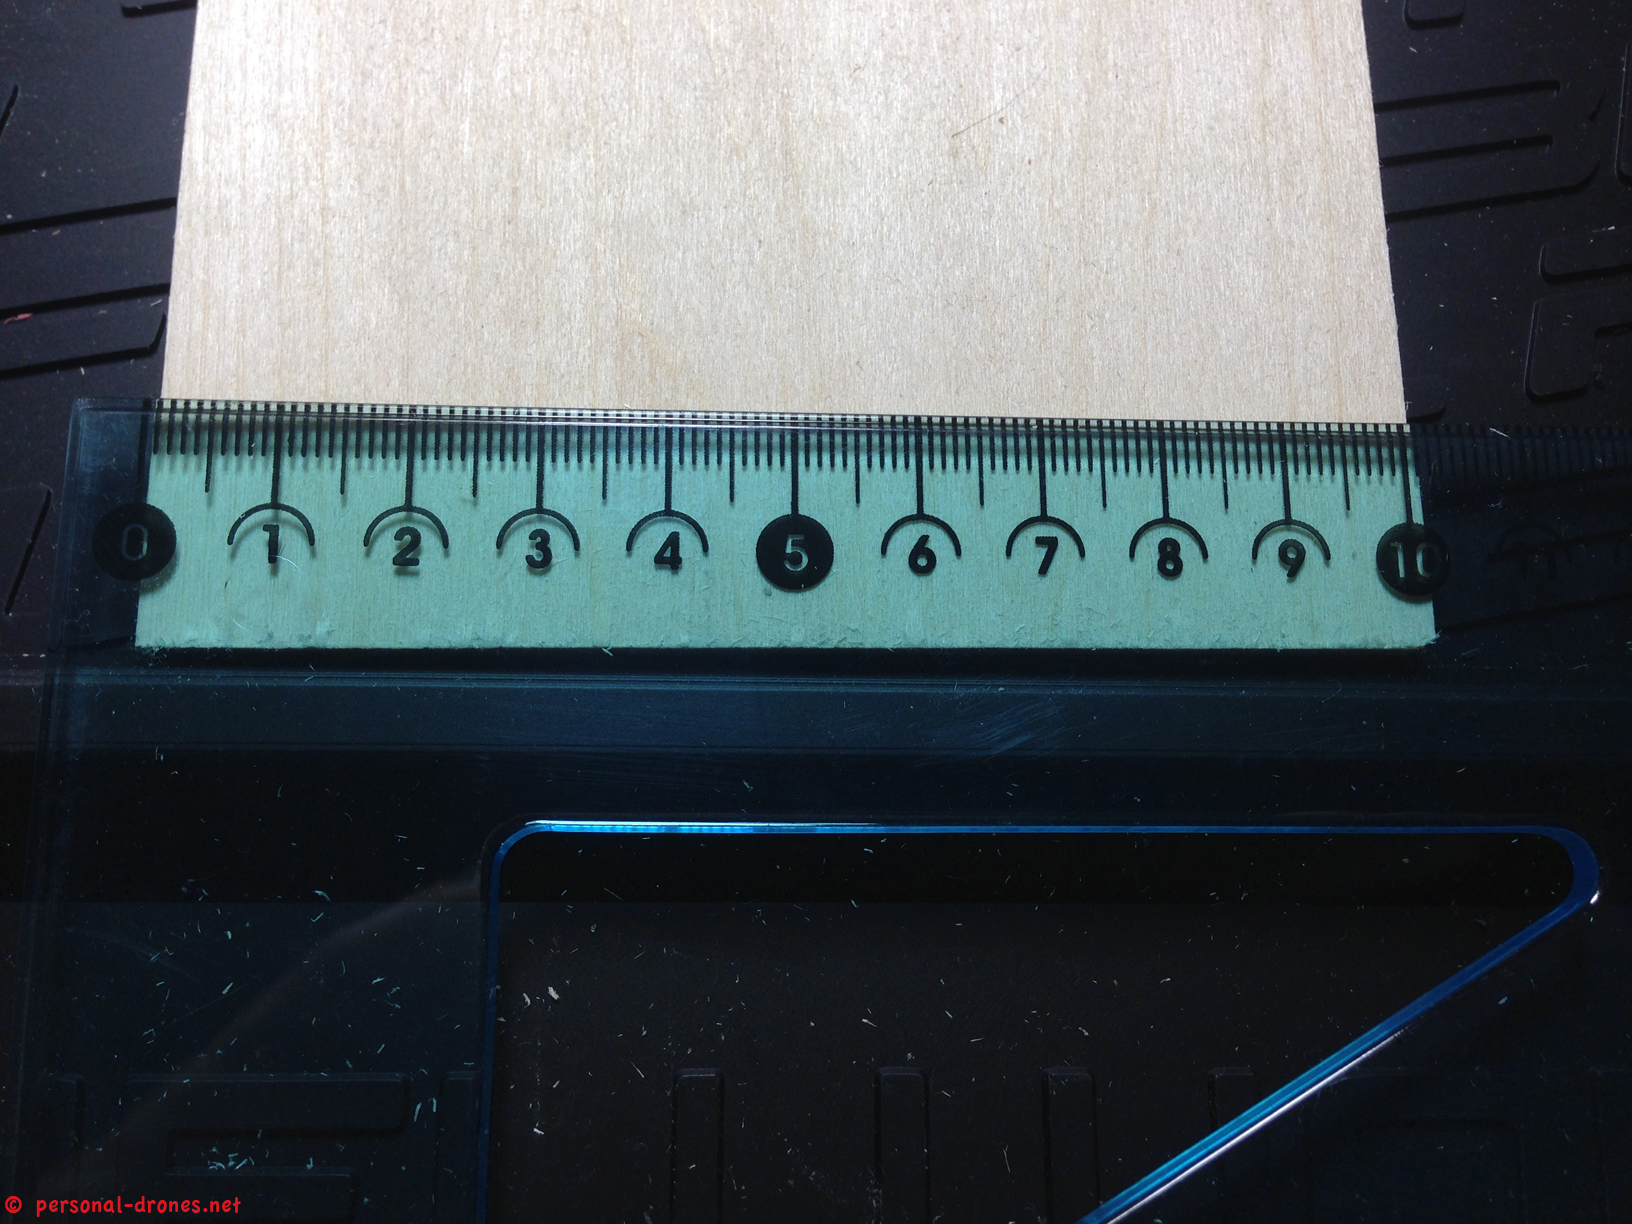
Before we actually assemble the frame, we have adapt the bottom plate, which is slightly larger than possibly needed.
The original size of the provided bottom plate is 17,9 x 10,1 cm (and 3 mm thick):
The plate could actually fit in the frame as it is, so why do we have to trim it down? Continue reading QUADLUGS MODULAR MULTIROTOR SYSTEM QUADCOPTER BUILD AND REVIEW – PART 2
I have received a nice USPS box from Danny, funder of the Quadlugs multirotor modular system and started a build with the main purpose of testing this original piece of technological equipment for strengths and weaknesses, report to our blog readers and providing a build blueprint for others that might want to built their own Quadlugs based multi rotor.

Continue reading QUADLUGS MODULAR MULTIROTOR SYSTEM QUADCOPTER BUILD AND REVIEW – PART 1
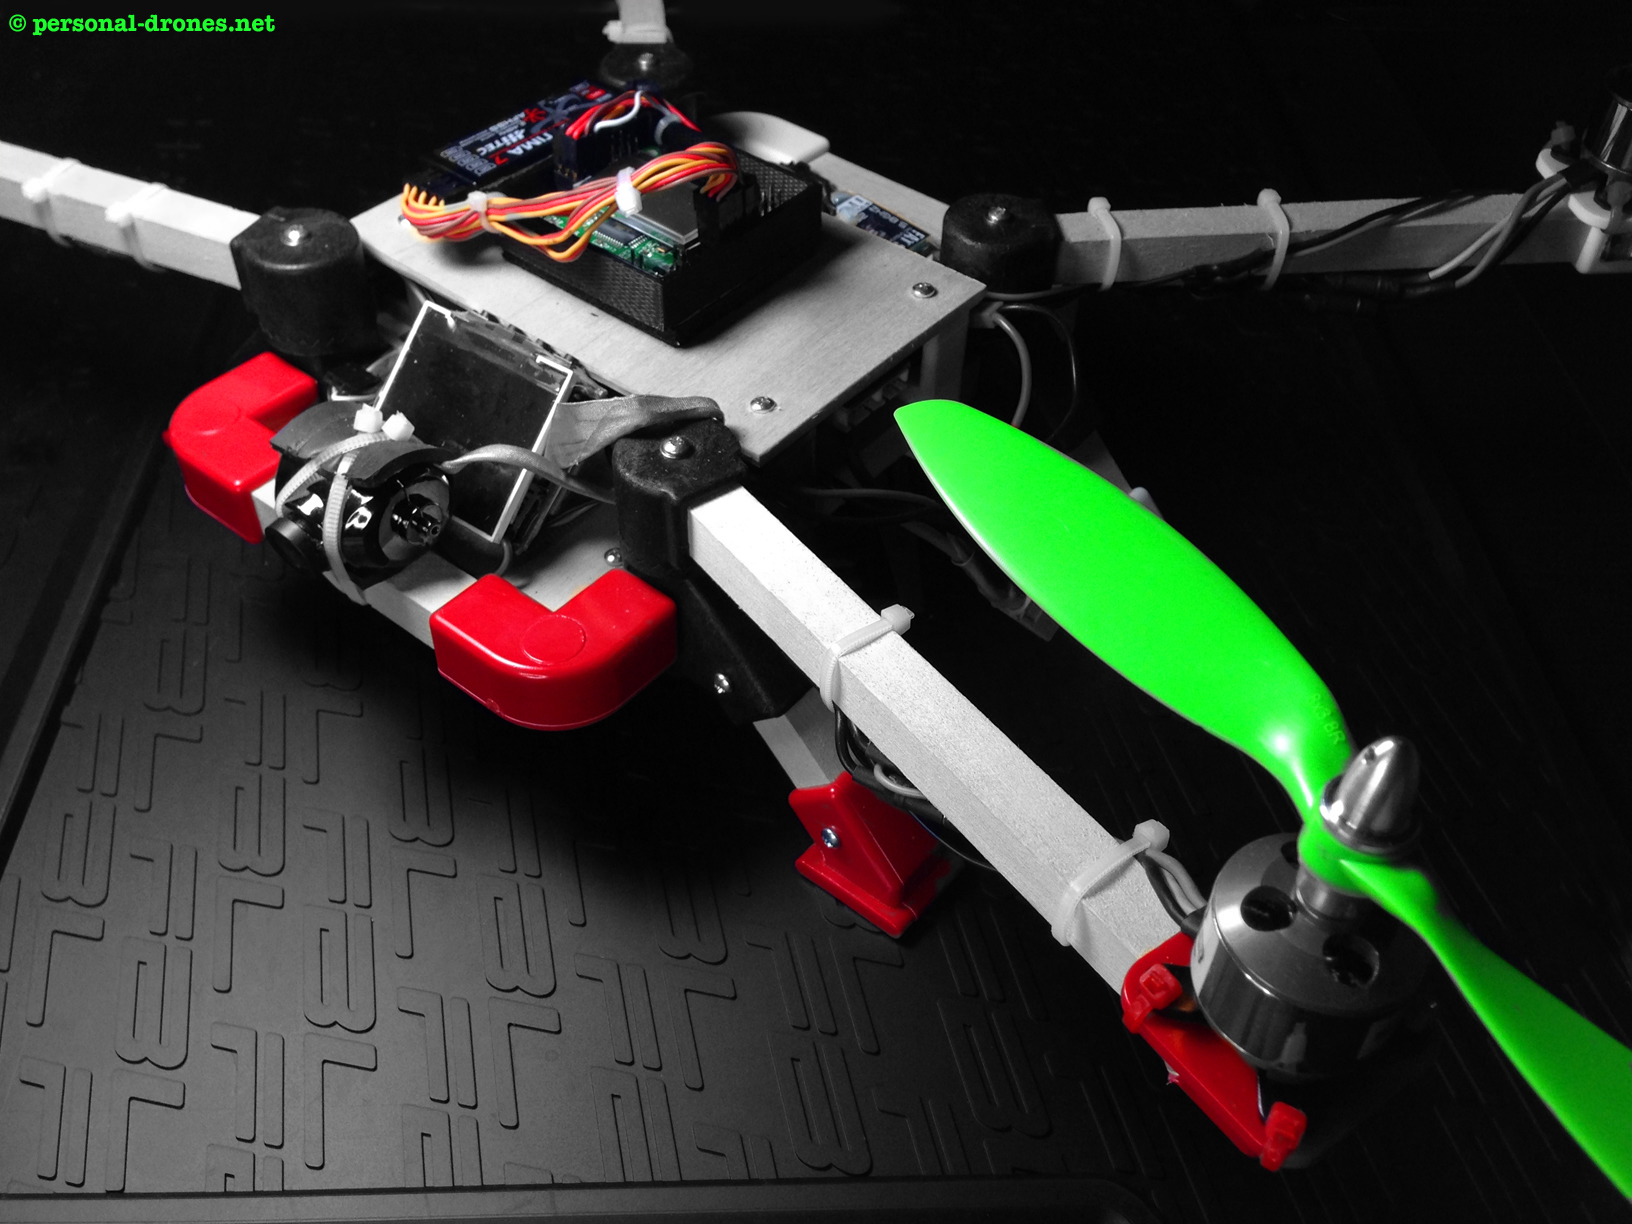
I recently made a post about Blackout’s Mini-H-Quad. It is a great small size FPV platform, that will possibly host full size/full potency FPV equipment that is normally mounted on bigger quads. Sounds great for a lightweight personal drone that you can easily fit in a medium sized PC bag together with the radio and a handful of batteries. Get yours HERE.
In this post I would like to share my current setup for the Mini H Quad. It is probably not the lightest possible configuration. I bet I could take off at least 5/10 grams of weight with some minimization here and there. Possibly the photos below could be a source of inspiration, or criticism, for others who wish to build or already built the same quad. Continue reading Blackout Mini H Quad, our latest FPV quadcopter build details
As a follow up to the previous post on
Advances in setting up Hobbyking’s Integrated PCB Micro Quad PNP with kk2.0 flight controller
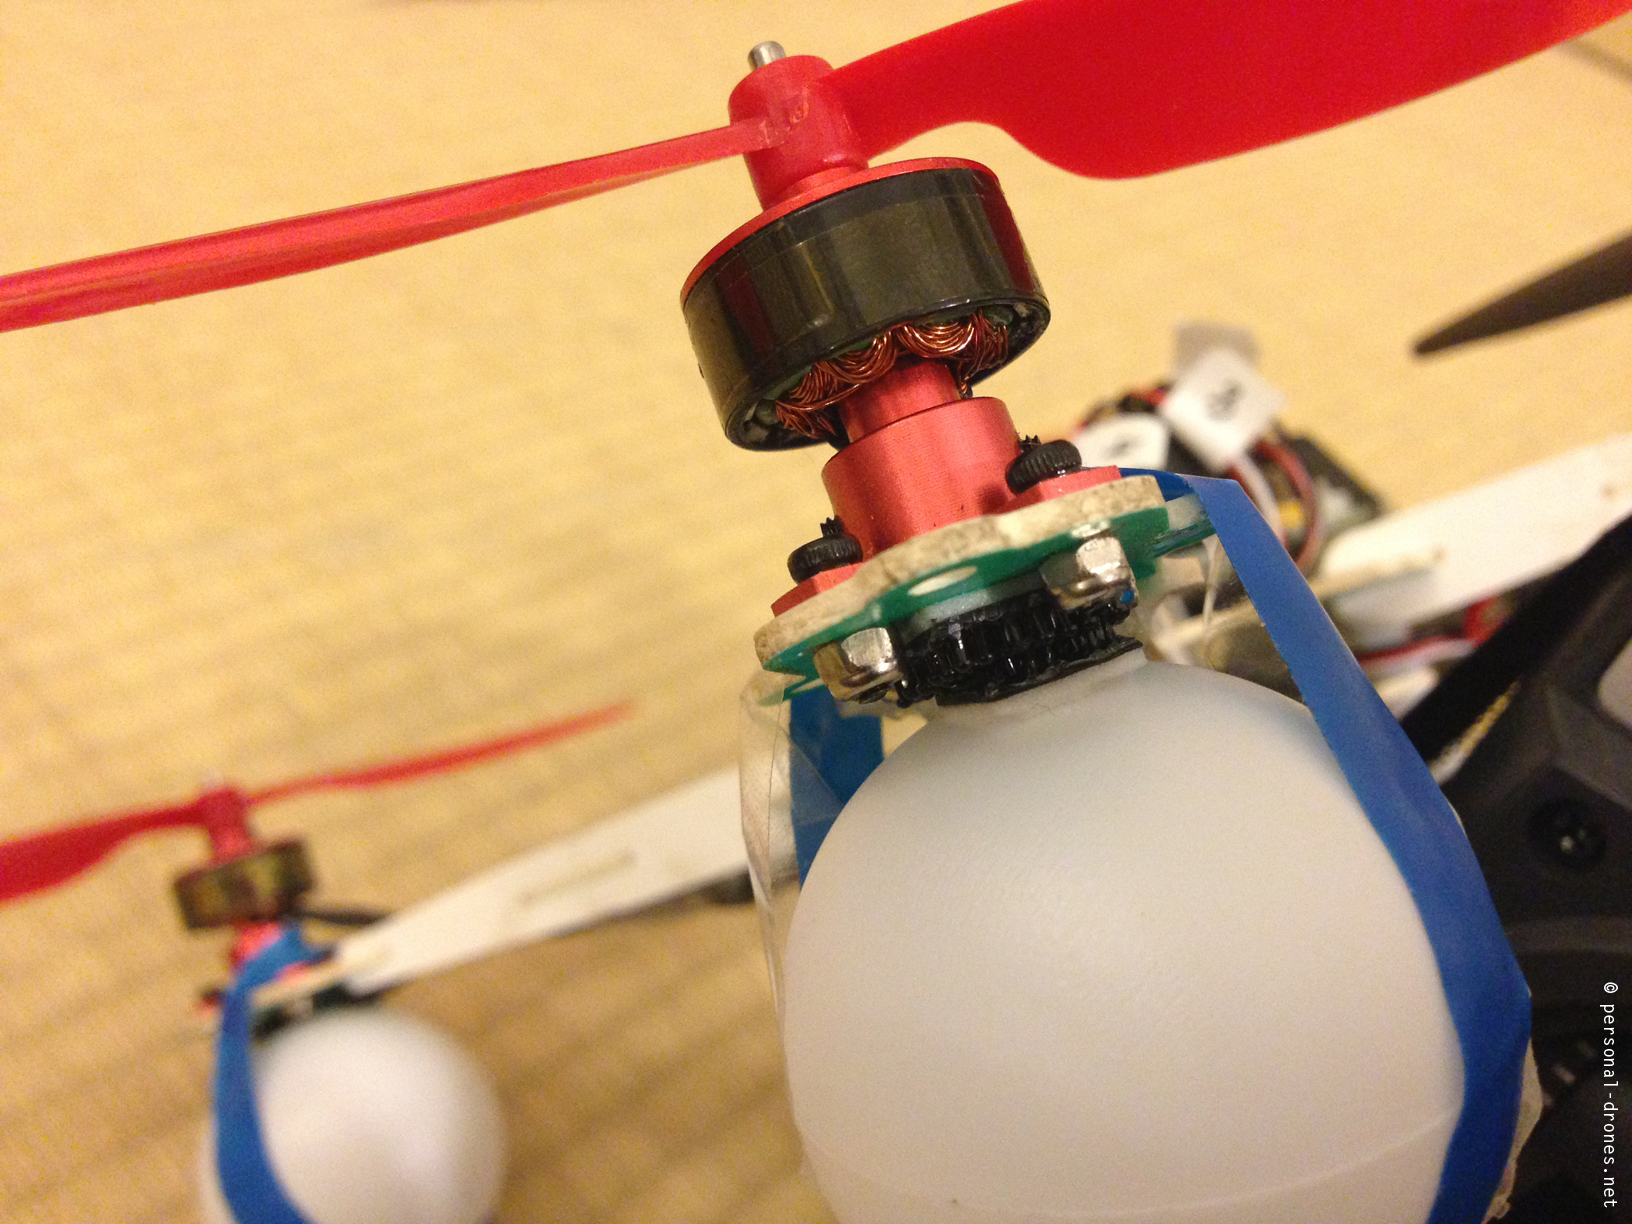
Great news: propellers from hobbyking arrived today, so I was able to complete the setup. Trimming correctly was a bit tricky, but I think I got quite right. It is a bit unstable on take off but then catches up quickly as it gains some height.
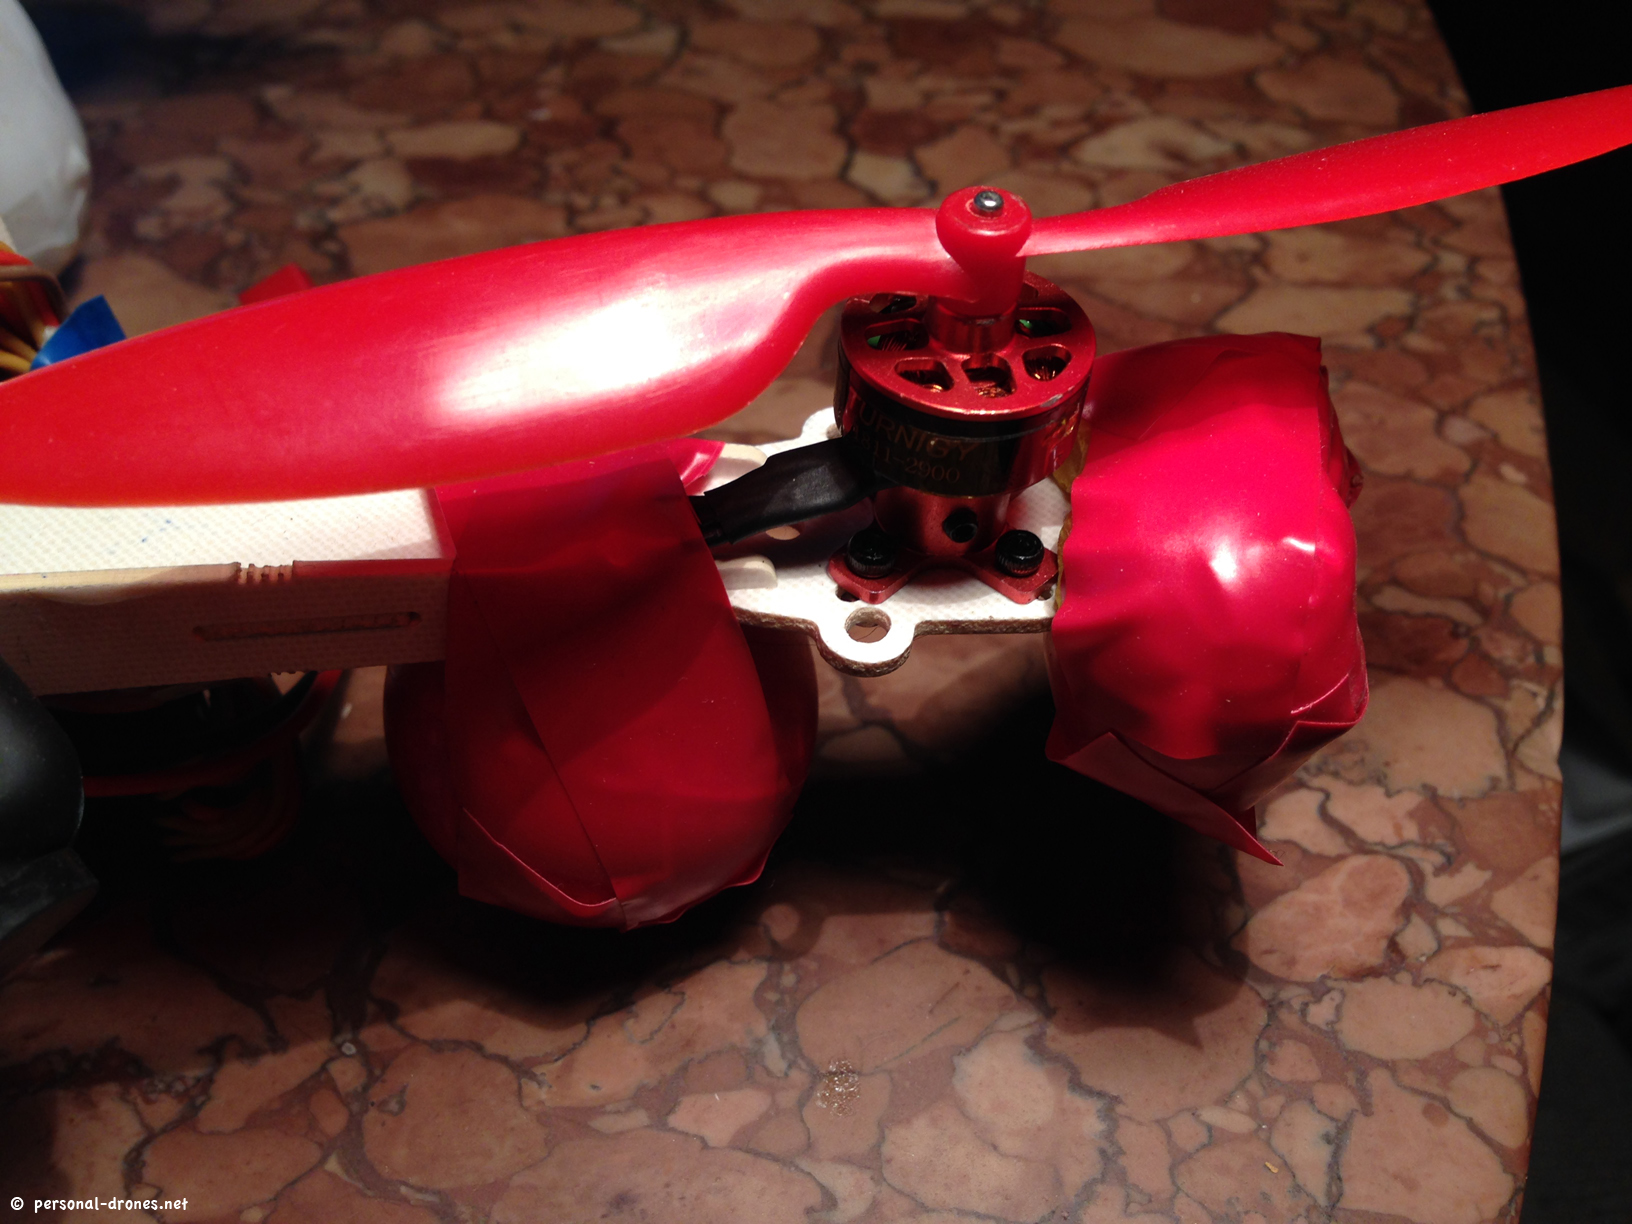
The default landing gear seem to be expressly designed to have the quad tilt on landing and arms crash on the floor, as it provides a very narrow base. Hence the ping pong balls mod.
Here you go:
Edit: Moved the ping pong balls more toward the center, as right under the motors is not a good place to avoid stress to the “weak spot”. Also added a mobius camera to check for video stability and as a first step toward an FPV setup. A soft sponge ball was zip tied to each arm, and covered with tape for additional arms protection.
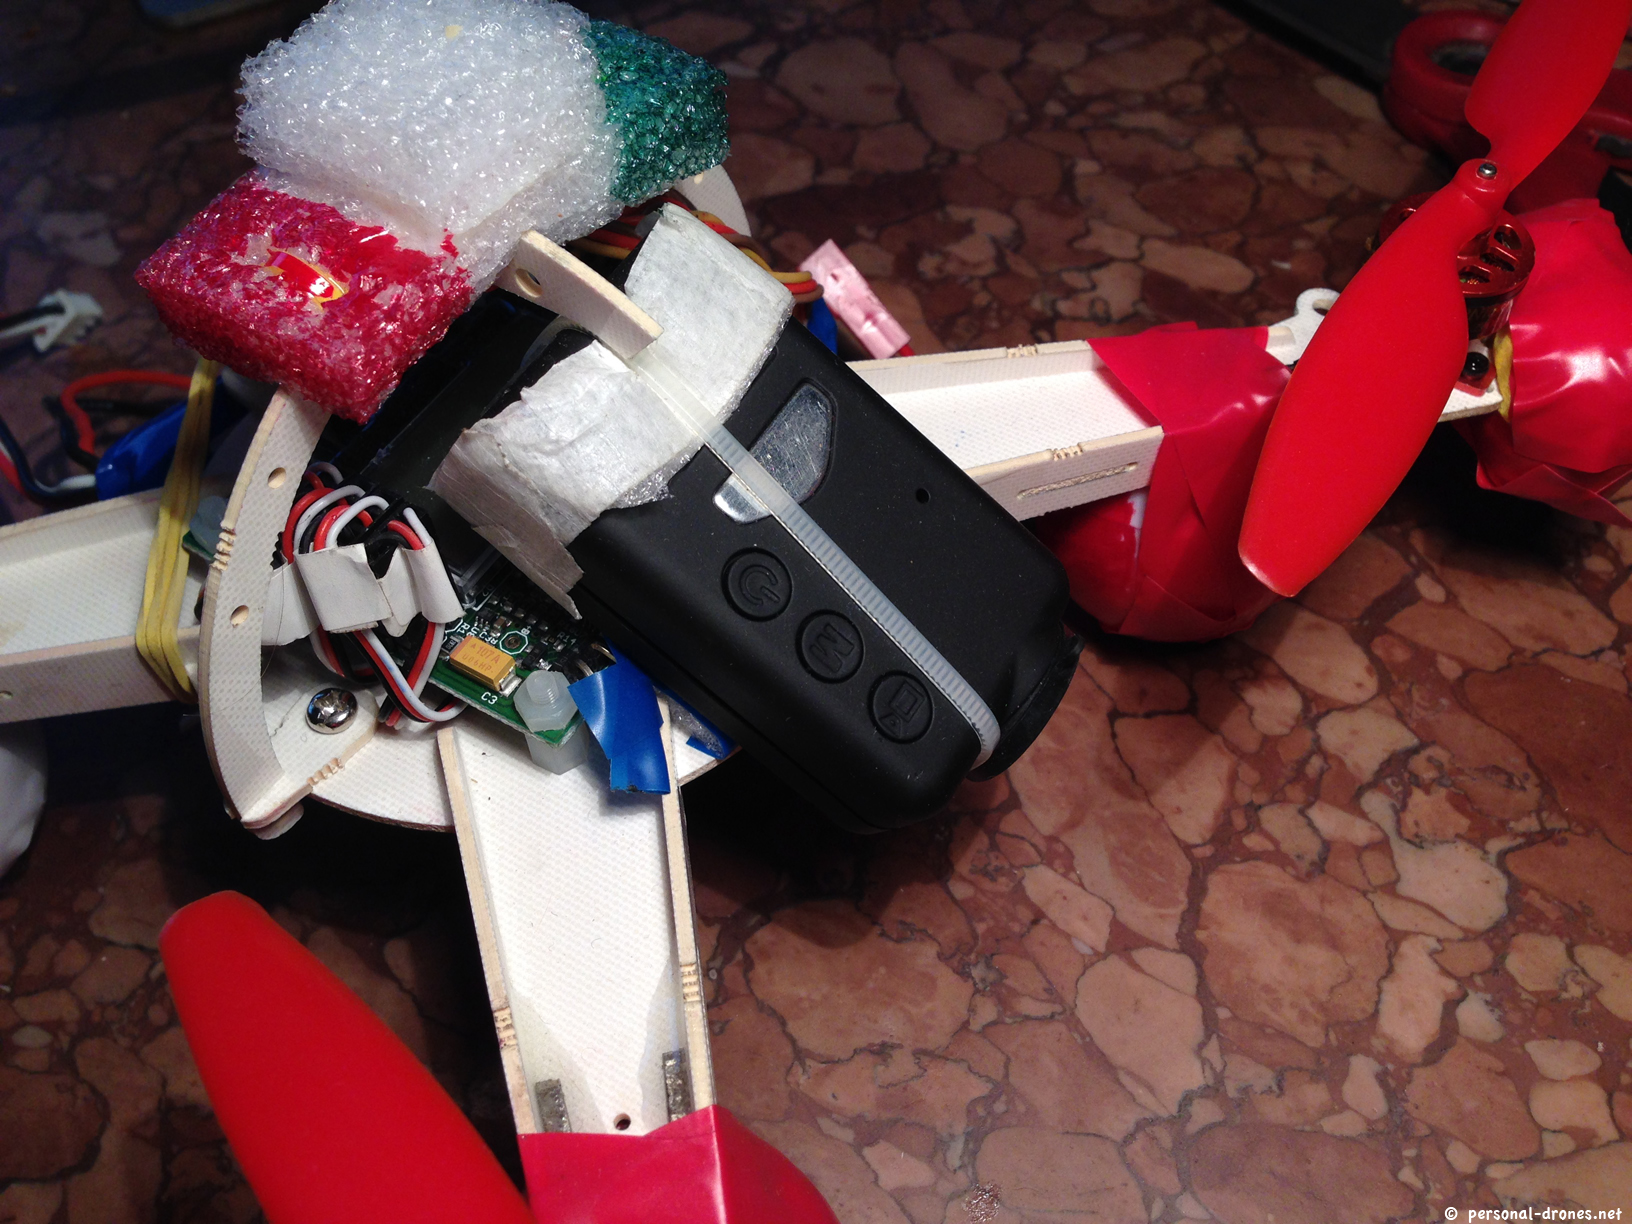

Those are a few details of my latest project
– RC Timer 459 quadcopter frame and arms
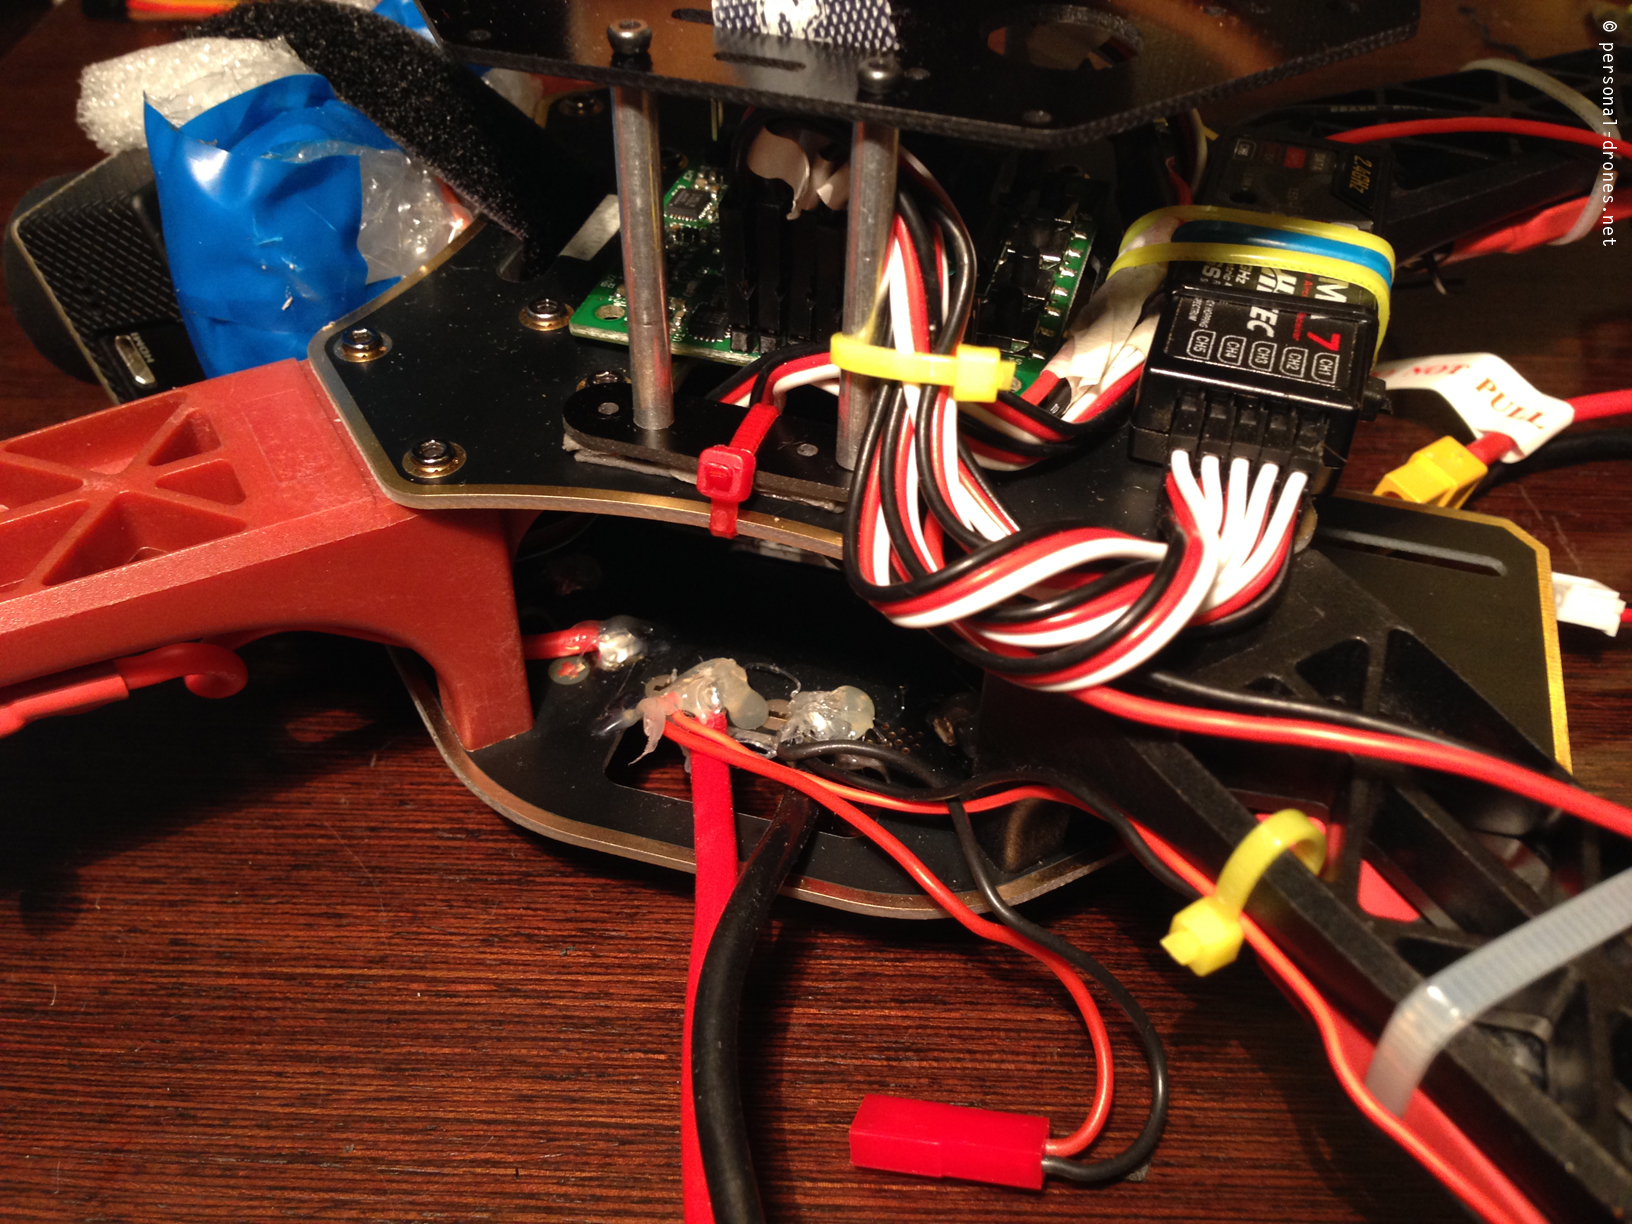
– KK2.0 control board flashed to firmware 1.6
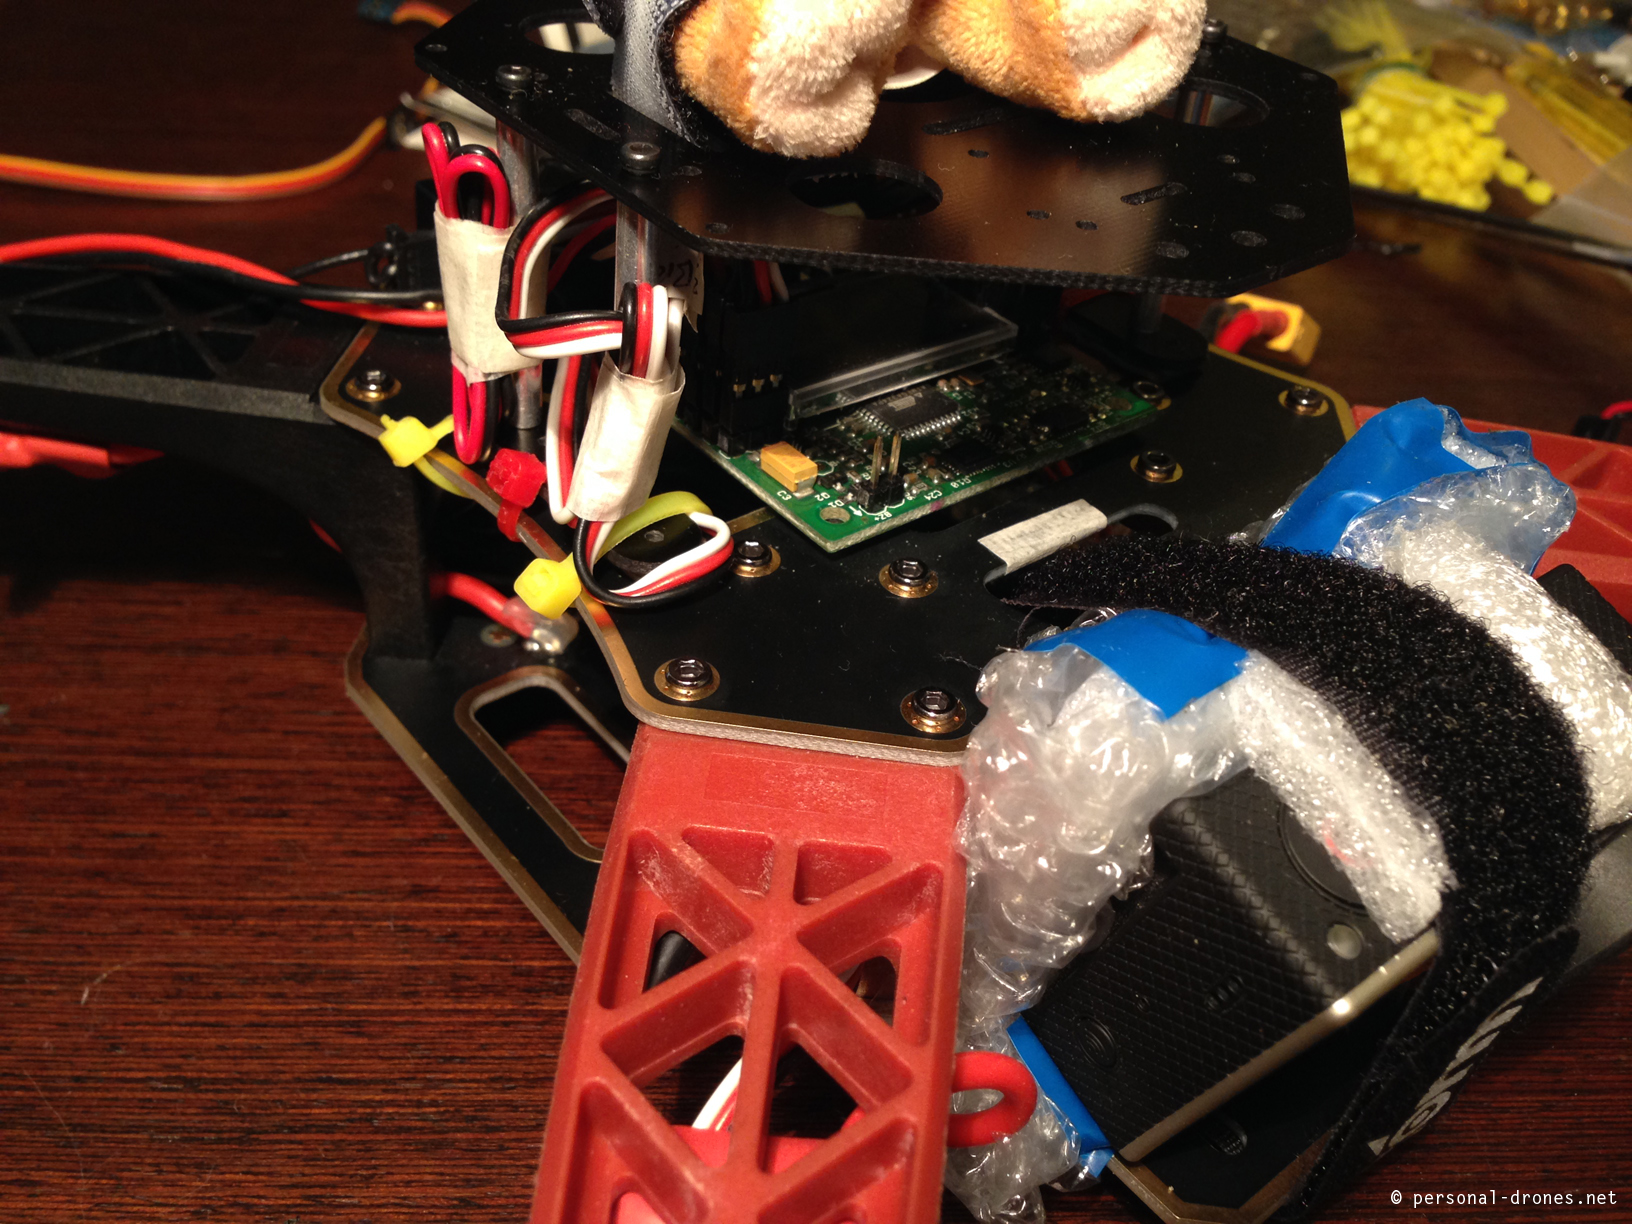
– Alware carbon mount for add ons, nicely protects the board and receiver. For now occupied by the “pilot”
– RC Timer 30A ESCs
– DJI 950K motors
– Hobbyking battery monitor
– Red flashing leds on back arms
– Leds for front arms in progress
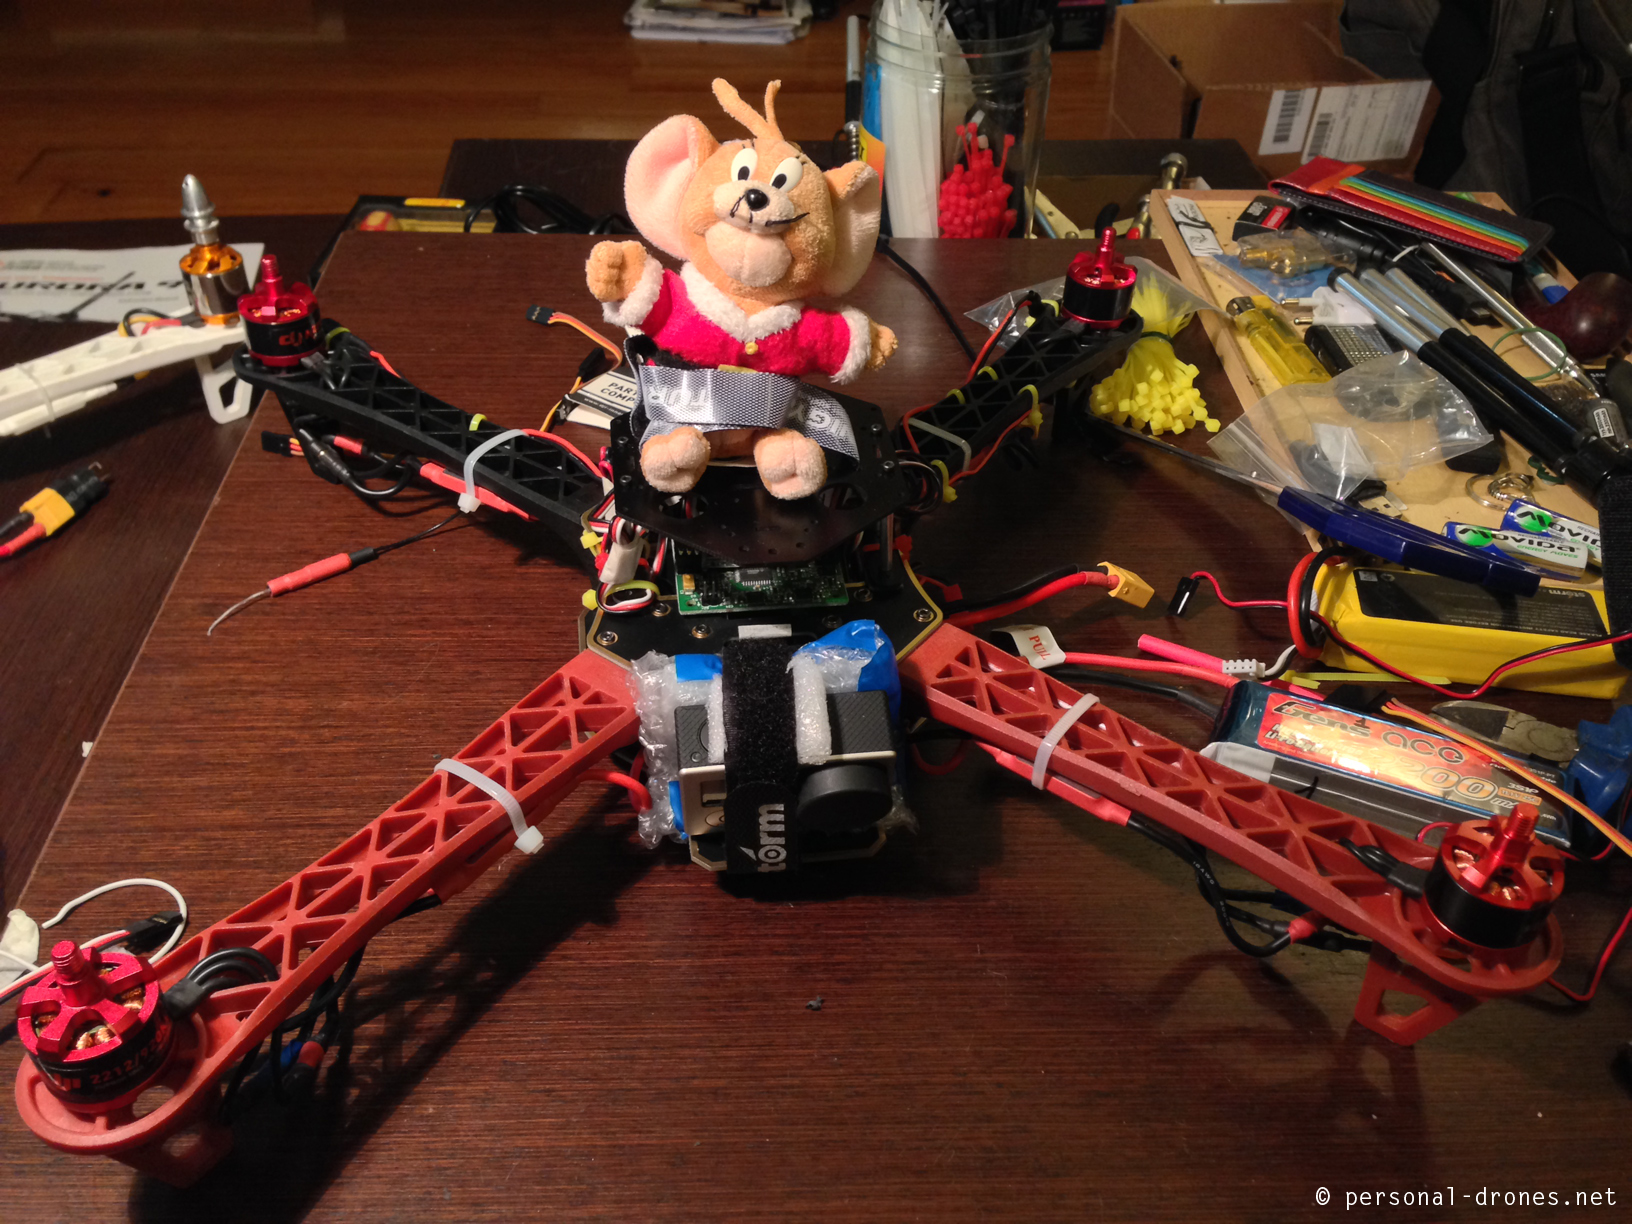
The new personal drone flies, it works! Stay tuned for videos!