Check out this nice infographic on the Do’s and Don’ts of drone usage in the UK. Thanks to Dronebuilders for the share!

Stay tuned on the Personal Drones Blog for the latest quadcopter and multirotor news!
Check out this nice infographic on the Do’s and Don’ts of drone usage in the UK. Thanks to Dronebuilders for the share!
Stay tuned on the Personal Drones Blog for the latest quadcopter and multirotor news!
I am glad to publish the following guest article by Thomas Foster, owner of the Bestquadwithcamera.com blog. Make sure you pay a visit! Also find Thomas on Facebook.
####

Drones are used in many ways nowadays. Perhaps one of most common uses of drones (at least those with camera) is for aerial photography. This area of photography has been popular for the last hundred years and it is getting even popular with the evolution of drones. Aerial photographers with drones can be either just some quadcopter hobbyists or professional photographers that decided to take some special photograph.
Check out this nice video that explains 4 basic things to consider for choosing the right drone for your needs.
By Kim Komando
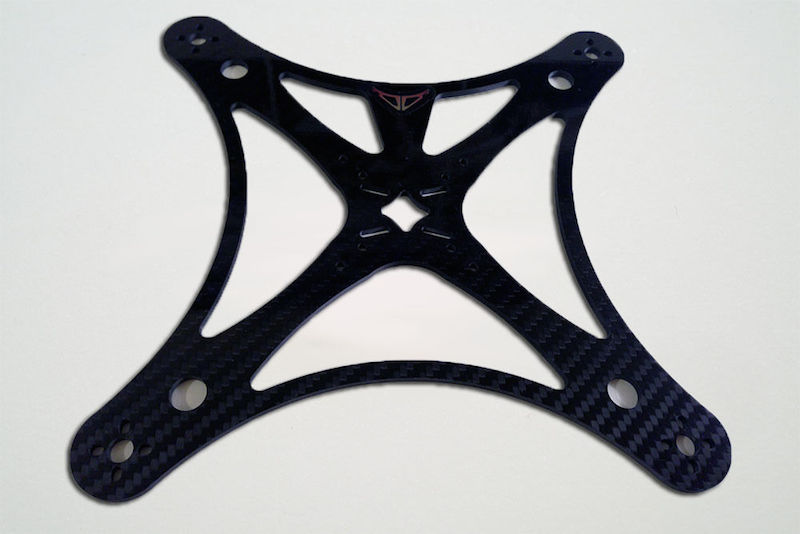
Quentin Daems, creator of the FlyXcopter series of quadcopter frames, sent me a FlyX-Mini frame for review purposes. In this post I’d like to report the details of the build I made with this frame and my impressions on the frame itself.
To visit the official FlyXcopter website click on the logo below.
![]()
Let me start from the end and show you the final product after a few days of work and testing of this nice flying machine. Throughout this review you can always click on the images to access the full size.
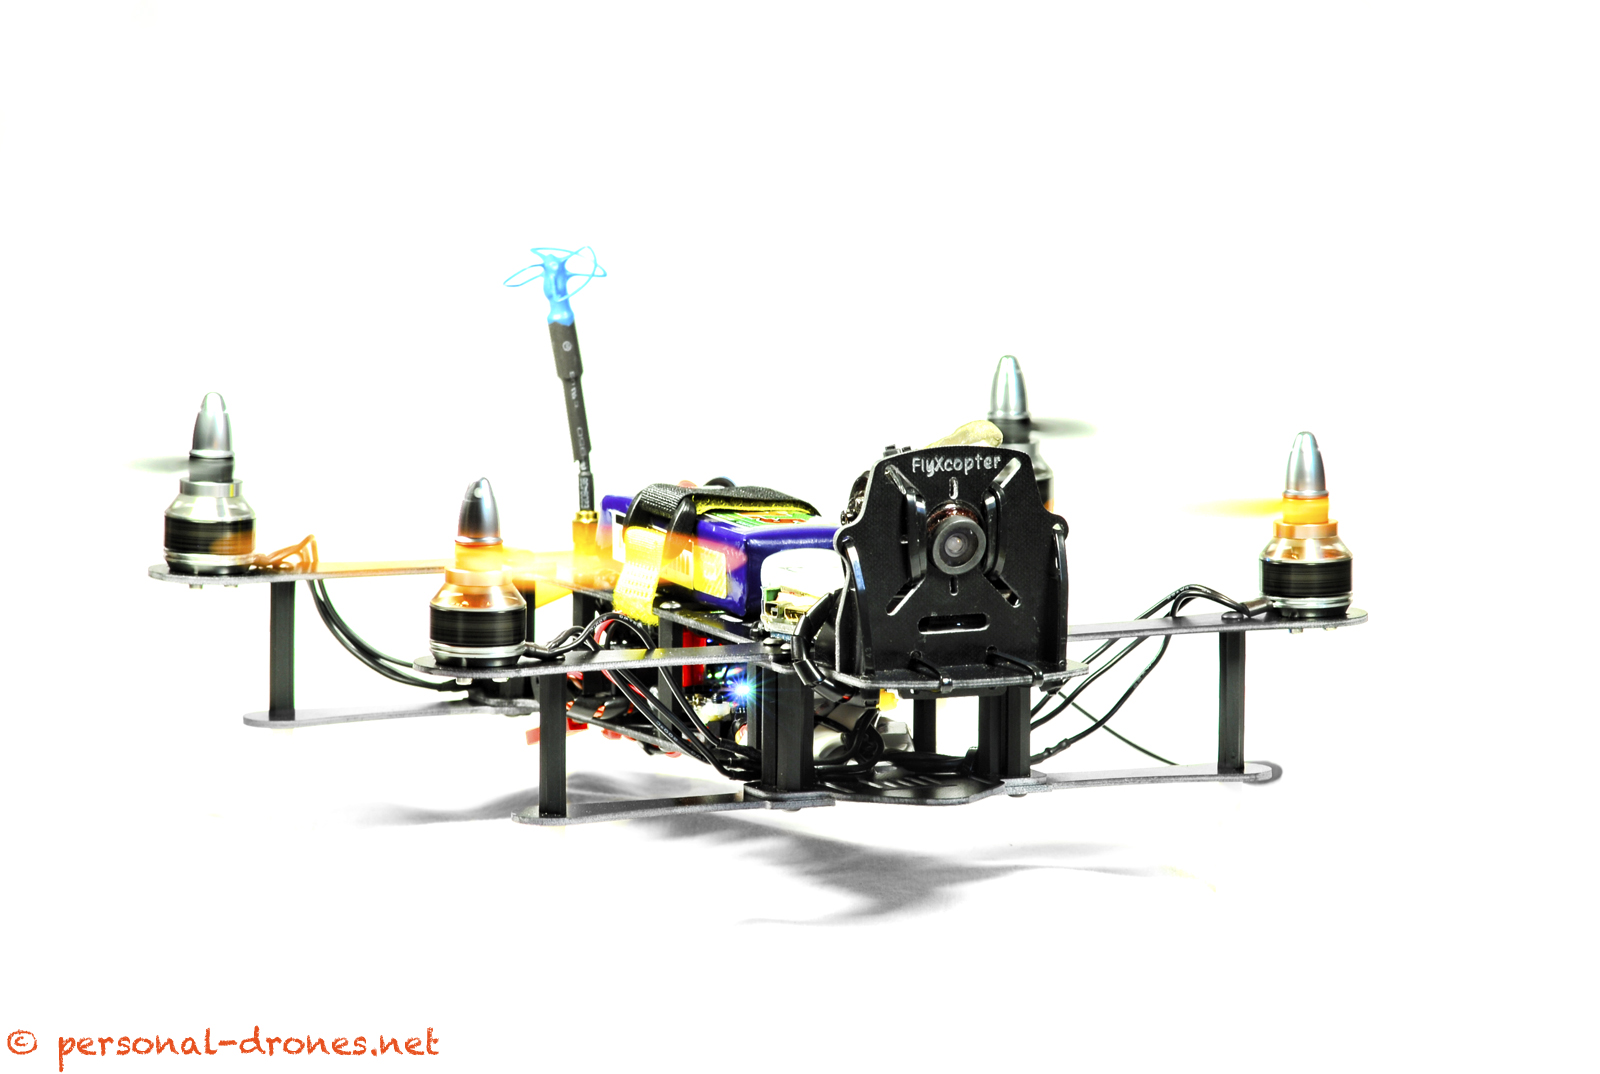
If you are not familiar with this model already, you can see from the picture above that the little bird definitely has character. It has a distinctive look that sets it apart from the countless clones of the Blackout mini H quad or QAV250 that can be bought from chinese sellers for very low prices these days. Continue reading FlyXcopter FlyX-mini quadcopter build report and frame review
Just a photo of my recent rebuild of the Blackout mini h quad (http://www.minihquad.com) for this post. Click on the photo for the full size version!
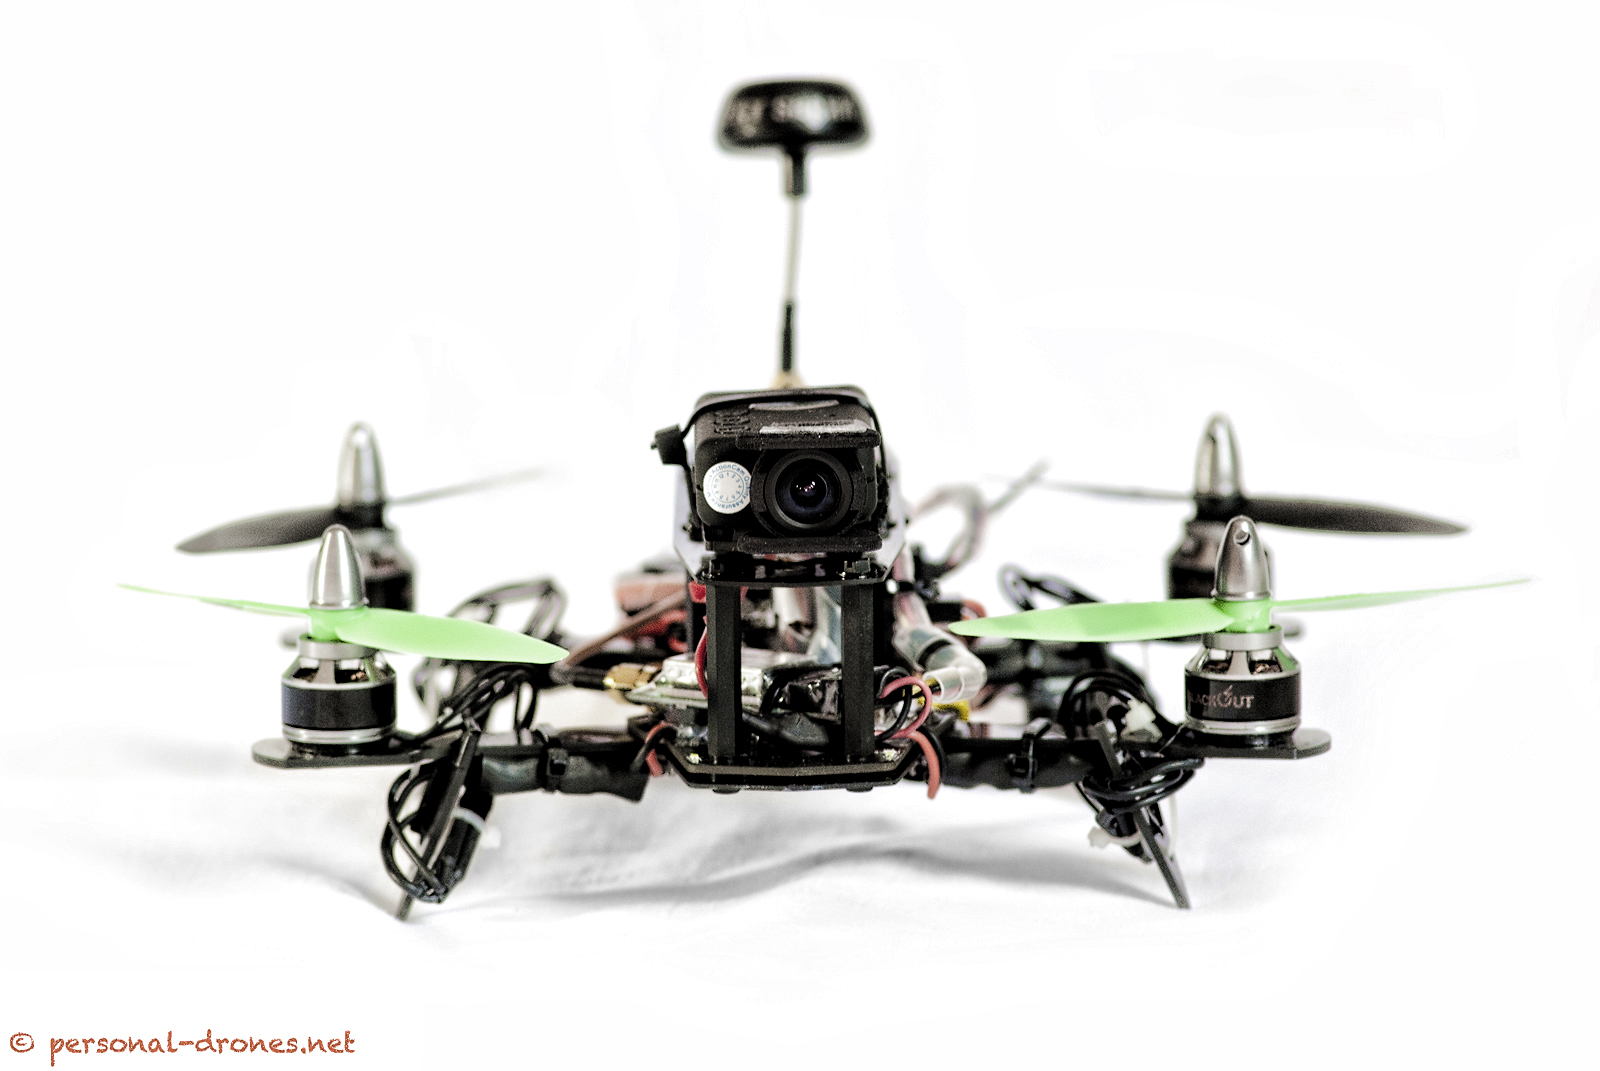
Main reason of the rebuild was to incorporate the Blackout integrated PCB board with leds.
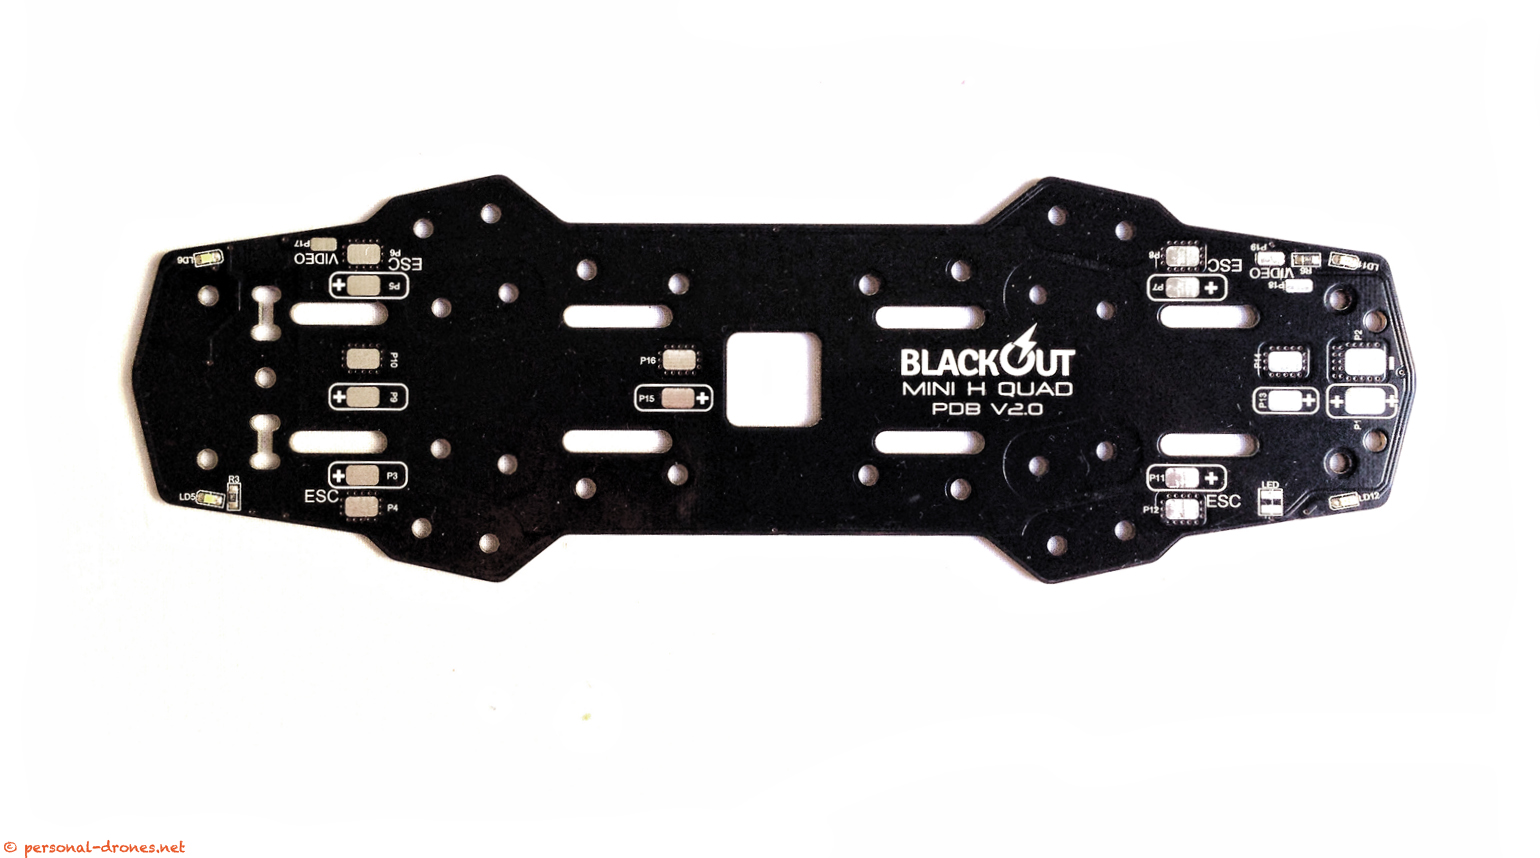
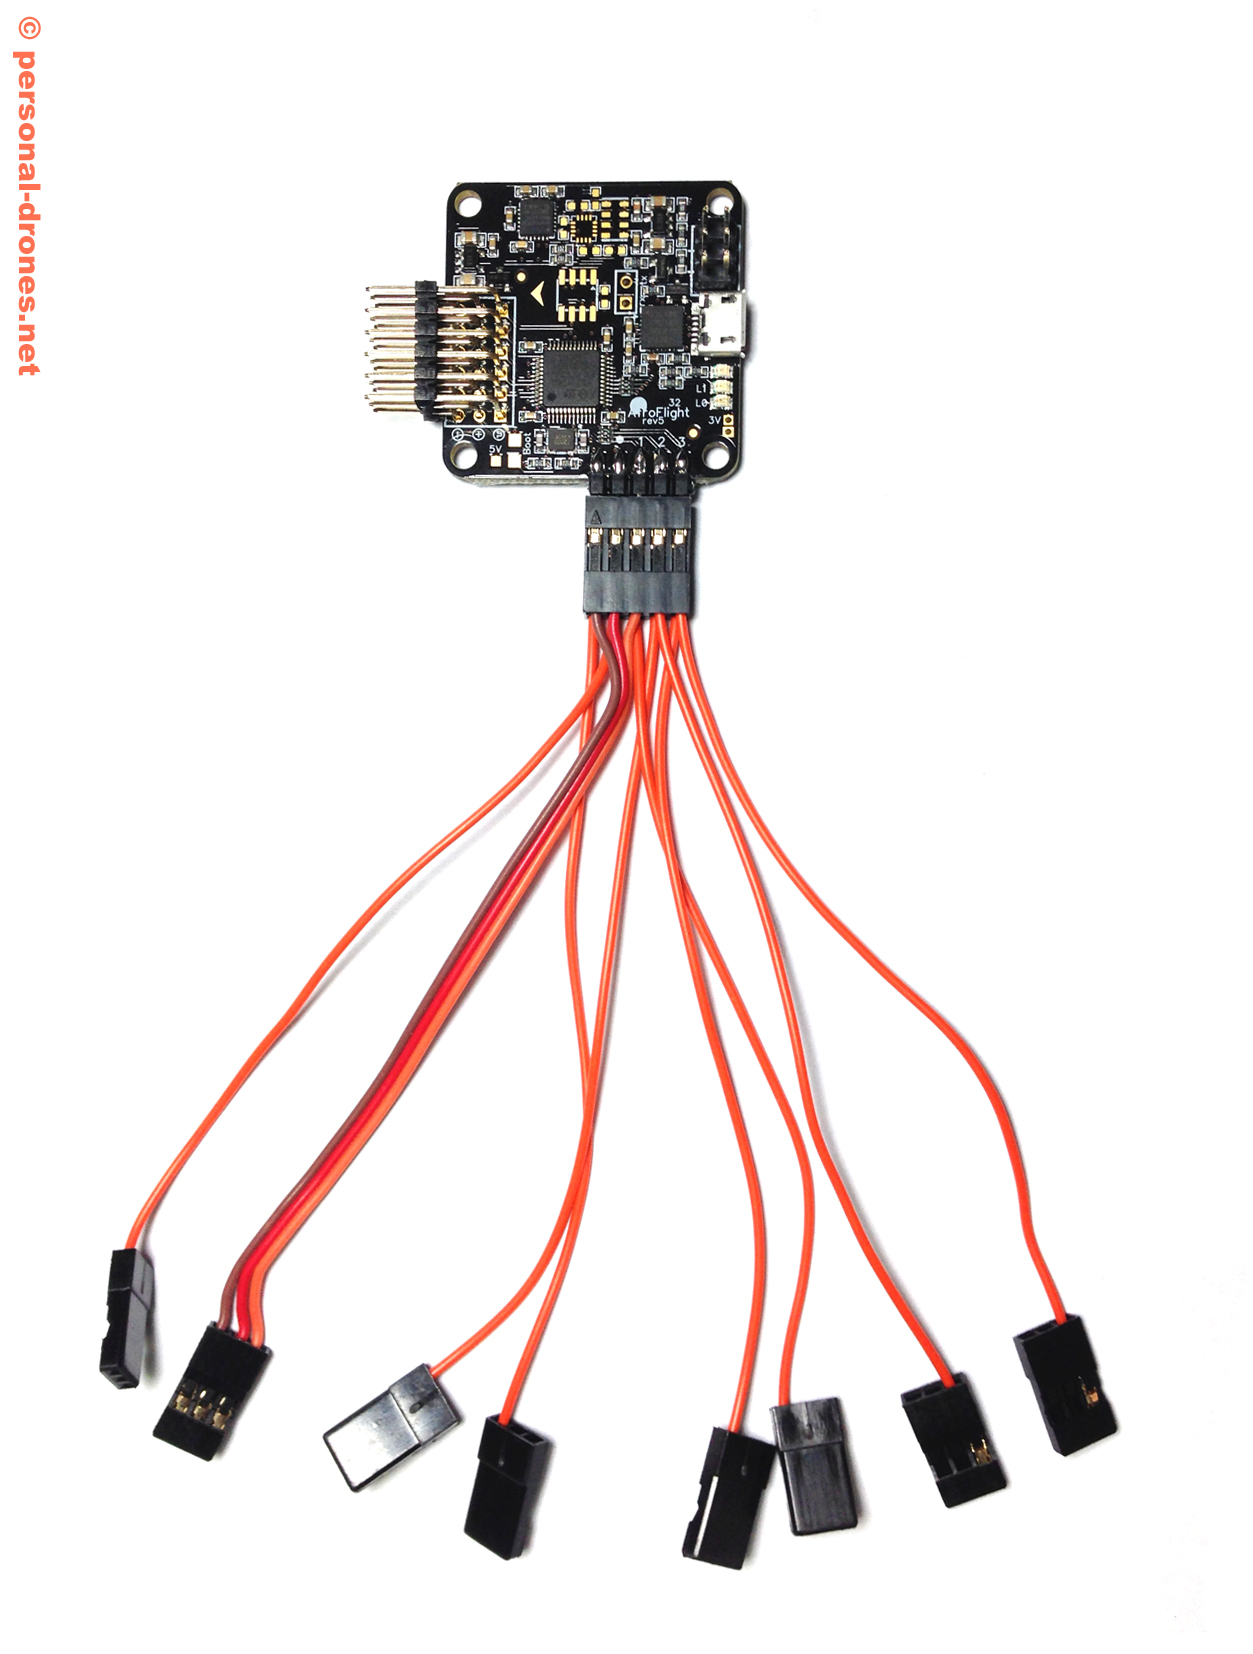
And to replace the Open Pilot CCD with an AcroNaze32 which I find to fly better, at least in my hands.
KK2 boards from Hobbyking are a great and inexpensive solution as flight controllers for all sorts of multirotors. In particular in the latest versions, such as the KK2.1.5, they really fly great and stable. One of the main advantages of these boards is that they have an embedded LCD screen that displays configuration settings in an easy to navigate menu, with clearly laid out options that you can navigate and change with the 4 little black buttons at the bottom of the board. Therefore, connection to a PC is not required for configuration and adjustments (for example gains adjustments), making setup and tuning quite handy even directly in the field.
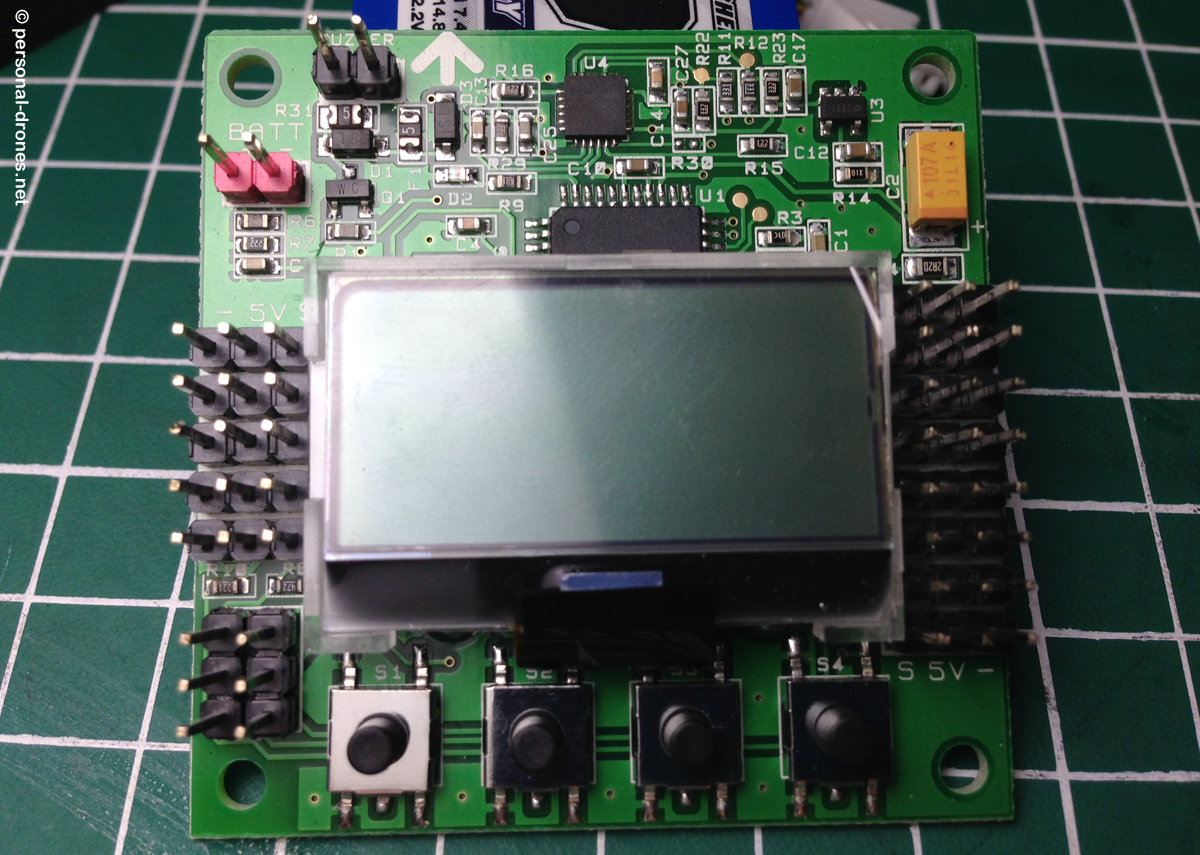
I often get questions about KK2 board firmware upgrades. How do I update the KK2 board software to the latest version? Does this require superior programming and informatics skills? Well, the answer is yes it does. You don’t have to worry though, just send yours over and I will upgrade it for you for a miserable 100$. The very latest, coolest firmware, I promise. Or, keep on reading. Continue reading Hobbyking’s KK2 / KK2.1 / KK2.1.5 board firmware update/upgrade: how to
I’d like to report on my latest build in the quest for the perfect mini personal drone. Like the mini H quad and the mini quad for FPV builds, this is again a small quadcopter, that should be possibly slightly smaller than the last one.
I started from an EcksFibre 230mm frame as a template. The main goal is to modify the design so as to include extension plates for a mobius camera and an immersion RC 600mW video transmitter, for First Person View flight.
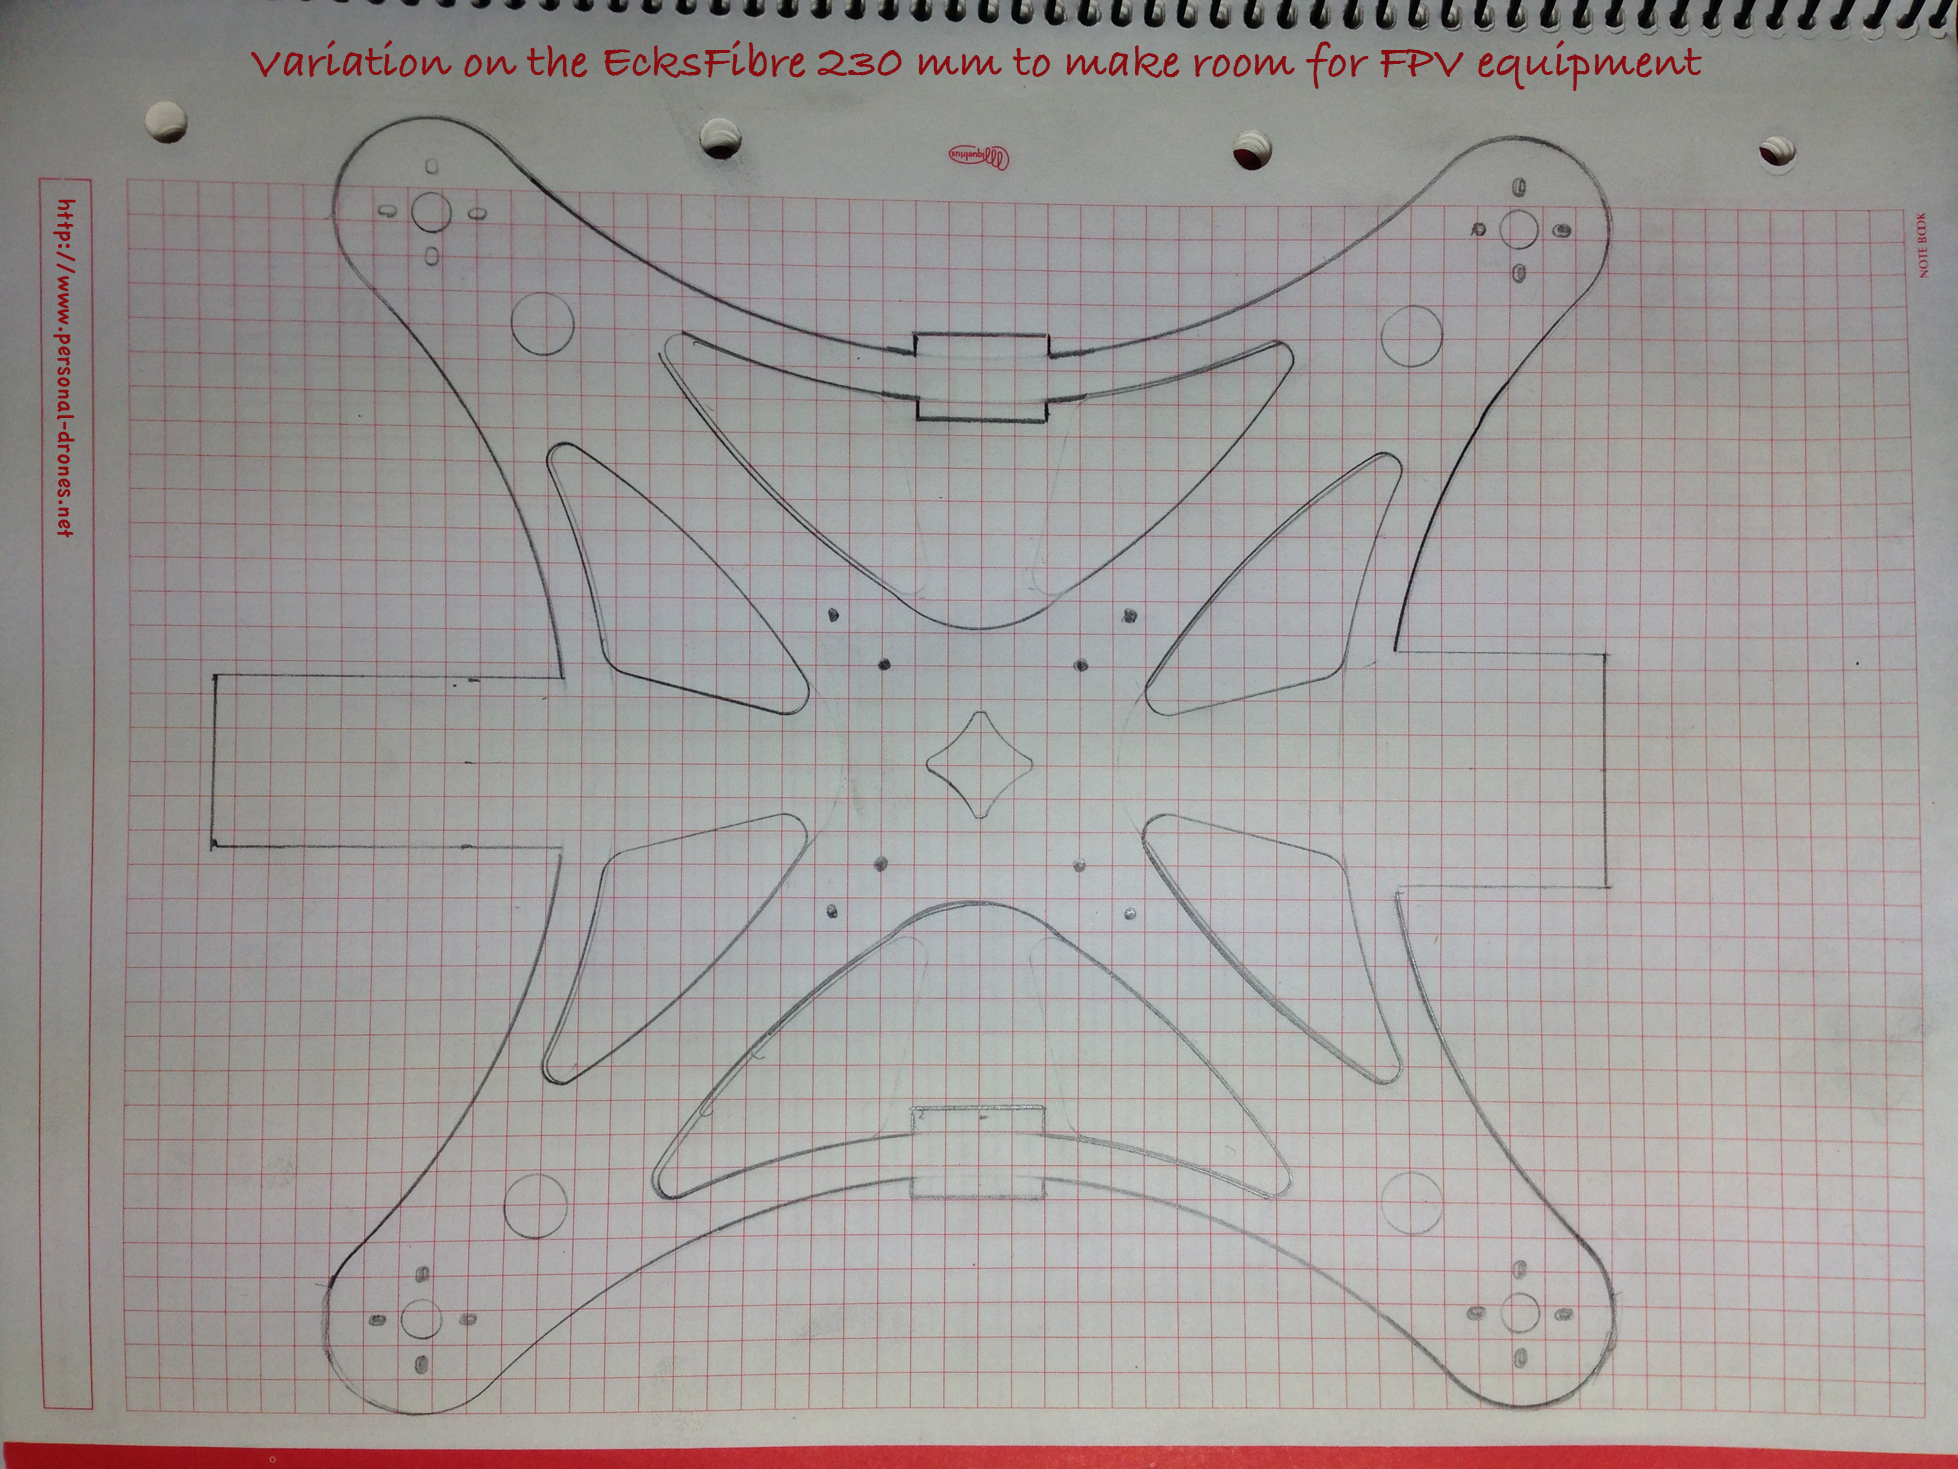
Continue reading Plexiglas Mini FPV quadcopter experimental build based on the EcksFibre design
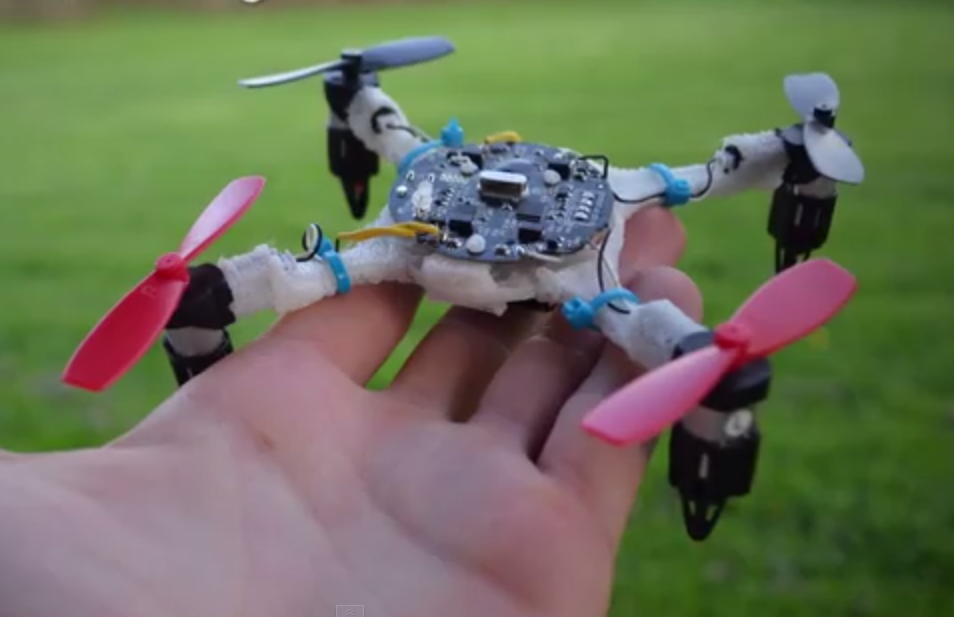
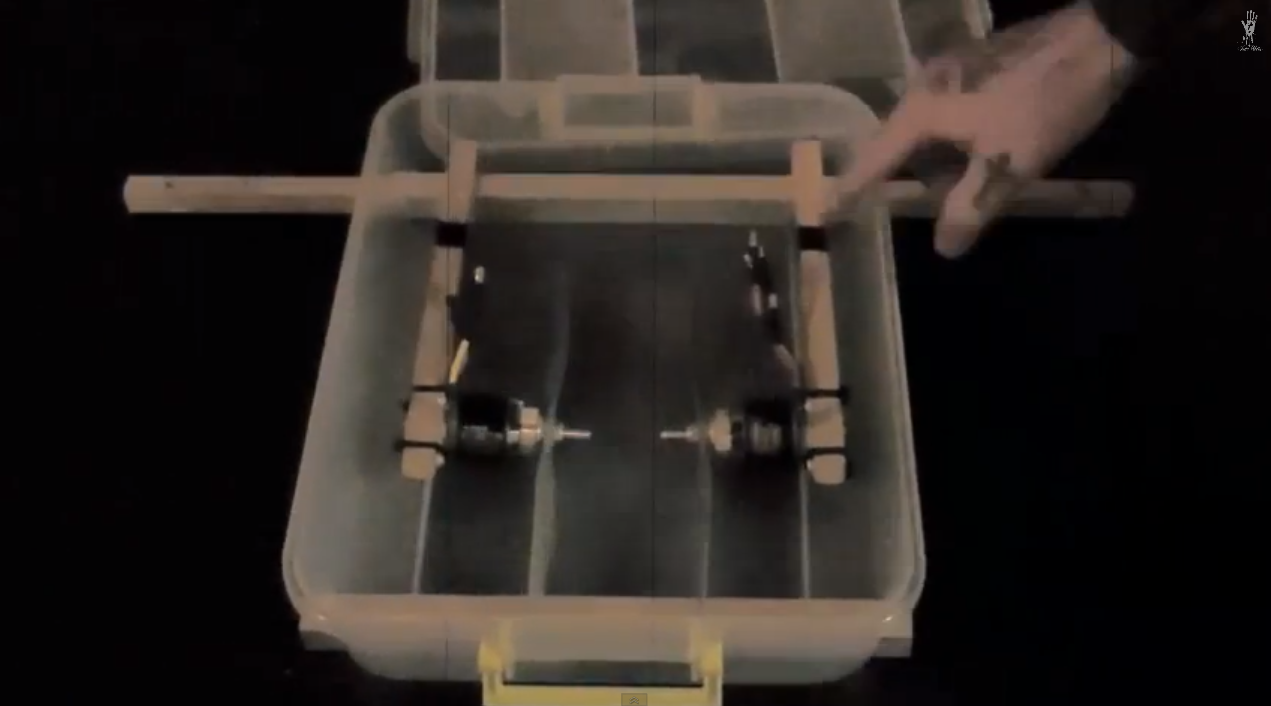
Check out this nice post by Jake Wells on DIYDrones. Features a video that summarizes the build of great DIY quad, out of a plastic box and some wood pieces.
Main features of the quadcopter are portability, durability and to be waterproof.
If you followed up to here in this multi part article on the Quadlugs multirotor building system, you know that we are now at a stage in which we have a basically fully assembled 480 mm quadcopter, with motors, escs, and FPV equipment in place. In the image below the placement of the electronics on the lower board is shown. We will have to drill the 4 positions marked by red spots in the figure in order to secure the upper deck in place.
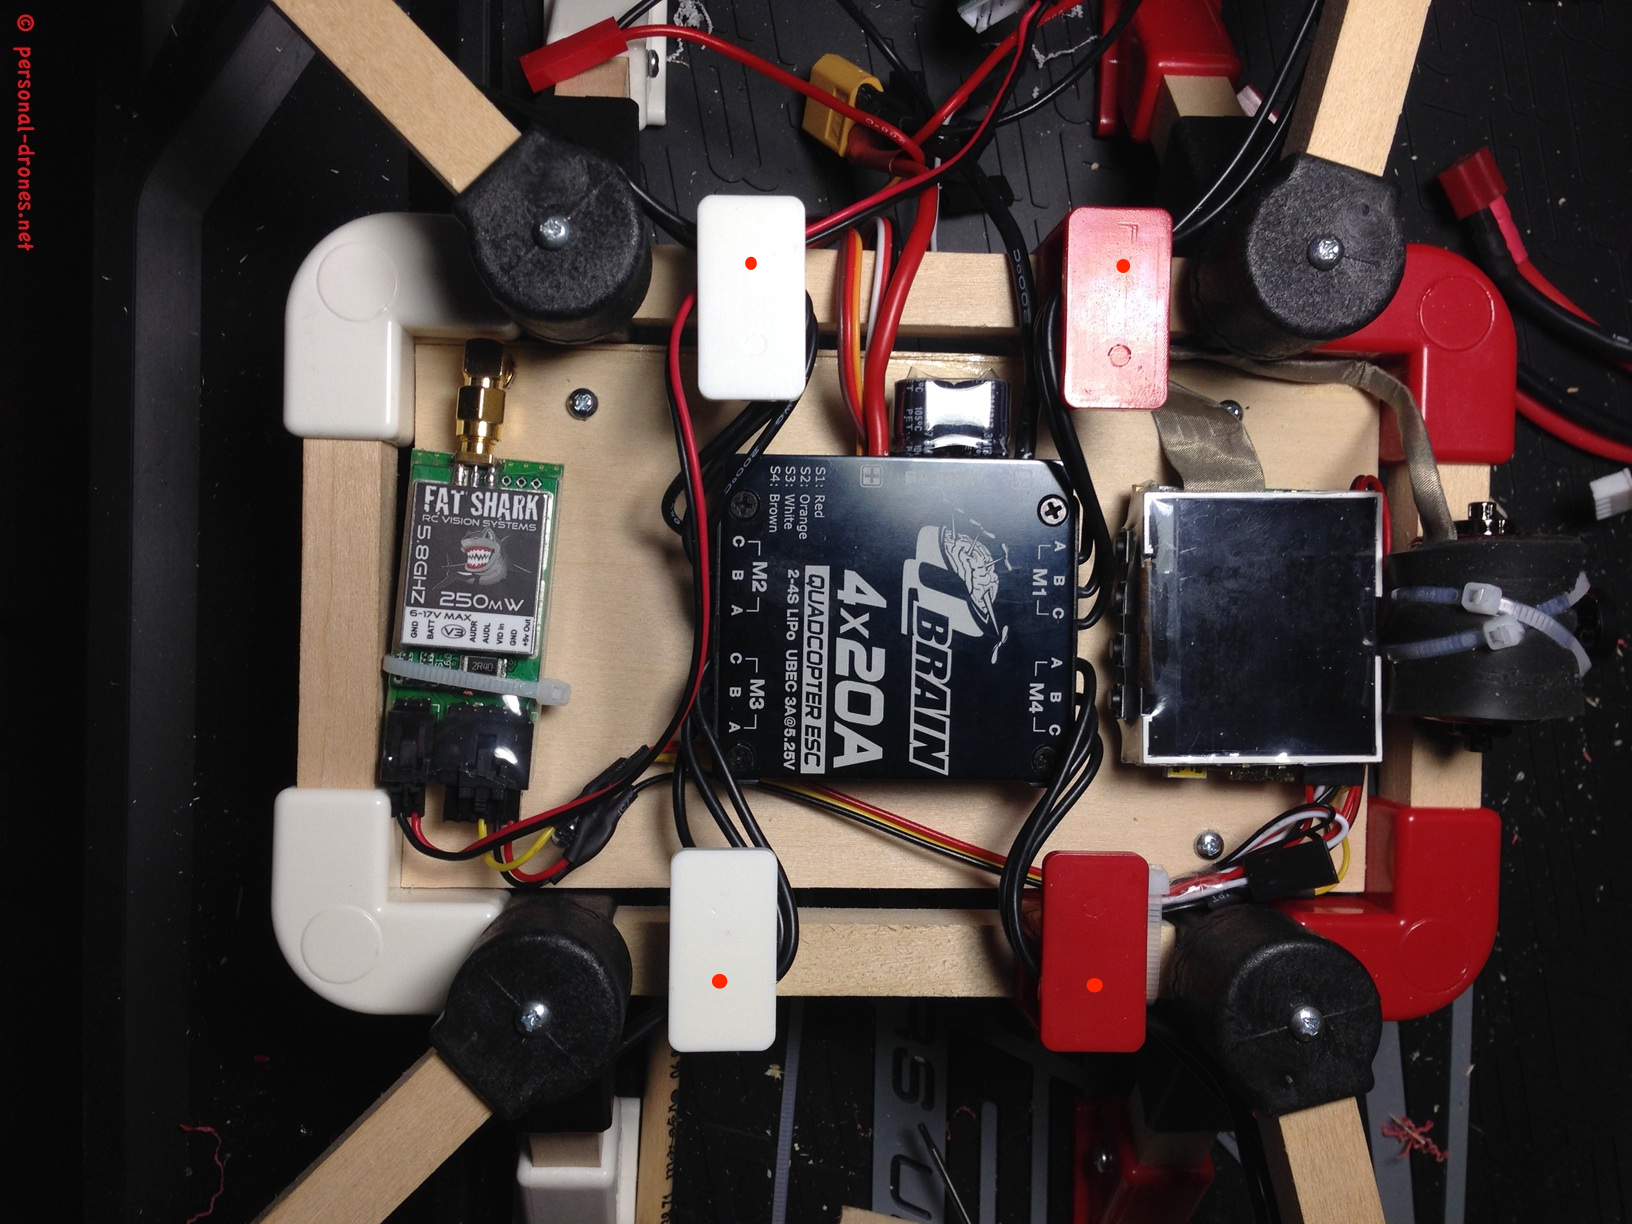
We now need to finish the build by mounting the upper deck with control board and radio receiver. mounting the upper deck is straightforward. First, drill the upper plate lugs in the positions marked in the figure above. You should do this with extreme care as the ESC wires, in the suggested configuration, run into the lug hole. You could also remove the wires while you do this, or drill before inserting the wires. Then with a pencil, carefully mark the position that correspond the the drilled holes to the wood board. Mind that the board, like the lower board, is larger than required. I did cut down mine to 8.5 x 13.5 cm in order to fit this design. Continue reading QUADLUGS MODULAR MULTIROTOR SYSTEM QUADCOPTER BUILD AND REVIEW – PART 4