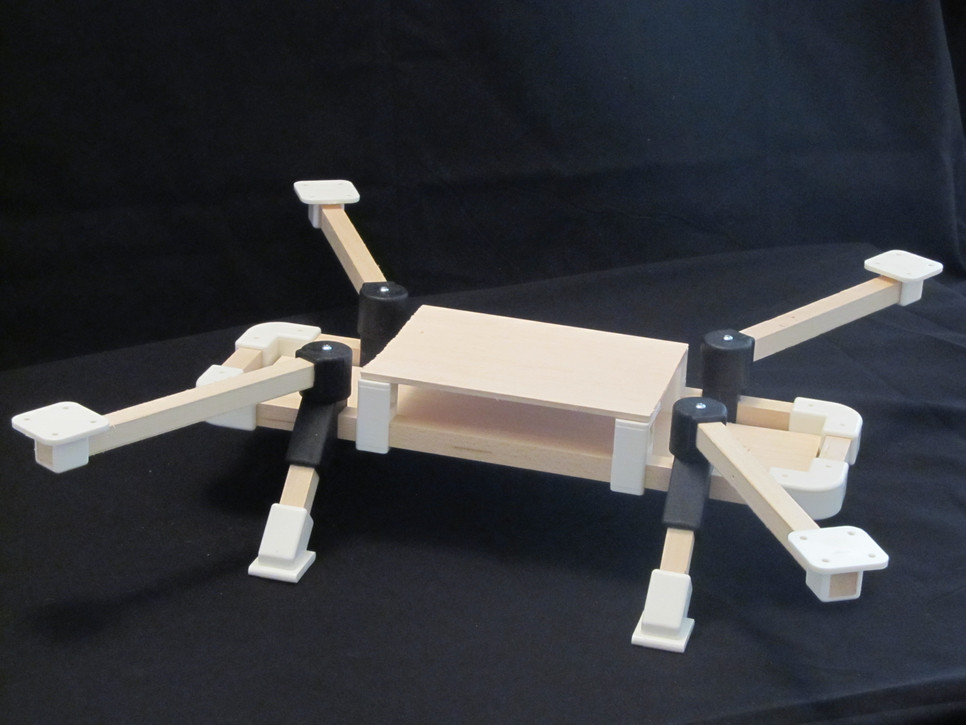
In part 1 and part 2 of this “build and review” article I made a general overview of the Quadlugs modular system and showed how to fully assemble a 480 mm frame. The whole process takes a few hours, especially the first time, when you have to figure out a number of things. I am sure that on my second build (there will definitely be one) things will go much faster. Also, since the things I had to figure out are all included in this review, if you follow instruction closely, and also check out the Quadlugs build videos, then the build of the frame should be really straightforward. Speed will also depends somehow on your personal DIY skill, although I promise that putting the frame together is something that anyone can do.
The frame is now ready, see part 2. Only the top plate remains to be secured in place, however this will be done after all the electronic equipment is mounted.
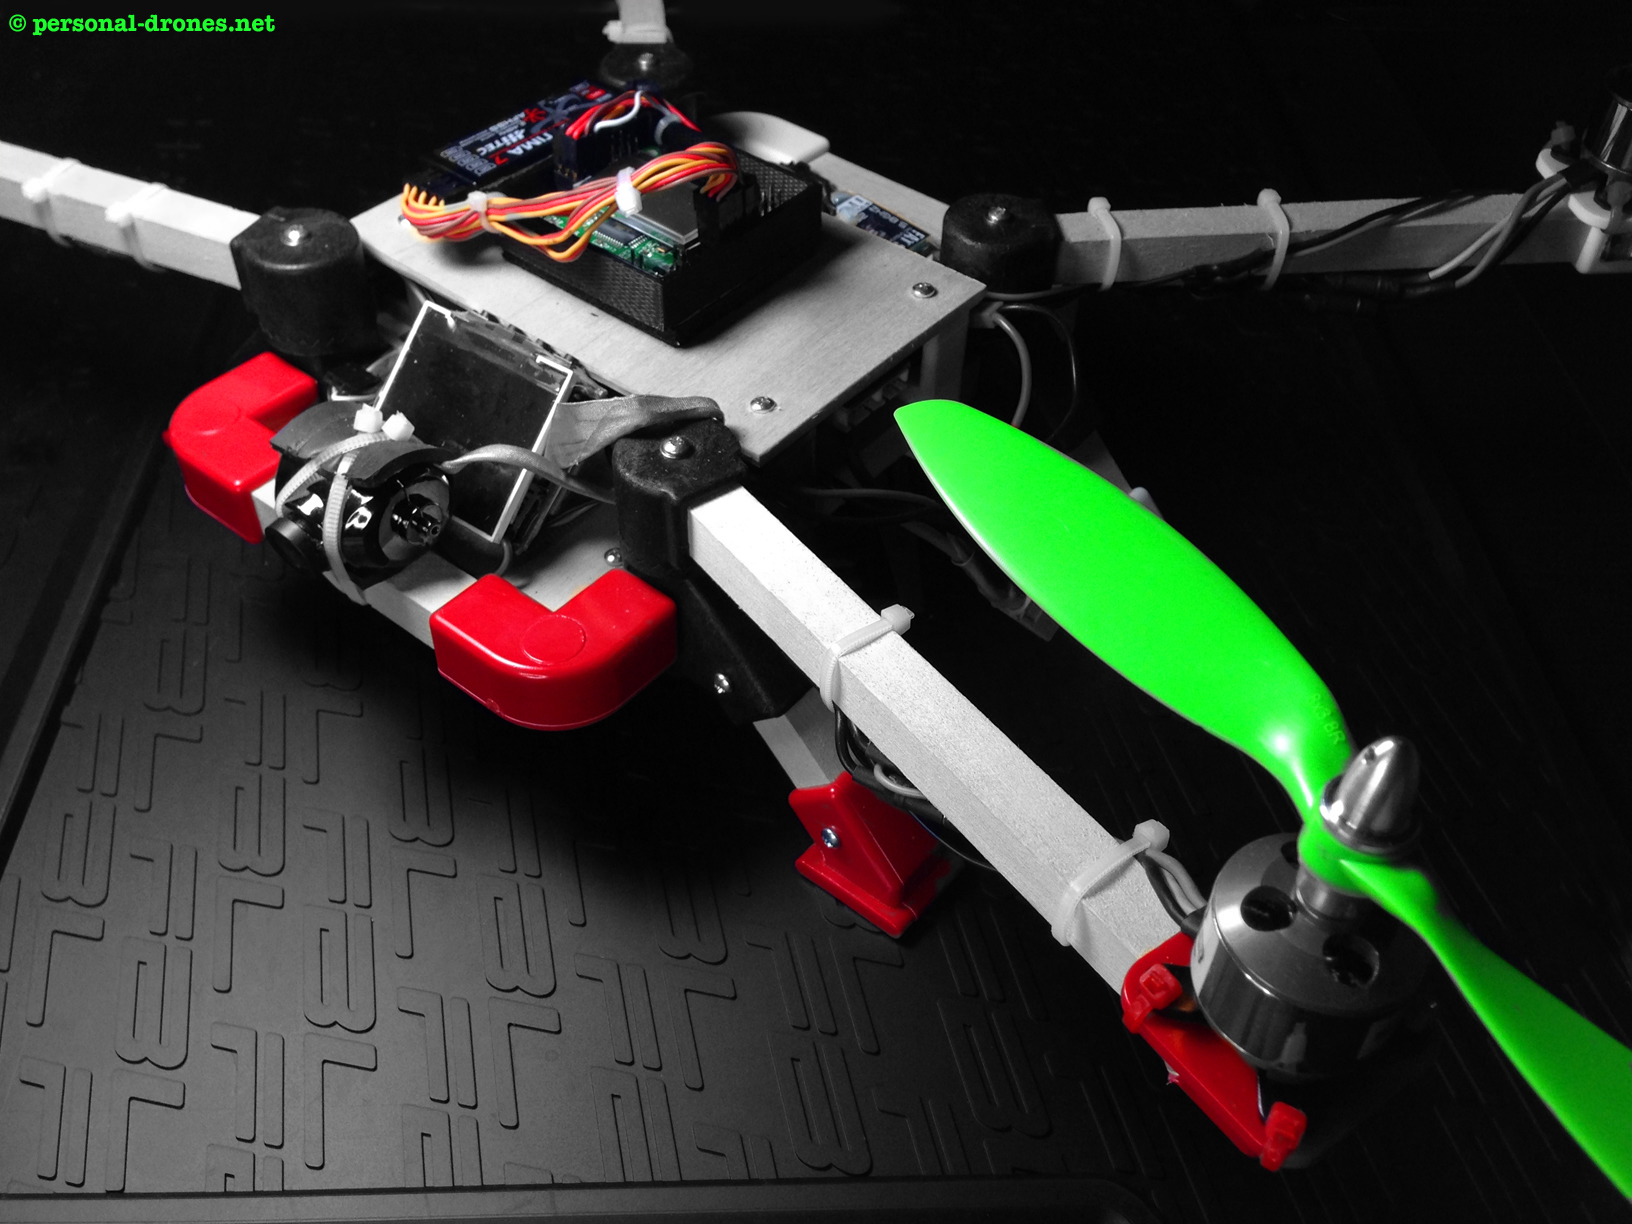
Let’s start by fixing the motors to the motor mounts. In this case, the motors came without the needed 3.5 mm gold connectors (link) pre soldered to the wires, so I had to solder the connectors myself:
Suppo motors 1100 KV, soldering of 3.5 mm gold bullet connectors in progress, 3 out of 4 motors done.
In part 1 of this build and review article I have been looking at the general features of the Quadlugs multirotor modular system and some preparation steps required before the actual frame assembly, namely the drilling of holes in some of the lugs.
2. Quadlugs quadcopter frame assembly
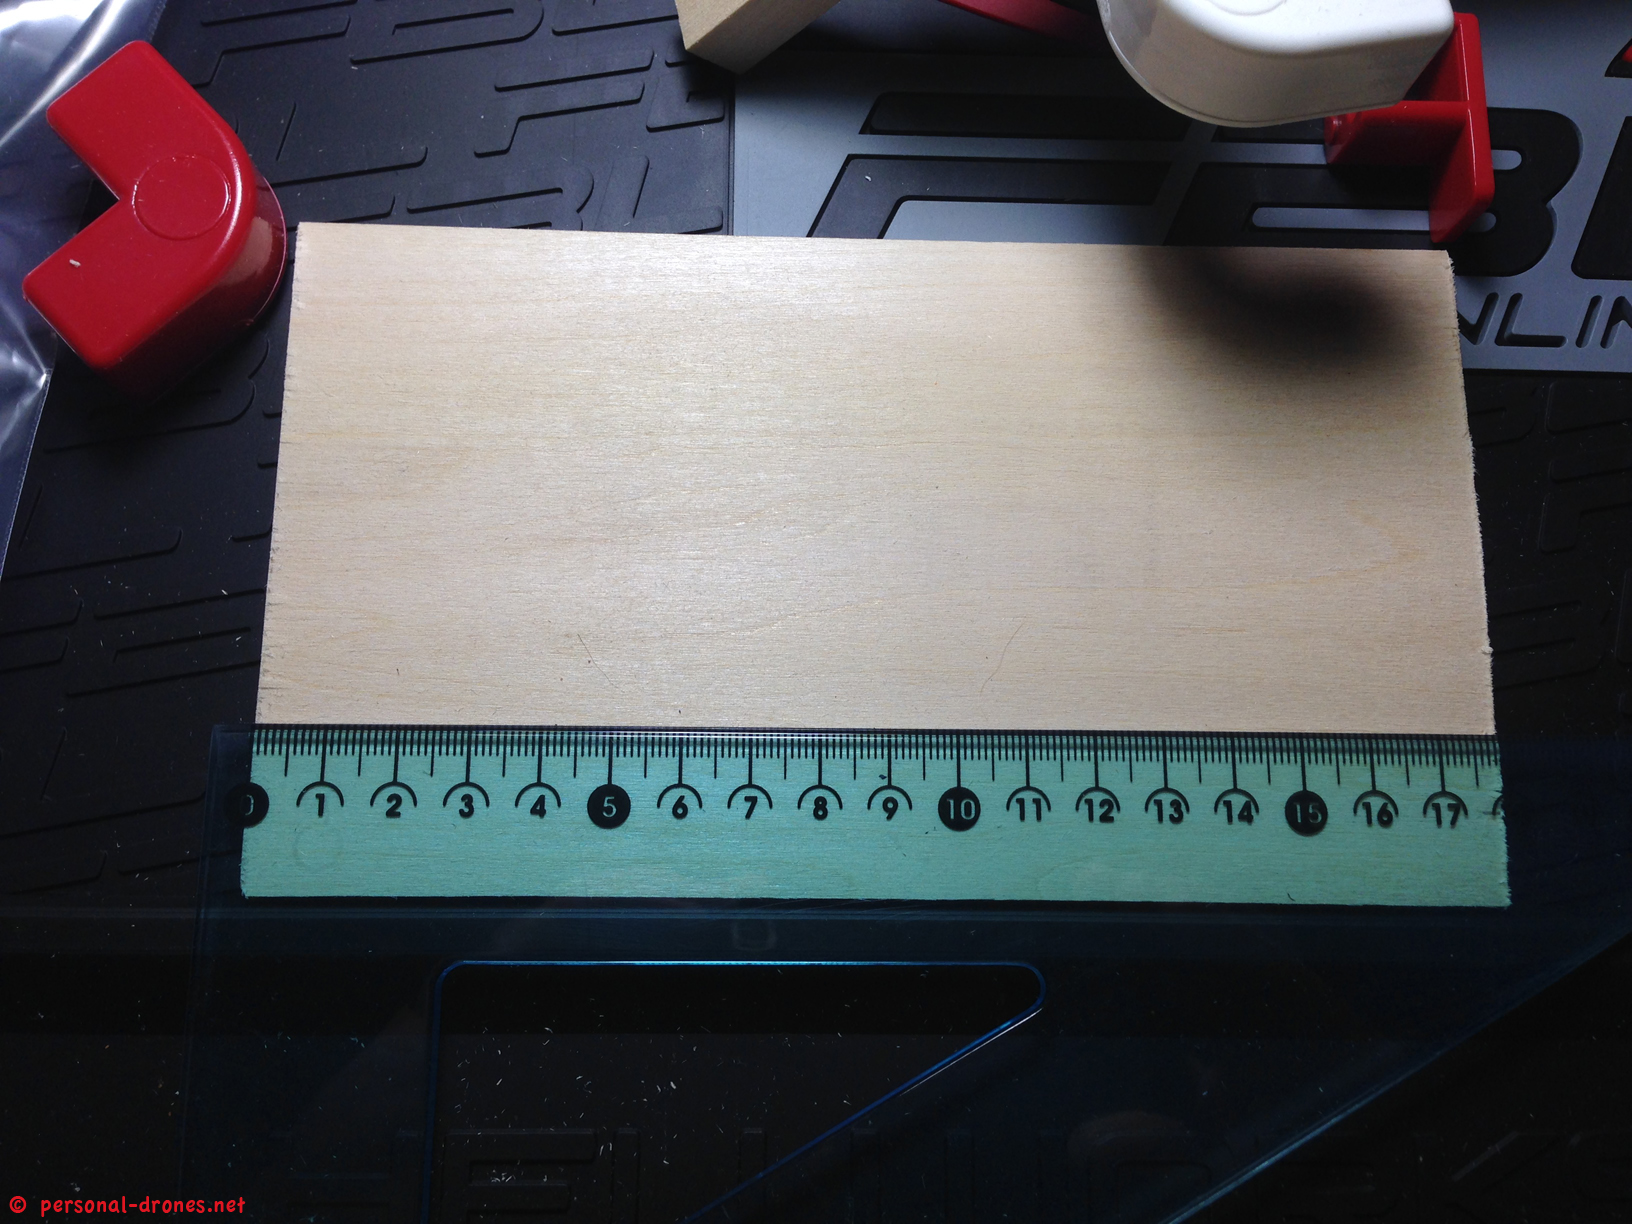
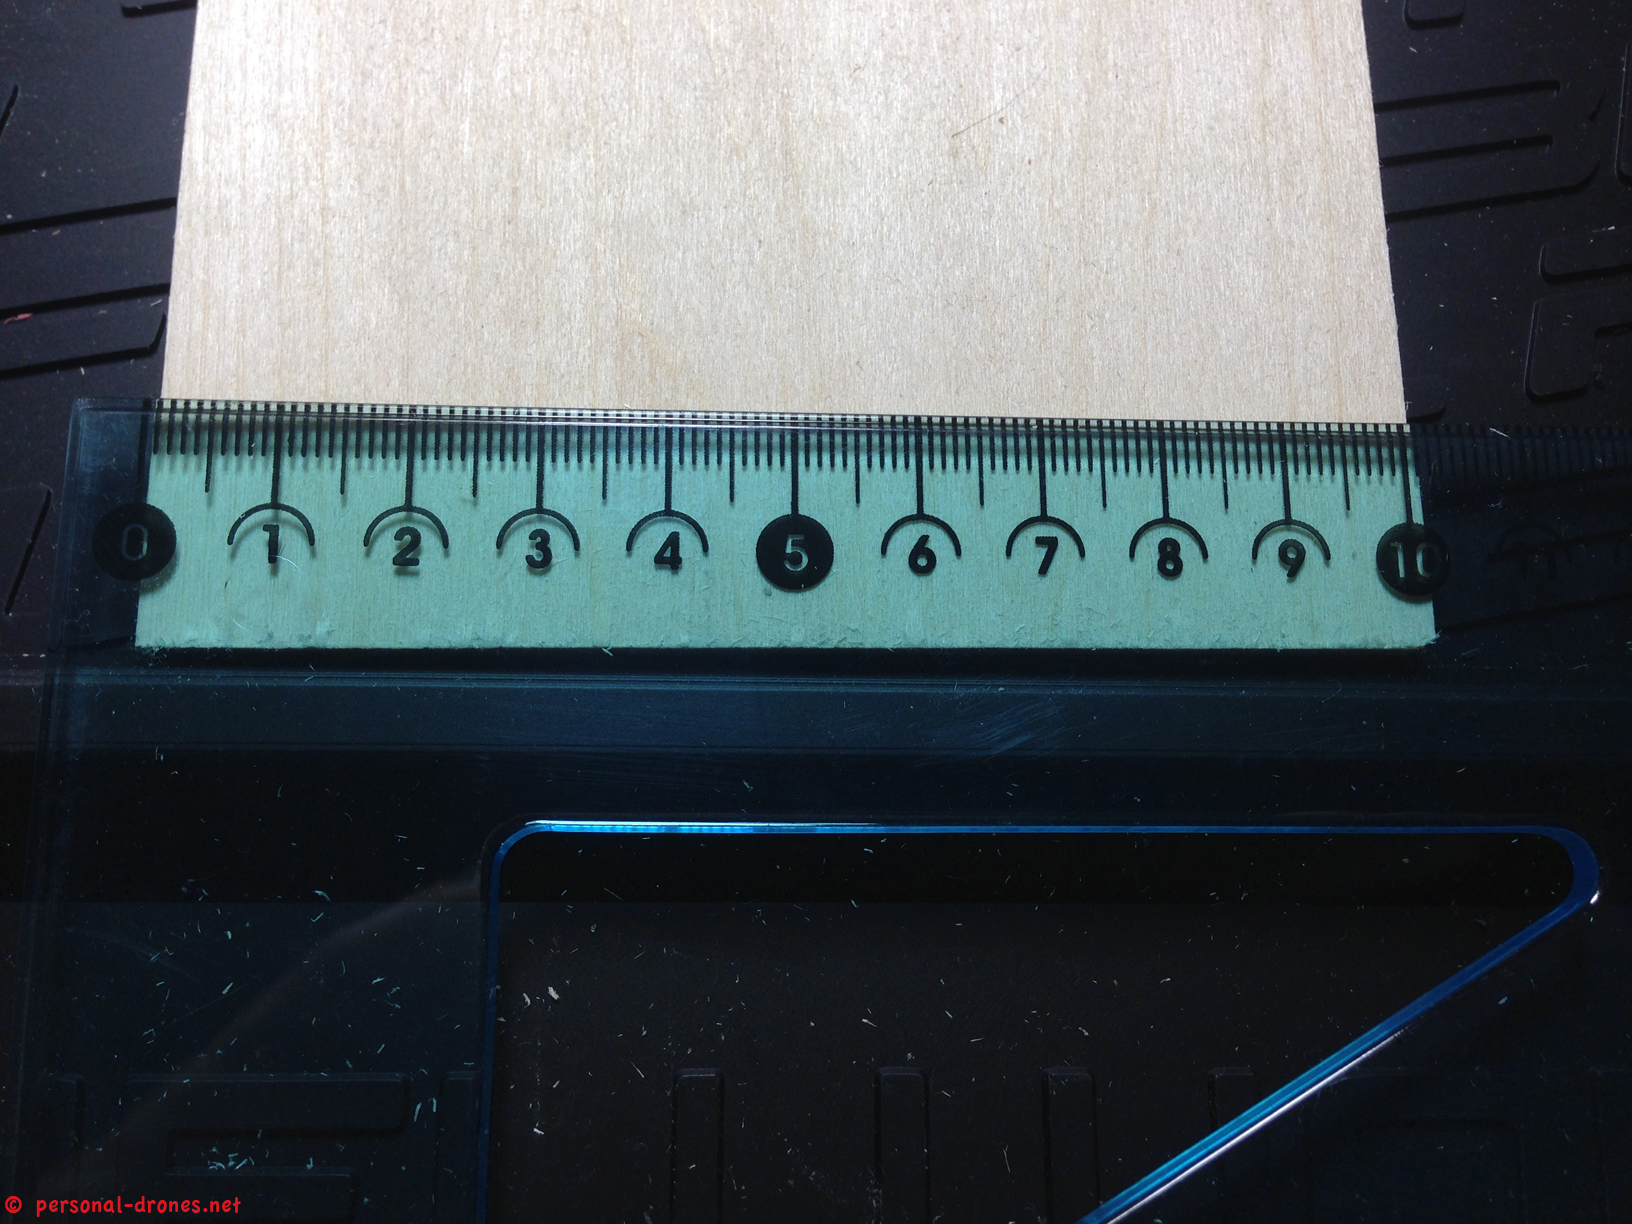
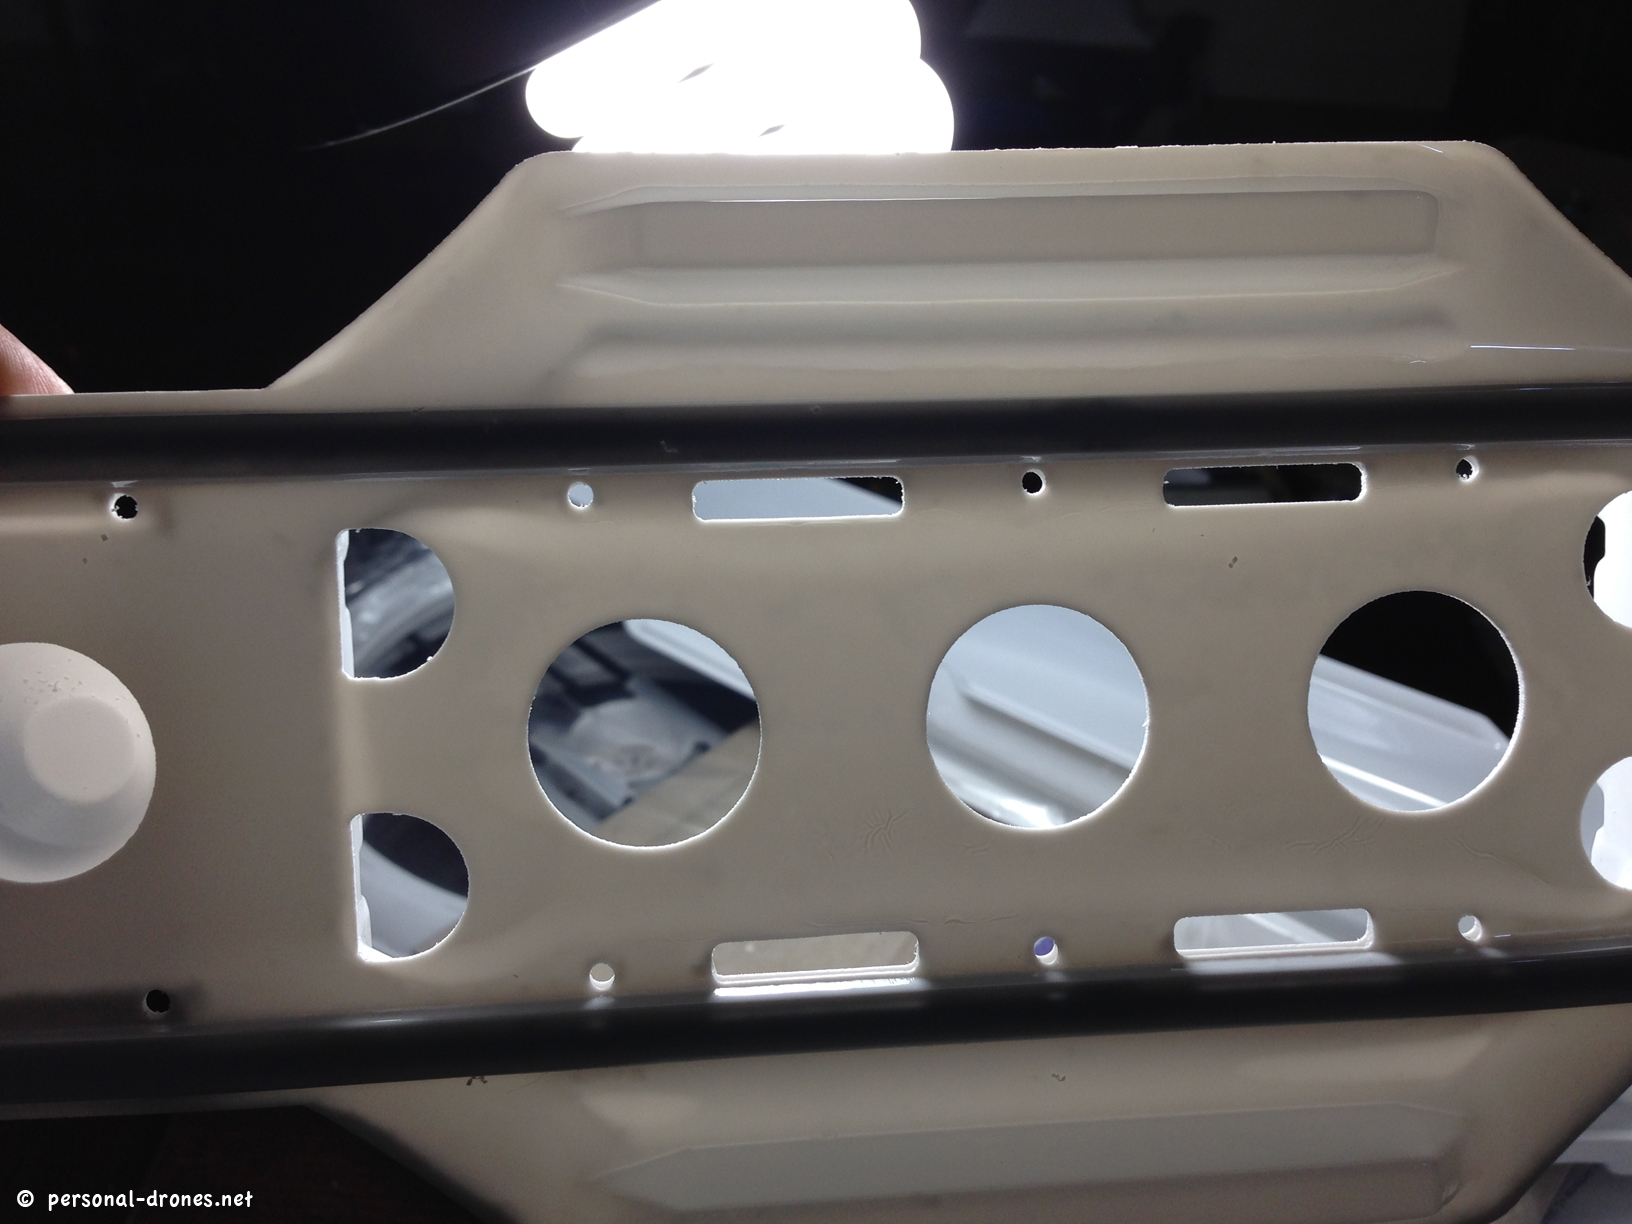
Before we actually assemble the frame, we have adapt the bottom plate, which is slightly larger than possibly needed.
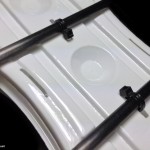
The original size of the provided bottom plate is 17,9 x 10,1 cm (and 3 mm thick):
Measuring the bottom plate heightMeasuring the bottom plate width
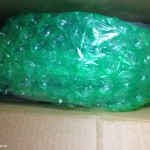
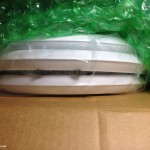
I have received a nice USPS box from Danny, funder of the Quadlugs multirotor modular system and started a build with the main purpose of testing this original piece of technological equipment for strengths and weaknesses, report to our blog readers and providing a build blueprint for others that might want to built their own Quadlugs based multi rotor.
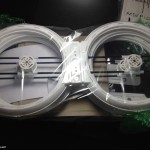
A packet from Quadlugs!A mounted Quadlugs frameThe result of quite some work on the packet contents: a Quadlugs 480 build for FPV, straight from the Personal Drones Blog! Stay with us and build yours by following our simple instructions
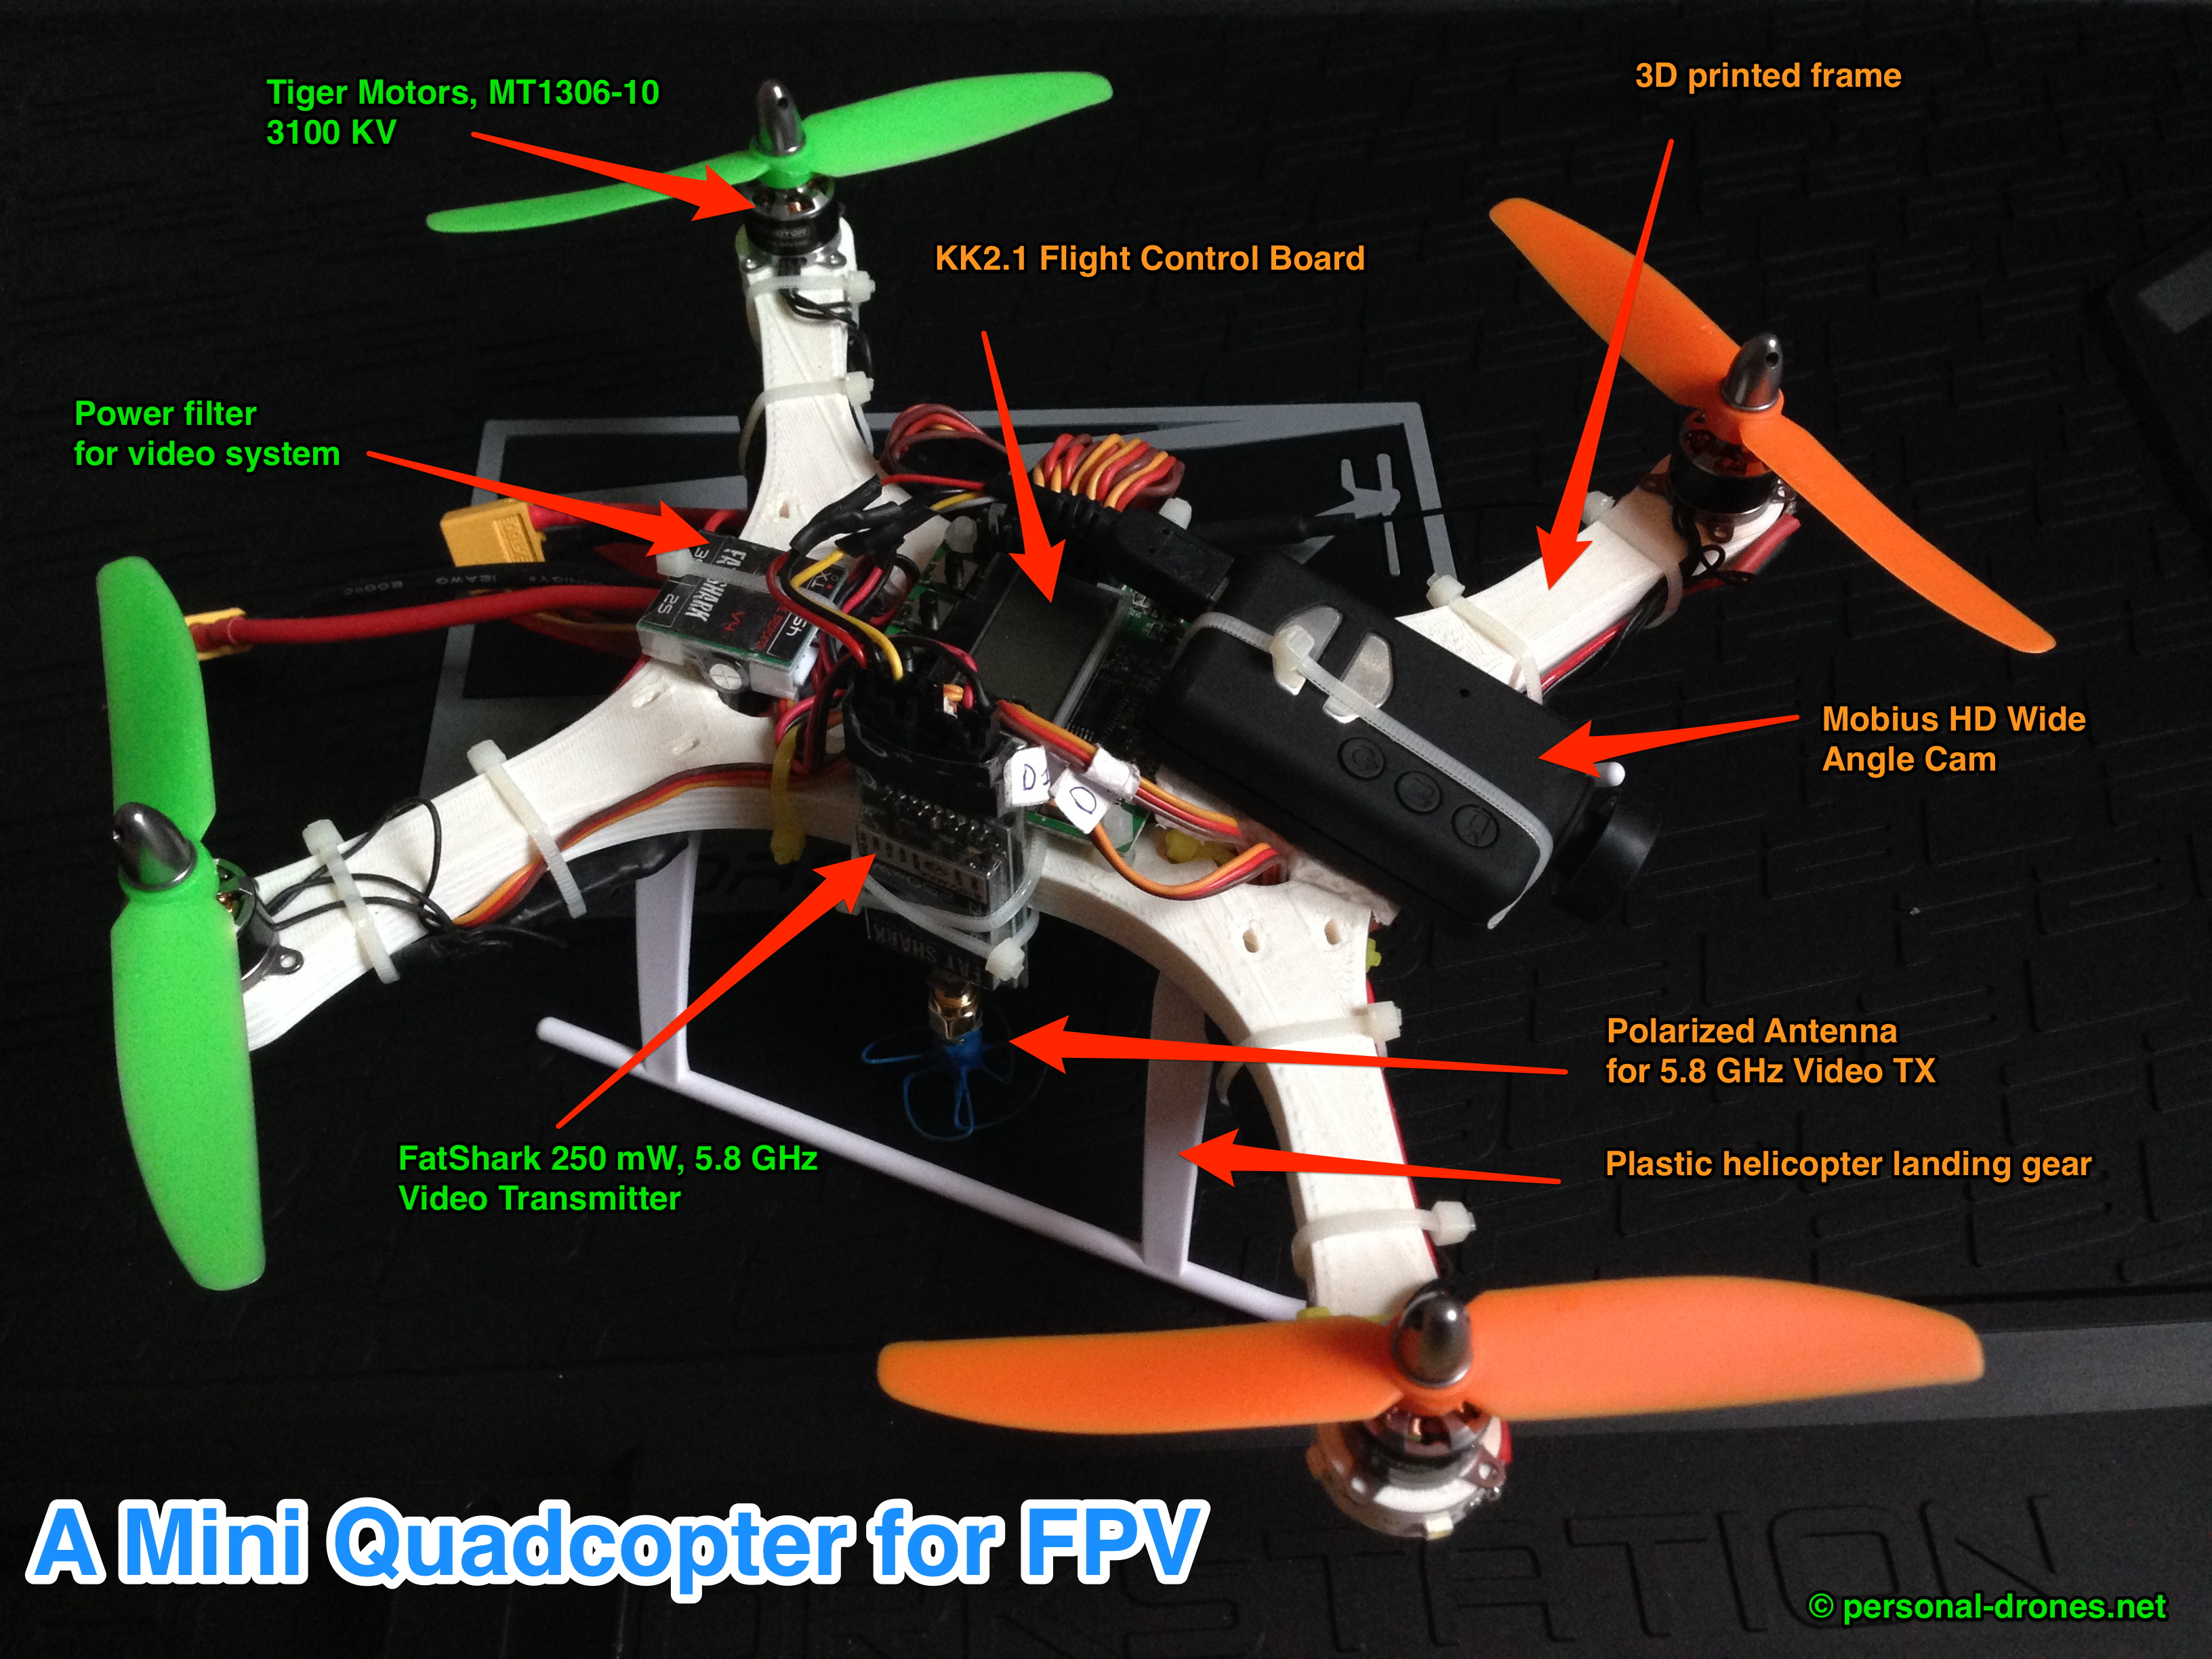
I’d like to report here some details of my last personal drone build, a mini quadcopter for First Person View (FPV) flight.
A manually assembled mini quadcopter for FPV
Weight: 360 gr w/o battery. With 2200 mA 2S battery: 487 gr.
Size: The 4 motor centers form a square with a side of 17,5 cm and a diagonal distance from front motor to back motor of 25 cm. So the quad is in the 250 class. Continue reading Building a mini quadcopter for FPV→
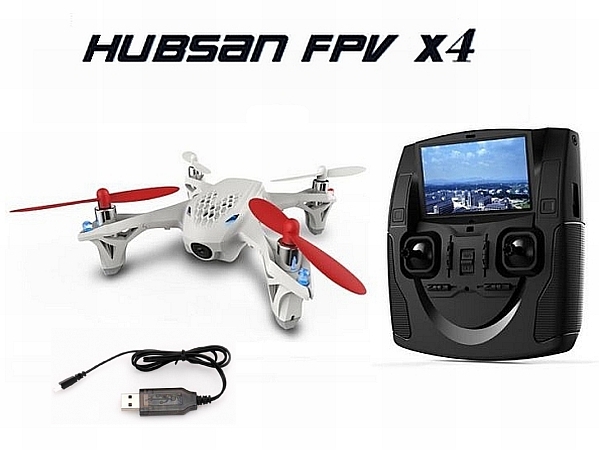
The Hubsan H107D FPV is quite close to my ideal personal drone: small, with embedded video transmitter and camera and good flying performance.
The Hubsan H107D FPV quadcopter with it’s radio
At least some channels ar compatible with FatShark equipment, so it is possible to fly it FPV with just a pair of FatShark goggles. It is also possible to fly it FPV right from the hubsan radio, which comes with a generous screen that gets the video feed live.
As it happens, care to details and sometimes the use of some dedicated, although simple and inexpensive devices can go a long way in protecting your expensive equipment. One piece of delicate equipment used in RC models, and in particular for FPV, are indeed video cameras, with their exposed lens.
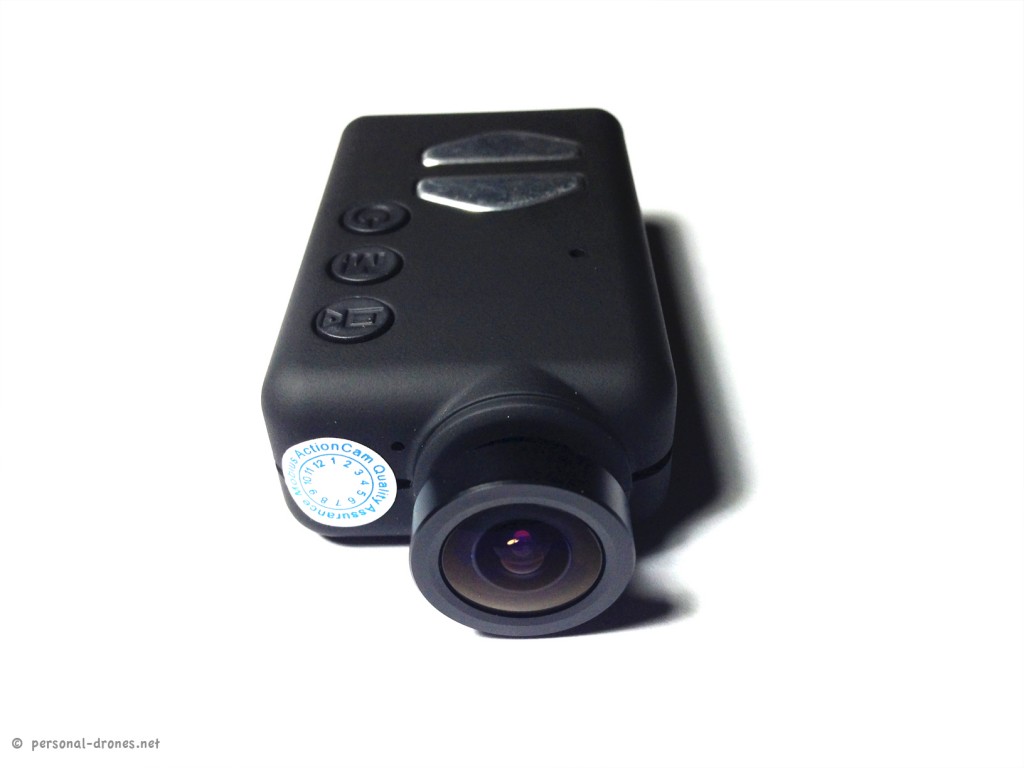
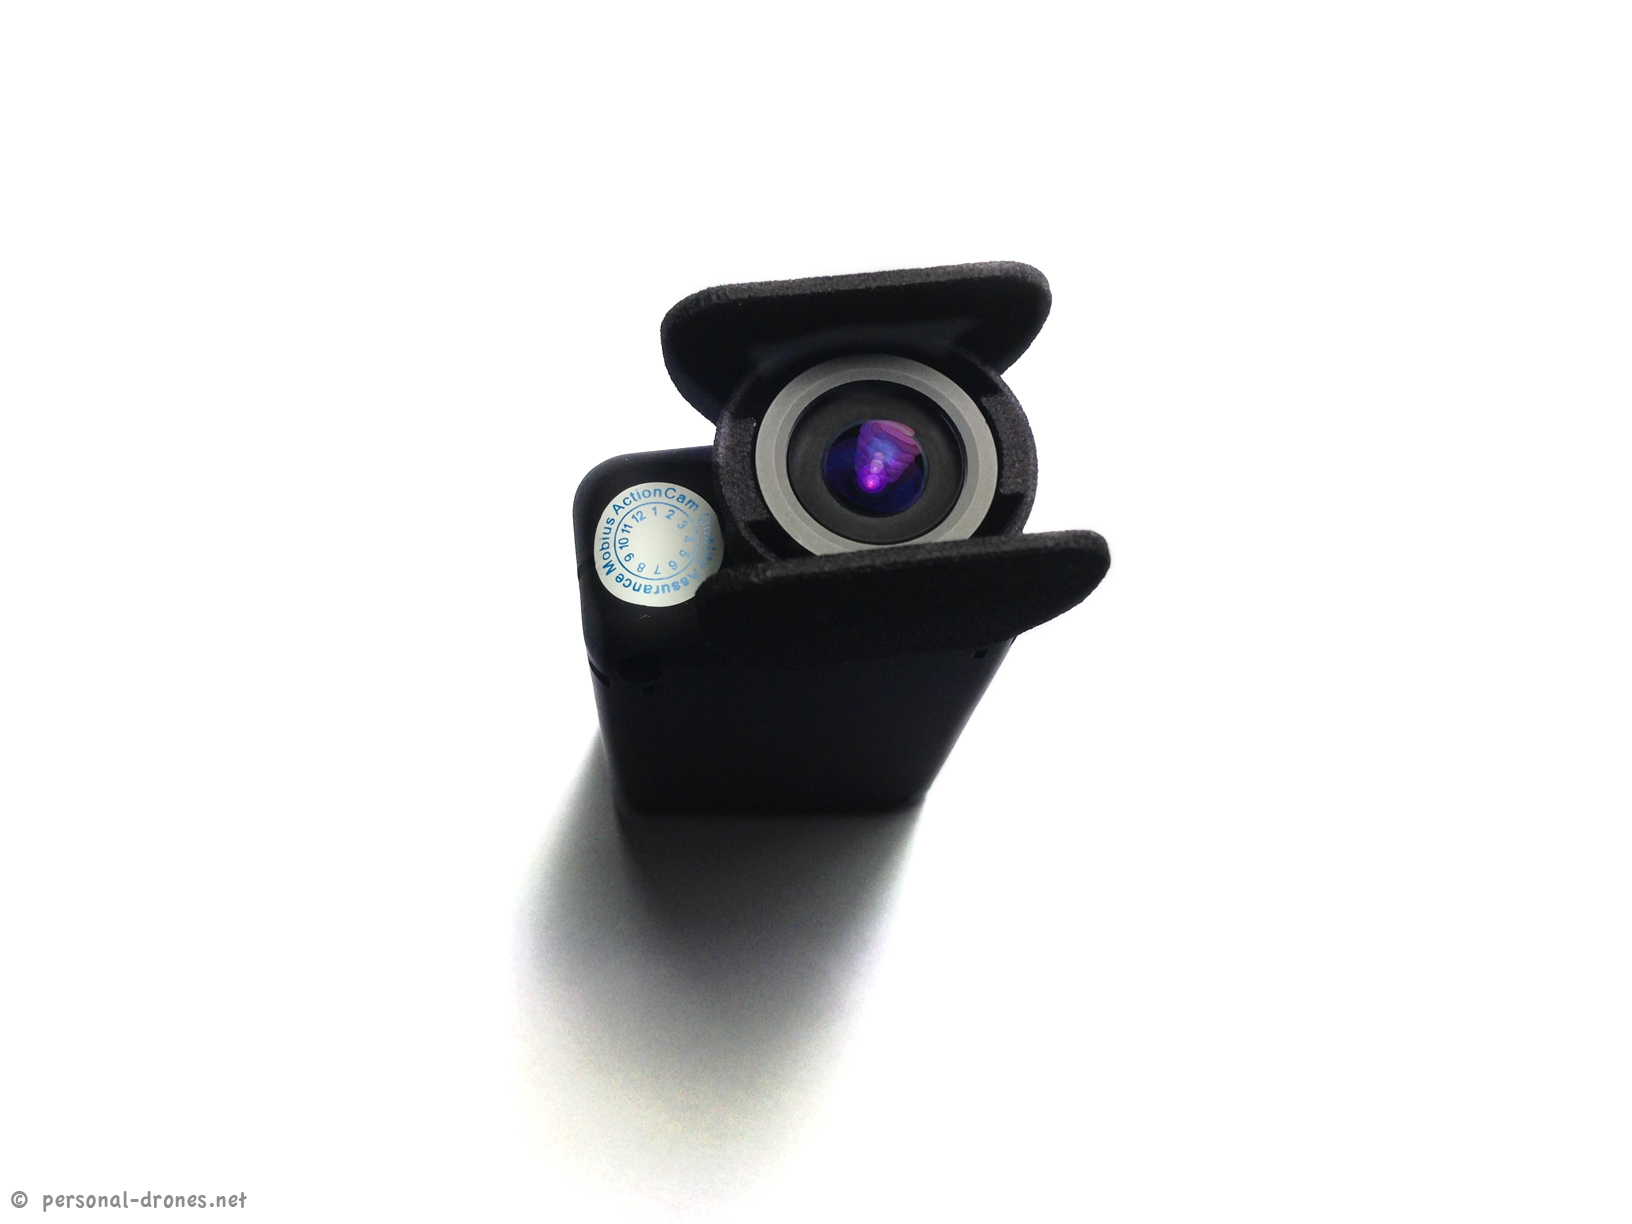
We have been discussing the setup of the Mobius camera for FPV in a previous post. Since then, a nice new model with wide angle lens came out:
Mobius camera, wide angle version
This is even better than the original version as for FPV it is great to have an as wide field of view as possible.
The wide angle lens is however somewhat bulky and protrudes prominently from the camera body. In the event of a collision, the lens will make for a great shock absorber for your multirotor, especially if the camera if mounted on the front of the aircraft, as it usually happens. But of course you see the point here: chances of damaging the precious optical element are significant.
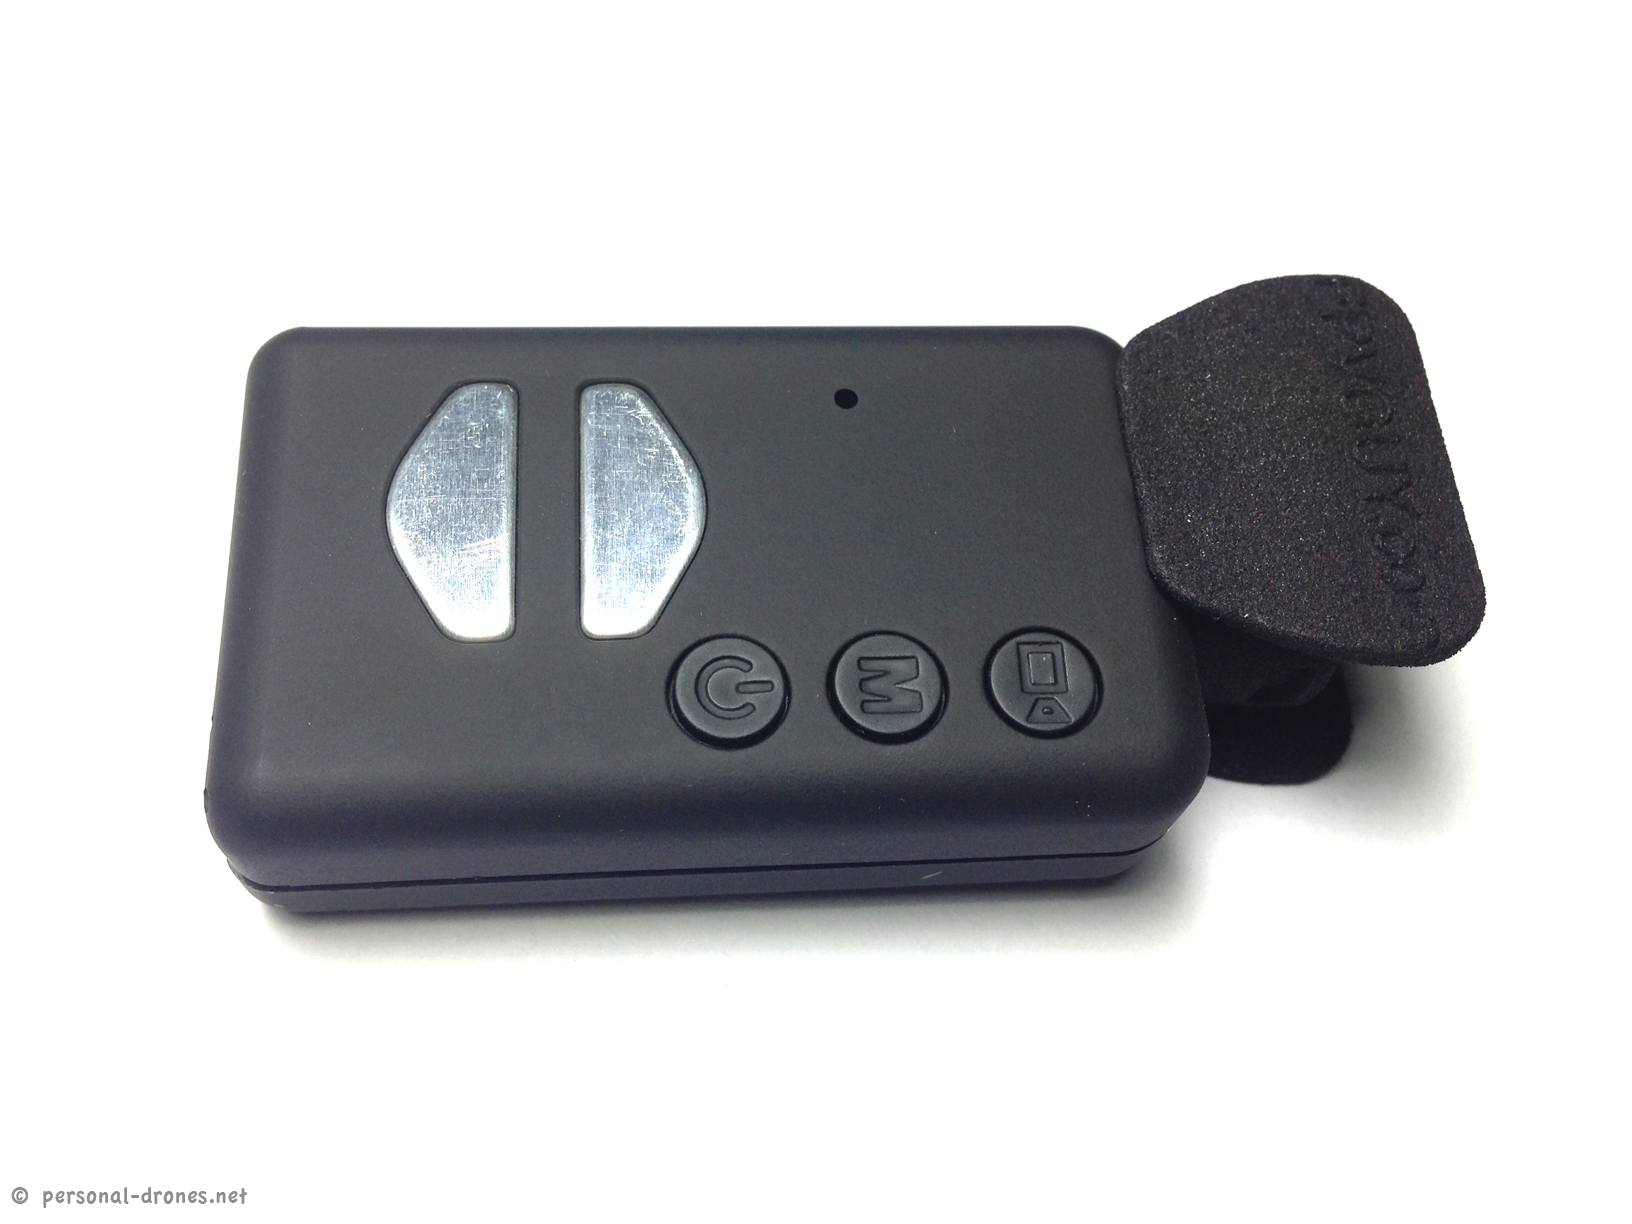
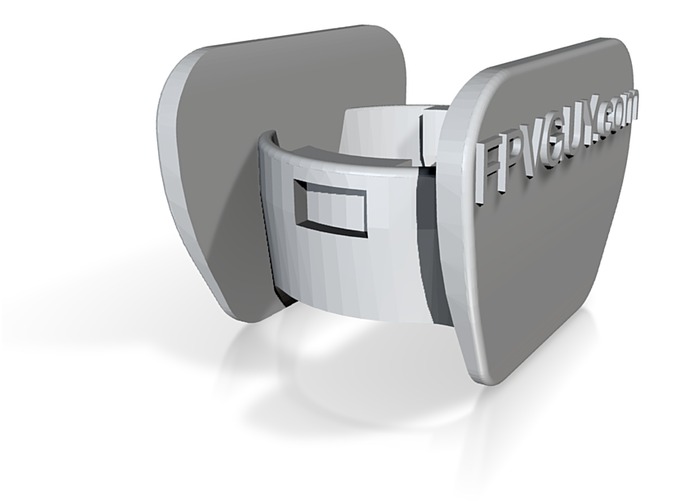
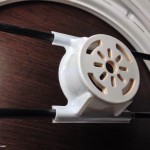
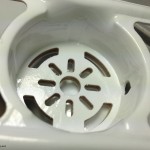
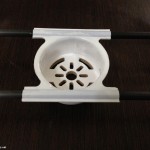
There comes to the rescue a great, lightweight, little custom piece of equipment designed by Bo Lorenzen (check out his Blog at FPVGuy.com) as a shock absorber / lens saver to protect the lens of the wide angle Mobius camera.
I tried it and it is a perfect fit. Once in place the piece will grip strongly to the camera. A little pressure on the two little “wings” will release grip and allow a smooth removal.
Wide angle mobius camera with lens protector from FPVGuy – Top viewWide angle Mobius camera with lens protector from FPVGuy – Front view
The mobius wide angle lens protector is described here and can be ordered from Shapeways. It is made with a 3D printer from the original Bo Lorenzen design.
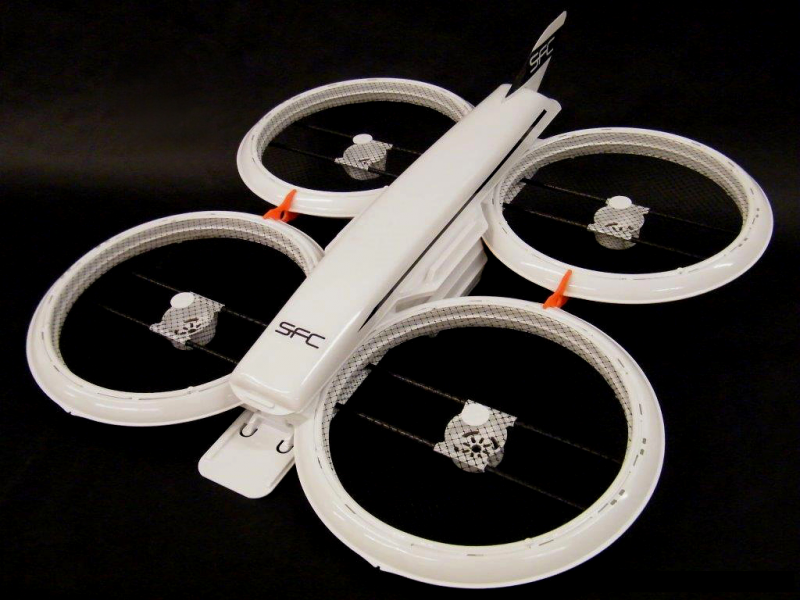
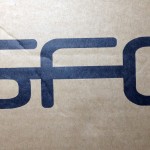
Received a couple of days ago the SFC4410-1 Quad H Airframe from Safeflight Chopters. It is a quadcopter frame designed mostly with security in mind. Here’s a picture of the mounted Safeflight quadcopter from the website:
SFC4410 Safelight Quadcopter
and some action:
http://www.youtube.com/watch?v=WgxGYE6gloc
I had noted this frame a while ago, made a post on it, and placed an order. Since I live in a heavily populated area, the idea to be able to fly a quad in a city park, without worries about the propellers cutting something they should not, is very attractive and worth a test.
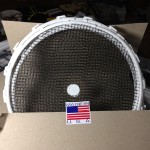
In this model the propellers are entirely caged in a plastic structure, with a strong nylon net above and below each propeller.
After flying the mini h quad for a while, the structure looks quite big, it can be virtually fitted in a square with approximately 67 cm edges. Each of the 4 plastic circles has a 26,5 cm internal diameter and 33 cm external diameter.
Safeflight SFC4410-1 Quad H Airframe
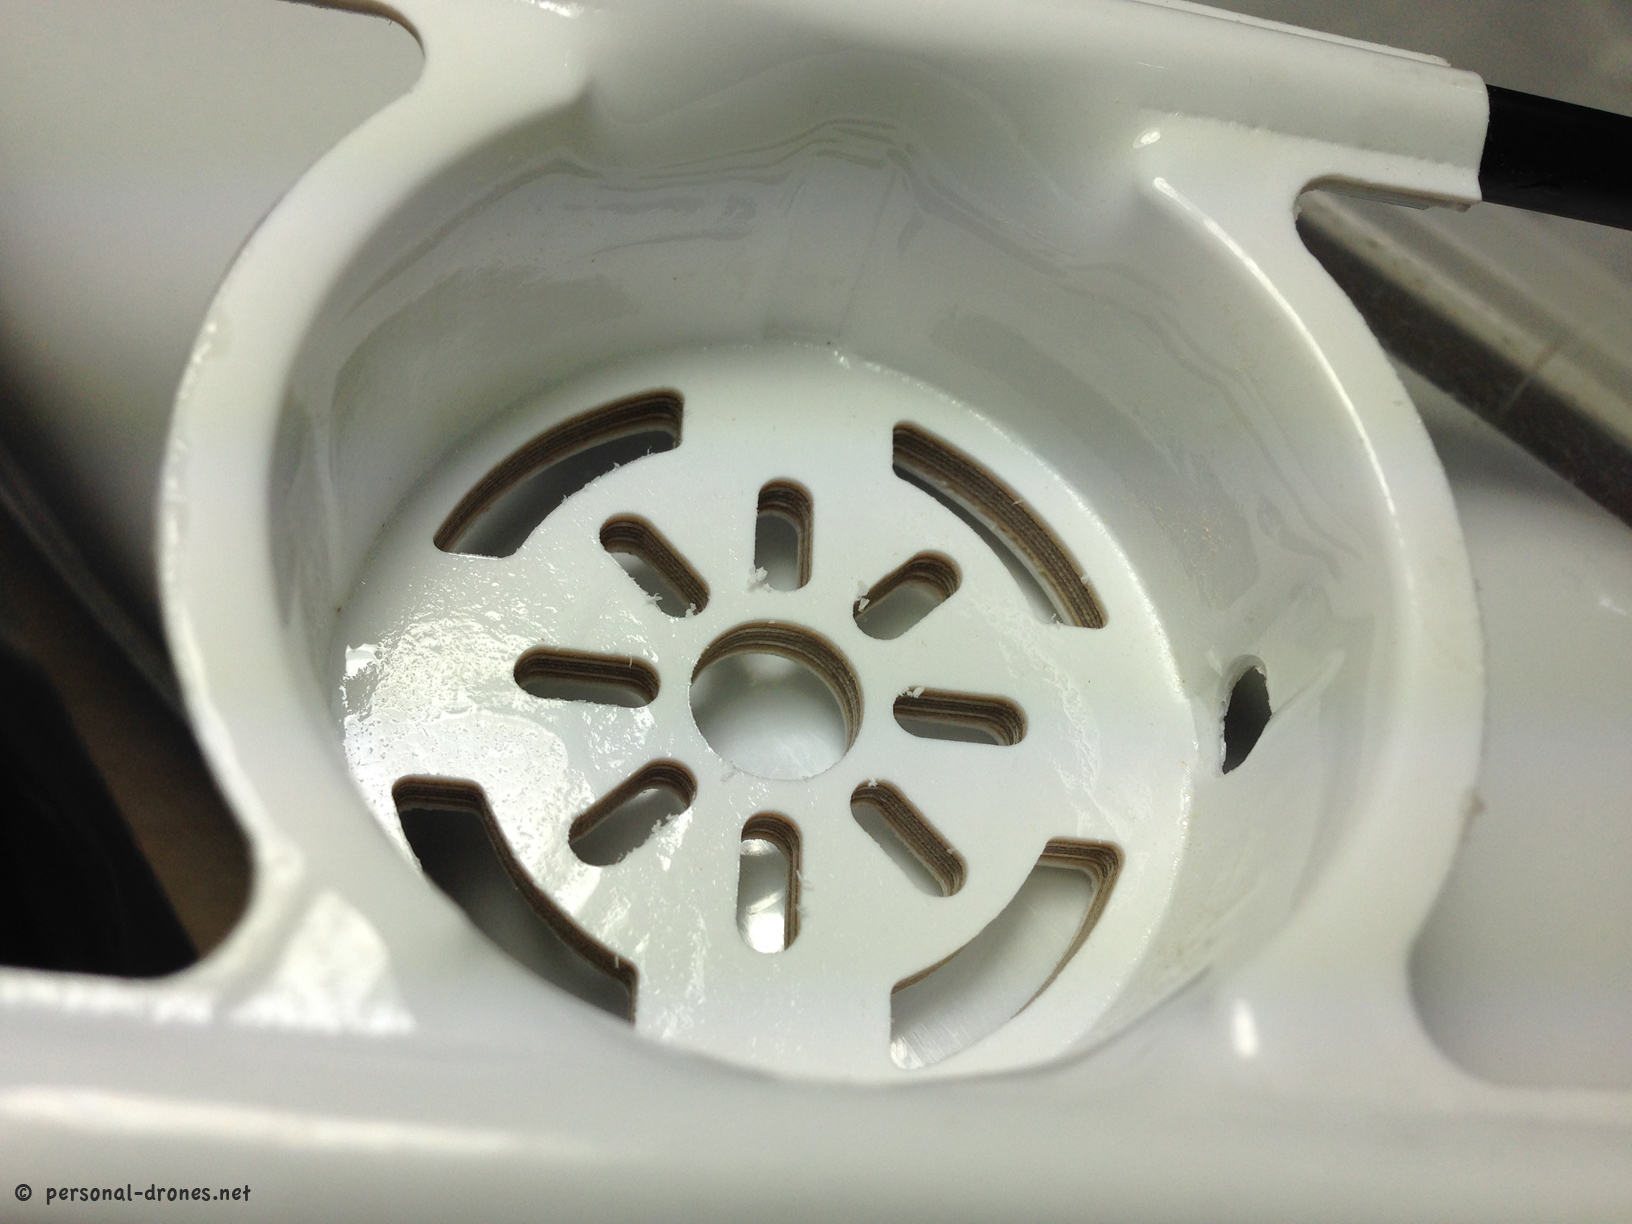
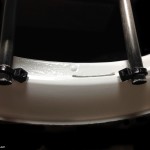
The frame feels extremely lightweight. It is made of molded light plastic, similar to the one that you can often find inside consumer items boxes, to shape the inside of the box so as to fit the various components of the product. This plastic is however strategically reinforced in key places, like the motor mount for instance
Close up of the motor mount
and the upper and lower frame components that are reinforced with carbon bars.
The lower and upper “plates” are reinforced internally with carbon bars
Very lightweight overall. How will it hold crashes? We might well check this out soon 🙂
The purpose of this post is to share some very first shots of components during the unboxing. Build details and more photos will be posted while construction advances.
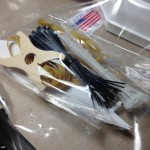
The contents of the Safeflight box are well wrapped for shipping.
Starting to see what’s inside…
All the contents are packed in a common big transparent plastic bag
Detail of the motor mount
Close up of the motor mount
Detail of the motor mount
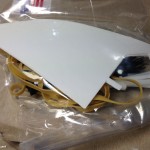
Body components of the safeflight SFC4410-1 Quad H Airframe
Body components of the safeflight SFC4410-1 Quad H Airframe
One of the components is reinforced internally with bars
Safeflight SFC4410-1 Quad H Airframe mounting accessories
Safeflight SFC4410-1 Quad H Airframe mounting accessories
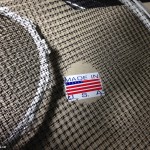
Safeflight SFC4410-1 Quad H Airframe propellers protections
Safeflight SFC4410-1 Quad H Airframe propellers protections
Made in the USA!
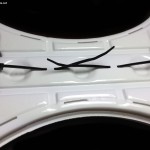
Safeflight SFC4410-1 Quad H Airframe, this replacement part comes with pre mounted zip ties for securing the motor mount, which is already in place in the non replacement body parts
Safeflight SFC4410-1 Quad H Airframe, this replacement part comes with pre mounted zip ties for securing the motor mount, which is already in place in the non replacement body parts
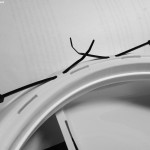
The bars on the motor mount have a grove that will perfectly fit the zip tie, for precision mounting
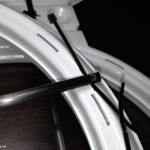
Detail of the motor mount bars secured to the body
Detail of the motor mount bars secured to the body
Safeflight SFC4410-1 Quad H Airframe
Safeflight logo on the Safeflight SFC4410-1 Quad H Airframe box
I recently made a post about Blackout’s Mini-H-Quad. It is a great small size FPV platform, that will possibly host full size/full potency FPV equipment that is normally mounted on bigger quads. Sounds great for a lightweight personal drone that you can easily fit in a medium sized PC bag together with the radio and a handful of batteries. Get yours HERE.
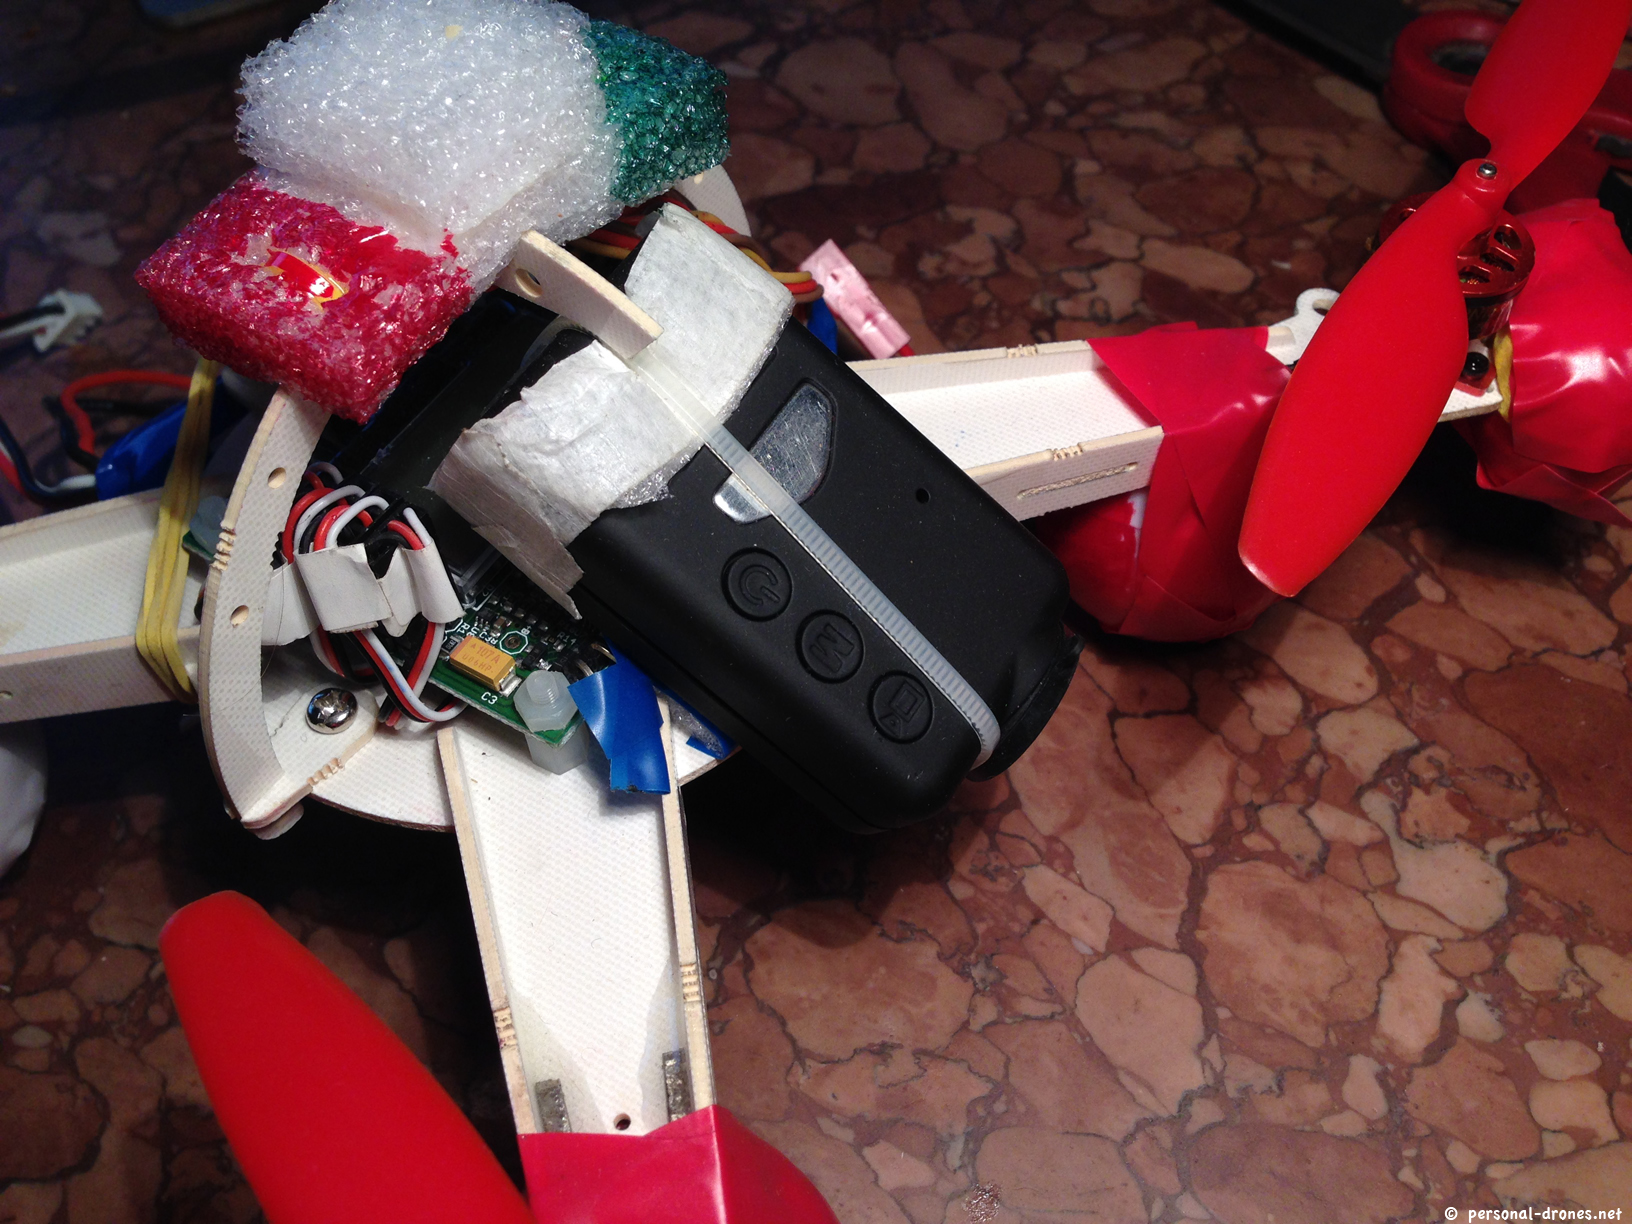
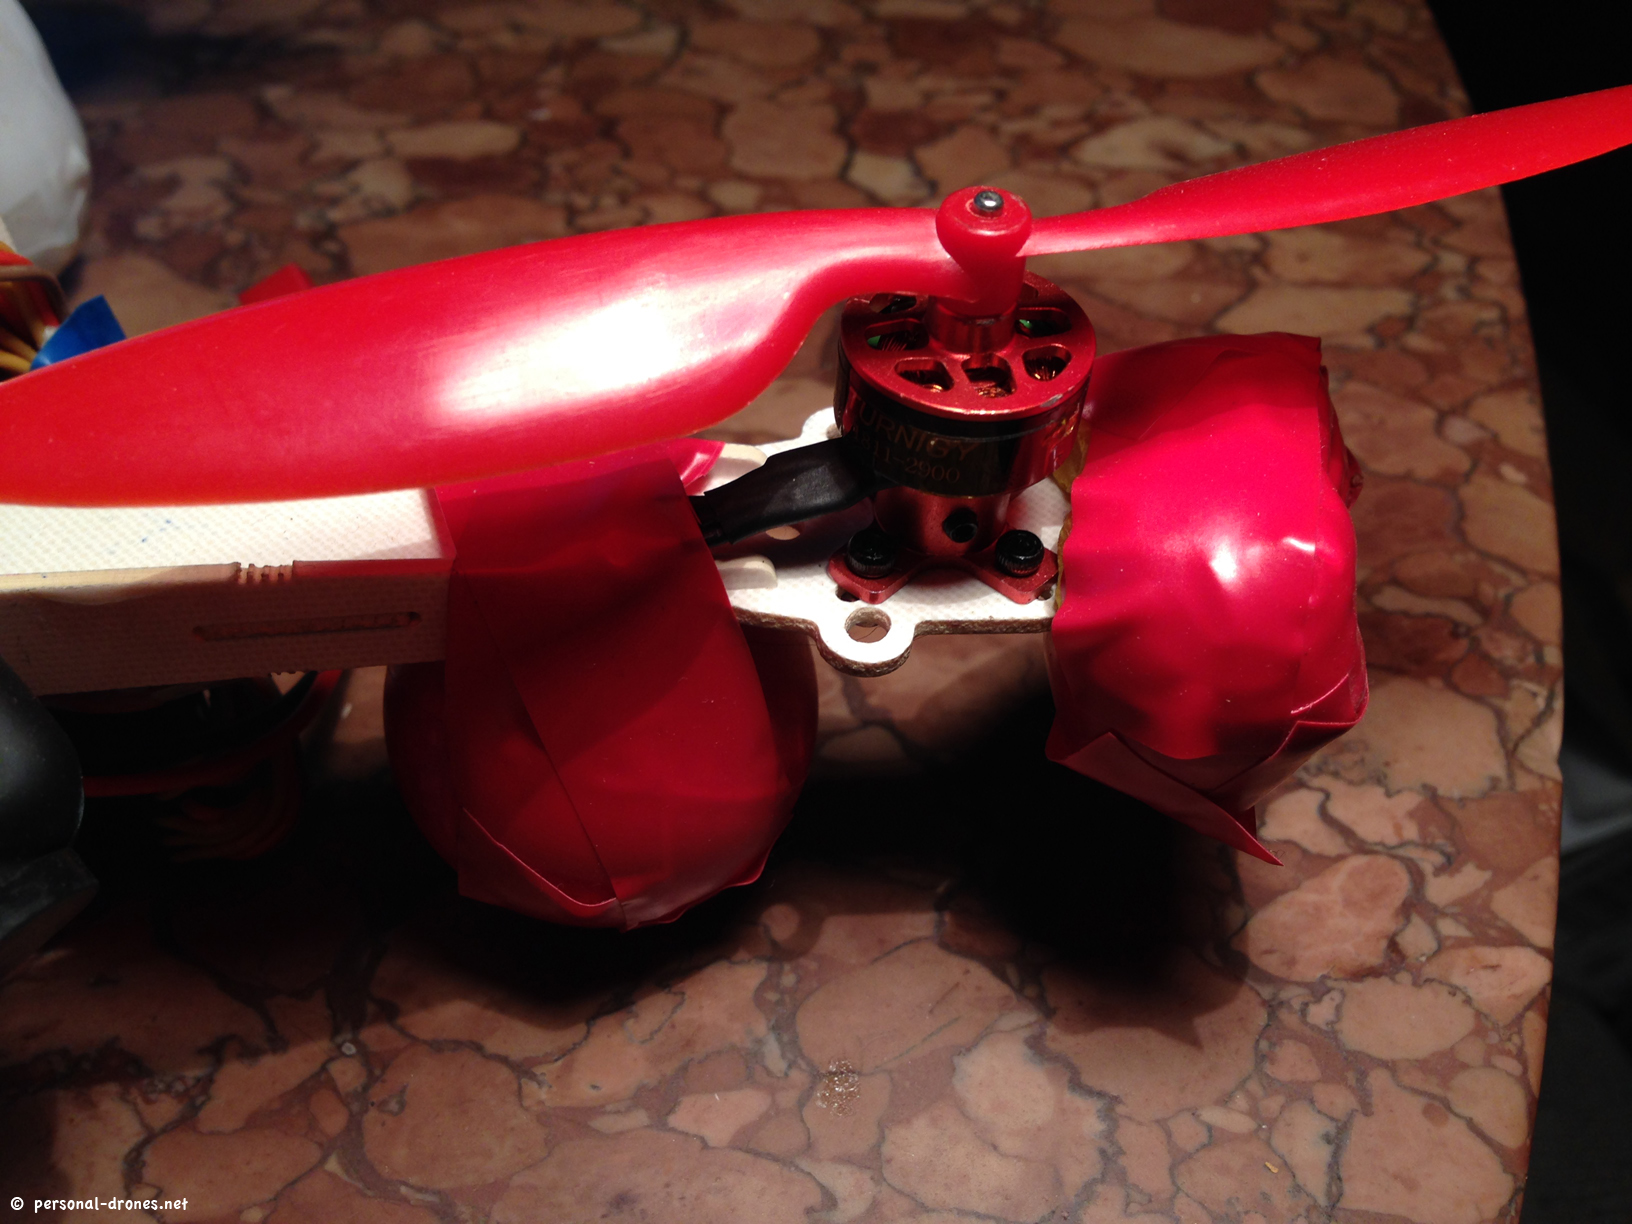
In this post I would like to share my current setup for the Mini H Quad. It is probably not the lightest possible configuration. I bet I could take off at least 5/10 grams of weight with some minimization here and there. Possibly the photos below could be a source of inspiration, or criticism, for others who wish to build or already built the same quad. Continue reading Blackout Mini H Quad, our latest FPV quadcopter build details→
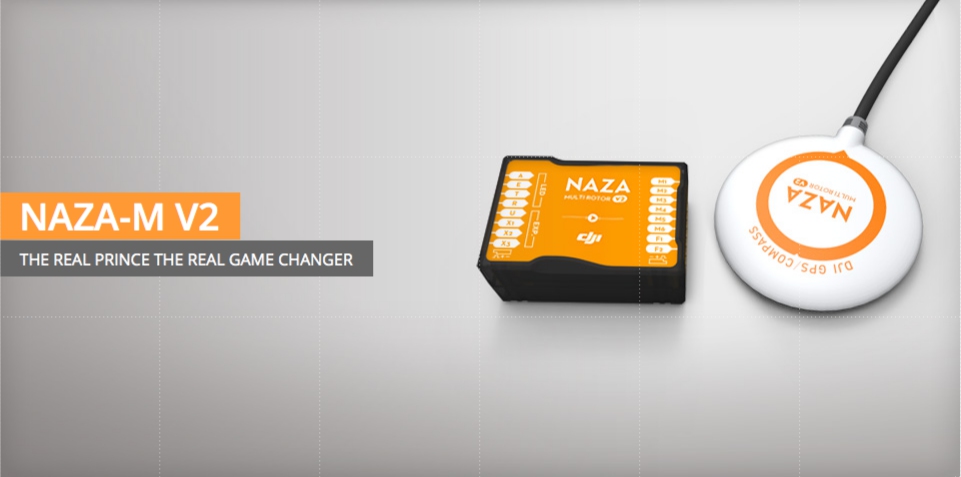
DJI has recently released firmware version 4.02 for NAZA-M V2 flight control boards.
The NAZA-M V2 Flight controller by DJI
This release contains a long awaited fix for the well known “limits bug” that resulted in loss of control of the aircraft if it flow beyond limits, as reported in several threads on RC forums, like this one.
In order to upgrade the firmware on your NAZA MC you should first download and install the version 2.20 of the naza assistant software from the NAZA-M V2 DJI downloads page.
On connecting your NAZA multirotor to the new assistant, upgrade to v4.02 of the firmware will be proposed by the software.
Good news for all pilots that were relying on limits for flying their NAZA V2 controlled flying machines.
Great news: propellers from hobbyking arrived today, so I was able to complete the setup. Trimming correctly was a bit tricky, but I think I got quite right. It is a bit unstable on take off but then catches up quickly as it gains some height.
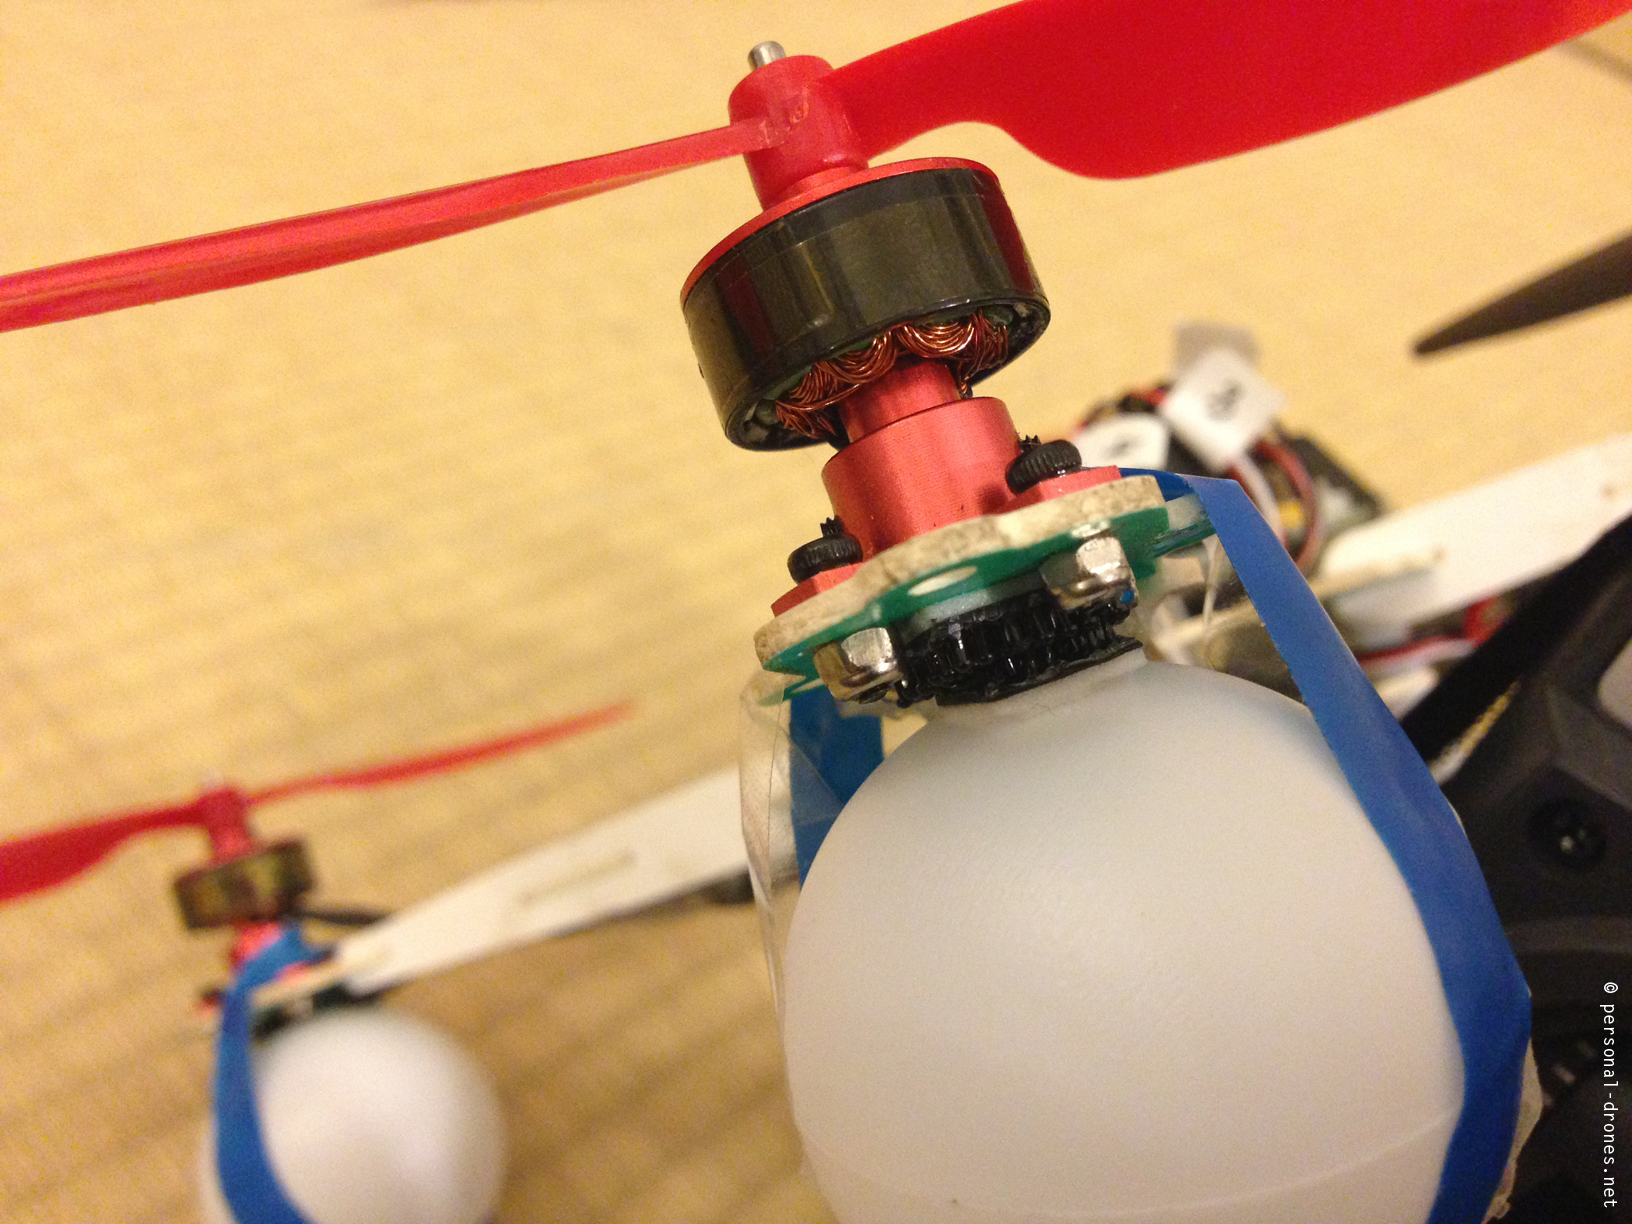
The default landing gear seem to be expressly designed to have the quad tilt on landing and arms crash on the floor, as it provides a very narrow base. Hence the ping pong balls mod.
ping pong balls as landing gear for the hobbyking micro quad with kk2 board
Here you go:
Edit: Moved the ping pong balls more toward the center, as right under the motors is not a good place to avoid stress to the “weak spot”. Also added a mobius camera to check for video stability and as a first step toward an FPV setup. A soft sponge ball was zip tied to each arm, and covered with tape for additional arms protection.
Turnigy micro quad with mobius cameraTurnigy micro quad arm protections and landing gear (ping pong balls)Turnigy pcb micro quad arms protection with sponge balls
A quest toward the perfect quadcopter or multirotor for aerial video and personal flying freedom and a permanent survey on the latest quadcopter news and multirotor news
This website uses cookies to improve your experience. We'll assume you're ok with this, but you can opt-out if you wish.AcceptPrivacy and Cookies Policy
Privacy & Cookies Policy
Privacy Overview
This website uses cookies to improve your experience while you navigate through the website. Out of these, the cookies that are categorized as necessary are stored on your browser as they are essential for the working of basic functionalities of the website. We also use third-party cookies that help us analyze and understand how you use this website. These cookies will be stored in your browser only with your consent. You also have the option to opt-out of these cookies. But opting out of some of these cookies may affect your browsing experience.
Necessary cookies are absolutely essential for the website to function properly. This category only includes cookies that ensures basic functionalities and security features of the website. These cookies do not store any personal information.
Any cookies that may not be particularly necessary for the website to function and is used specifically to collect user personal data via analytics, ads, other embedded contents are termed as non-necessary cookies. It is mandatory to procure user consent prior to running these cookies on your website.