I am very glad to publish the following article by Ben Stuart, Webmaster of Ready Quadcopters. Make sure you pay a visit to this beautiful and informative web site by clicking the logo below!
################################################
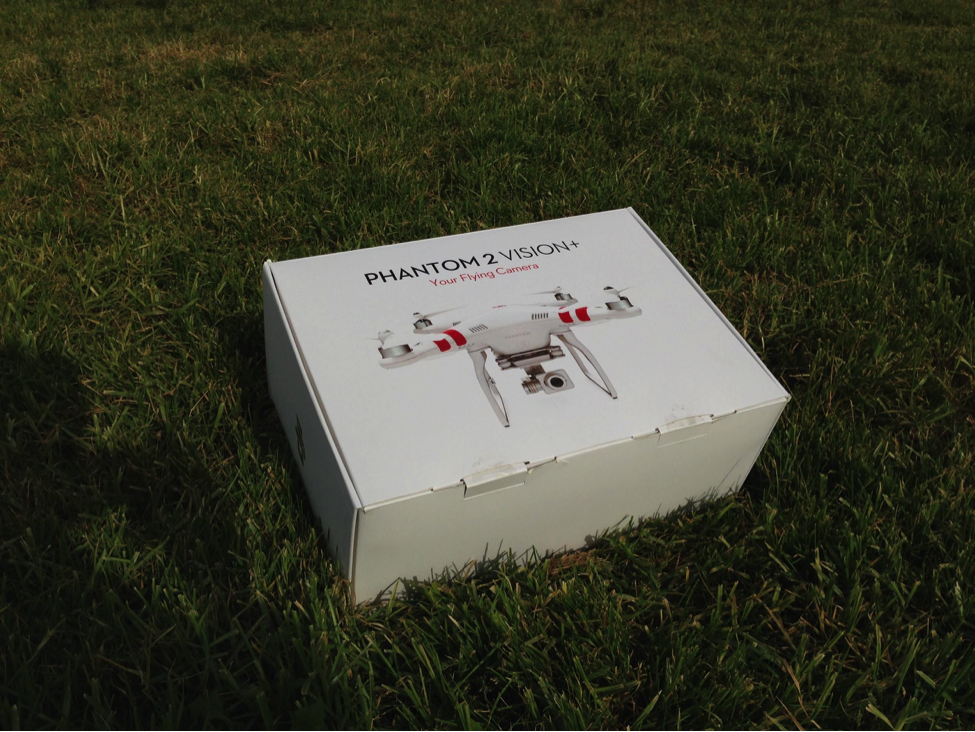
The DJI Phantom 2 Vision Plus is a fantastic machine. Whether you are looking to get into photography or just looking to fly something awesome, then this is the machine for you! It’s great for beginners as well as advanced flyers, just make sure you are someplace that won’t hurt anyone.
While this machine is very cool, we highly recommend you start with something smaller like the Hubsan X4 when learning how to orient yourself with a quadcopter. Even if you have flown model airplanes before, this is something completely different. The Hubsan X4 will give you a cheap flying lesson so you don’t have to experiment on your $1200 DJI Phantom 2 Vision Plus.
Quentin Daems, creator of the FlyXcopter series of quadcopter frames, sent me a FlyX-Mini frame for review purposes. In this post I’d like to report the details of the build I made with this frame and my impressions on the frame itself.
To visit the official FlyXcopter website click on the logo below.
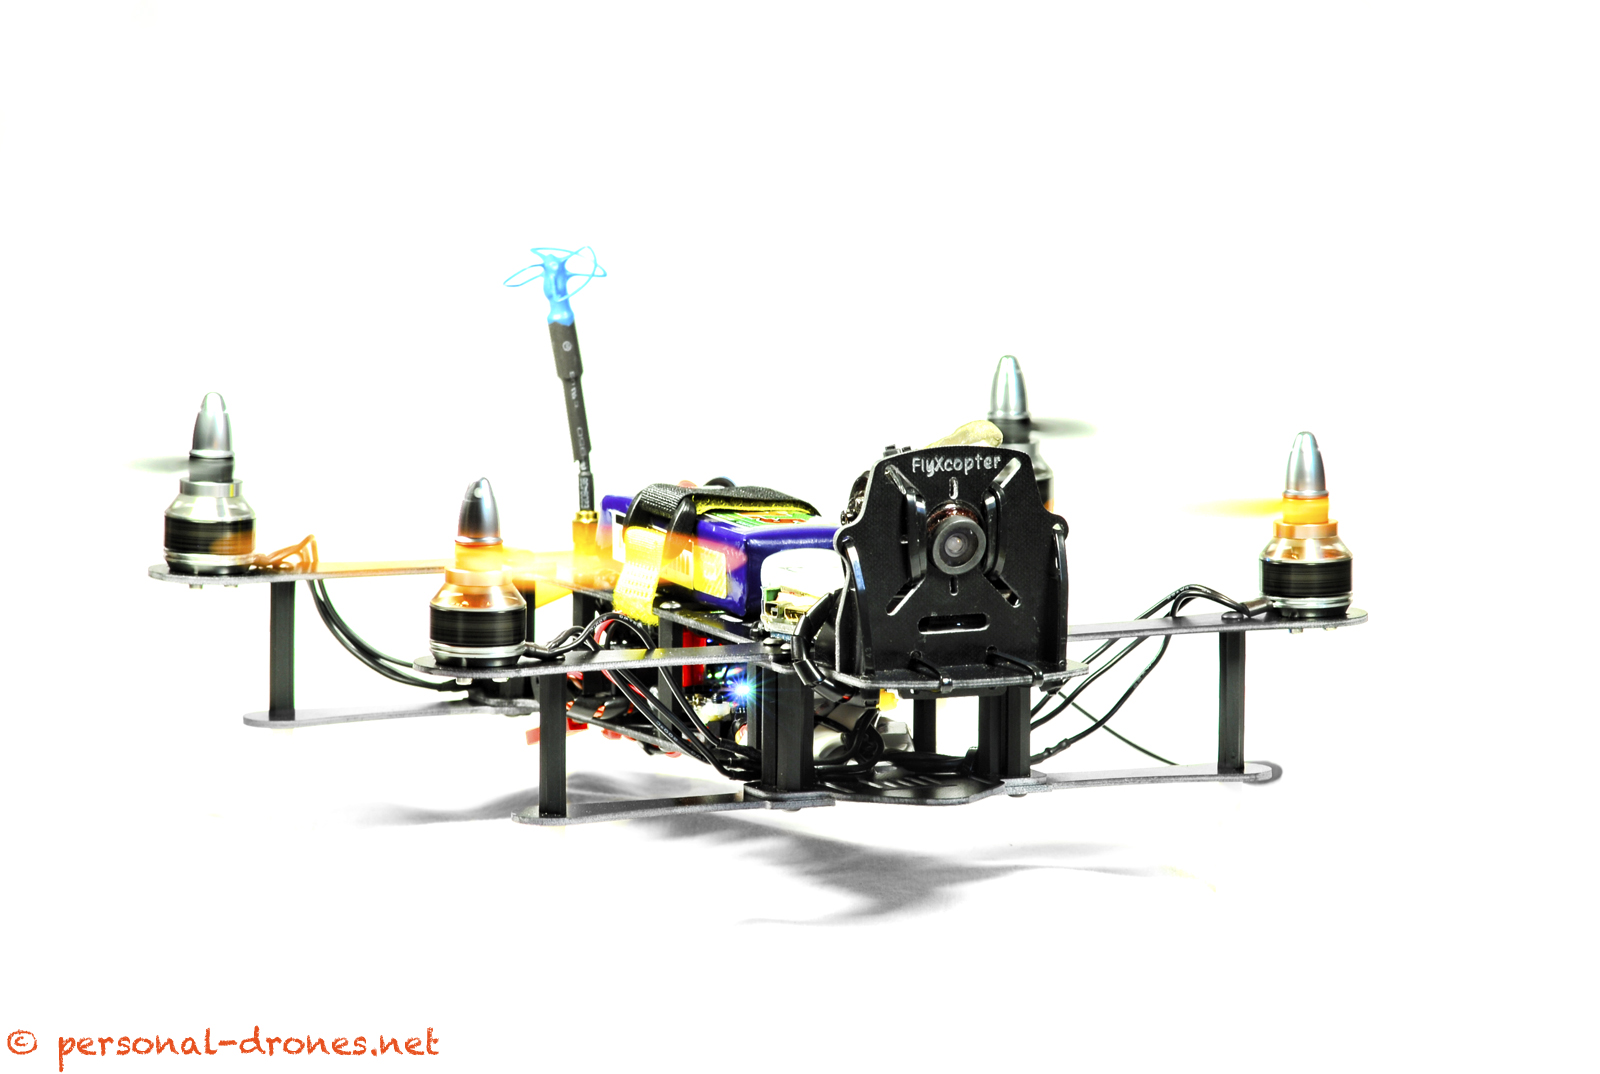
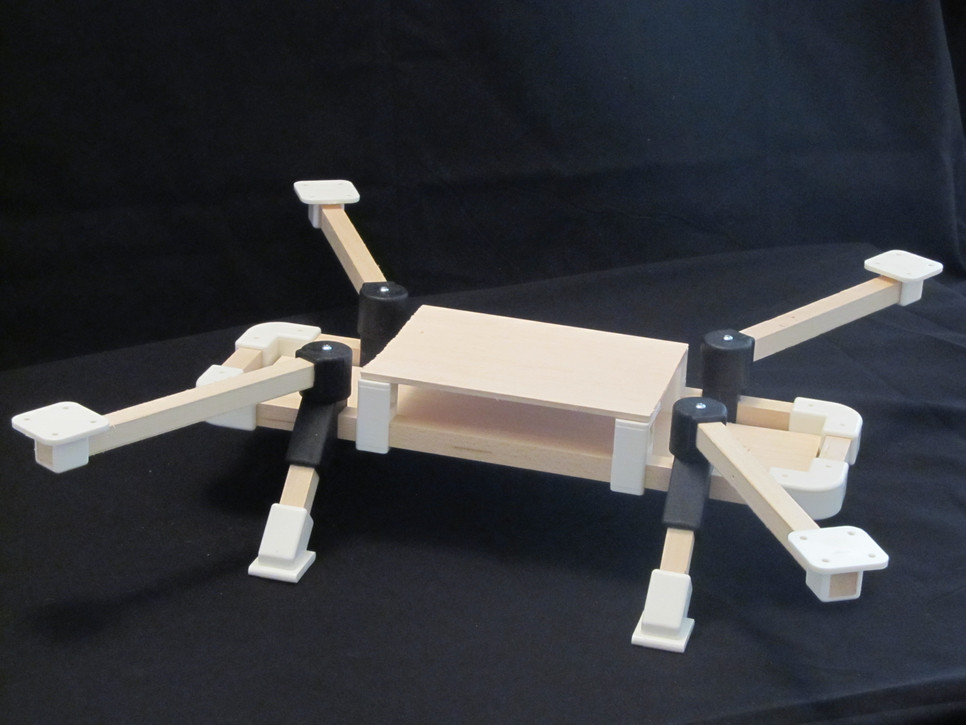
Let me start from the end and show you the final product after a few days of work and testing of this nice flying machine. Throughout this review you can always click on the images to access the full size.
FlyXcopter FlyX-Mini Quadcopter
If you are not familiar with this model already, you can see from the picture above that the little bird definitely has character. It has a distinctive look that sets it apart from the countless clones of the Blackout mini H quad or QAV250 that can be bought from chinese sellers for very low prices these days. Continue reading FlyXcopter FlyX-mini quadcopter build report and frame review→
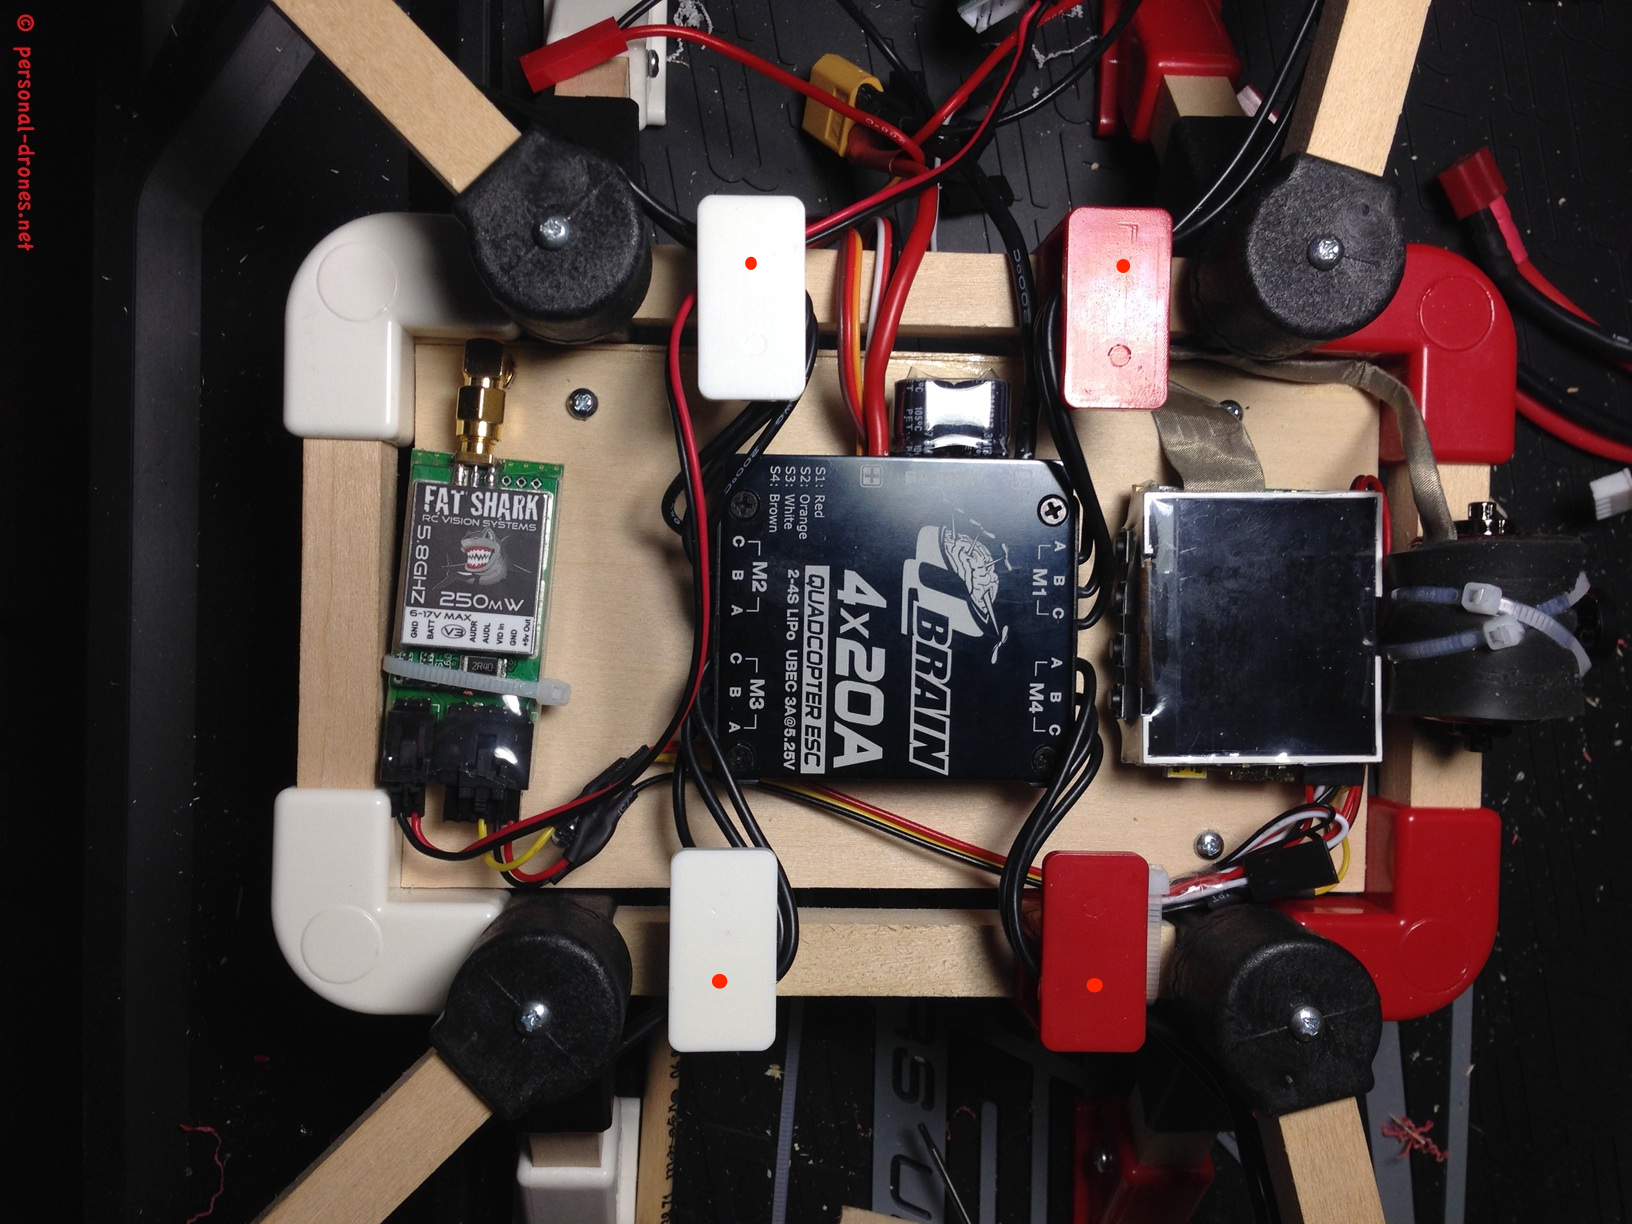
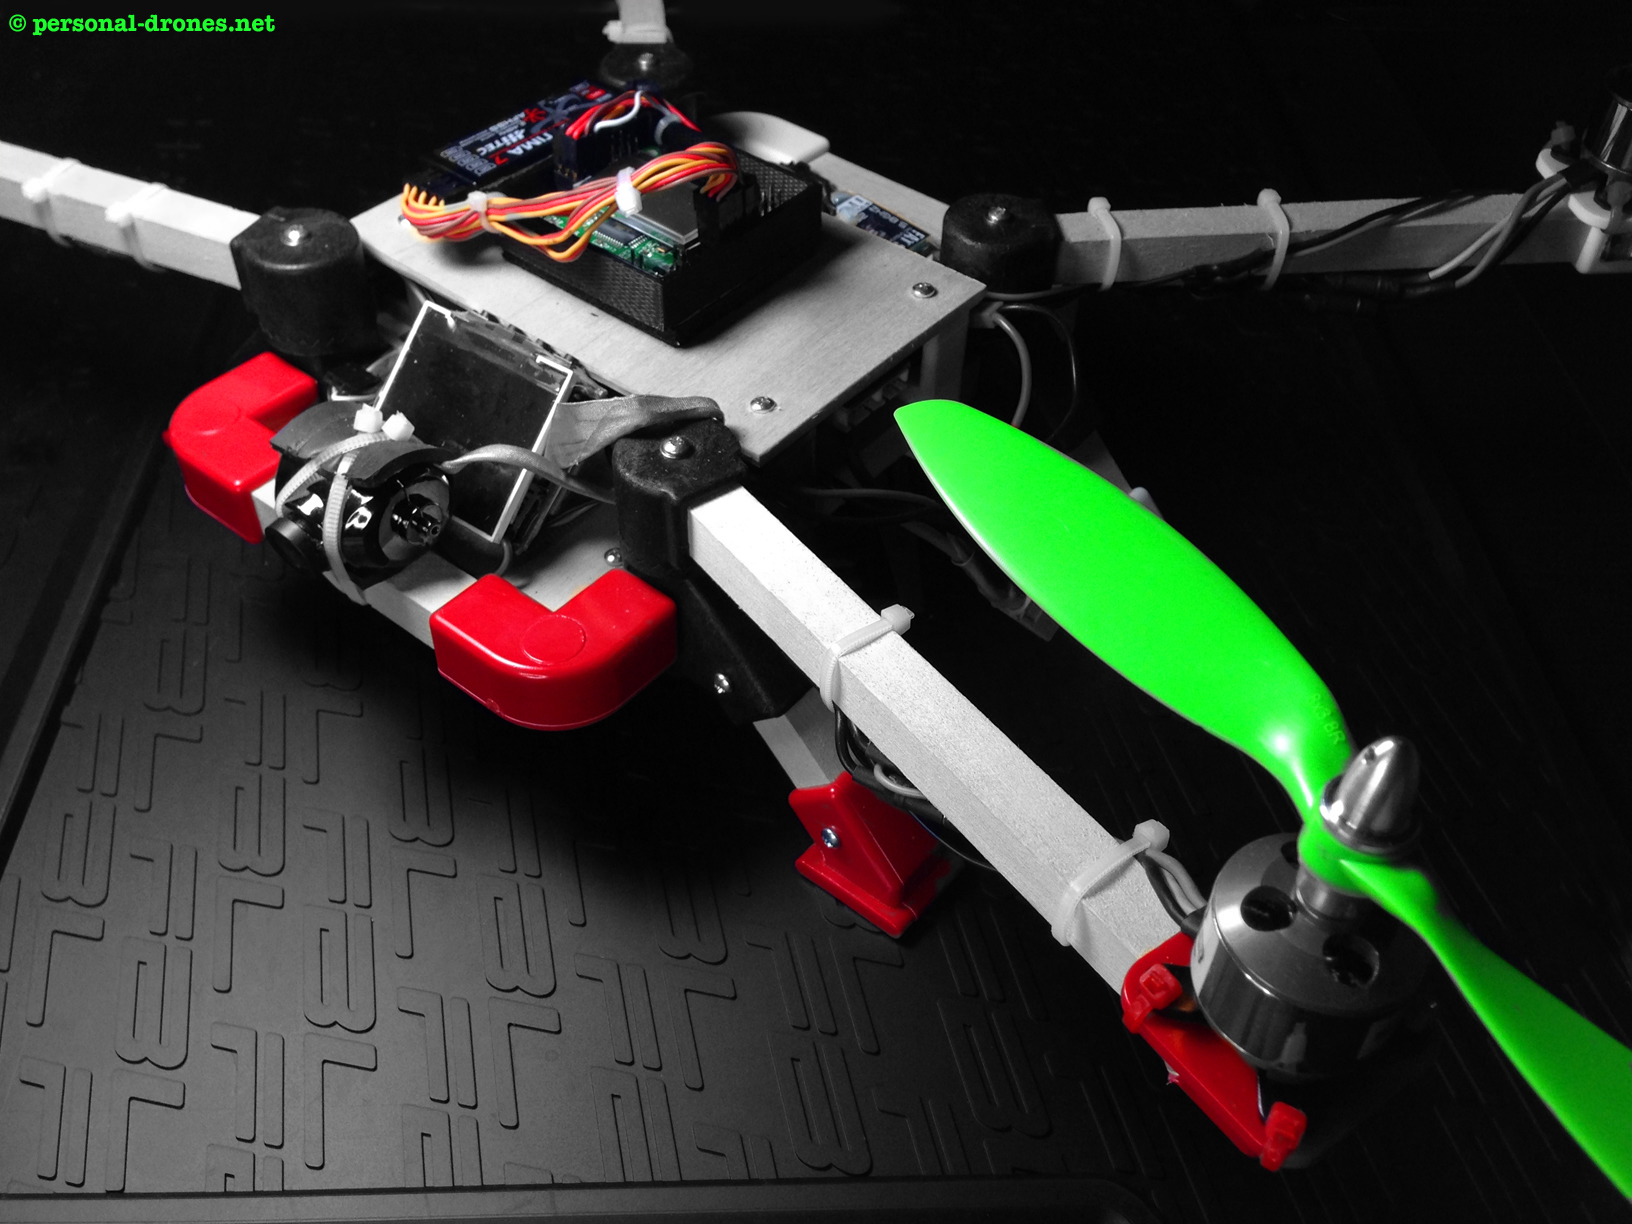
If you followed up to here in this multi part article on the Quadlugs multirotor building system, you know that we are now at a stage in which we have a basically fully assembled 480 mm quadcopter, with motors, escs, and FPV equipment in place. In the image below the placement of the electronics on the lower board is shown. We will have to drill the 4 positions marked by red spots in the figure in order to secure the upper deck in place.
Electronics on lower deck. Points to drill to secure the upper deck are marked with red spots
We now need to finish the build by mounting the upper deck with control board and radio receiver. mounting the upper deck is straightforward. First, drill the upper plate lugs in the positions marked in the figure above. You should do this with extreme care as the ESC wires, in the suggested configuration, run into the lug hole. You could also remove the wires while you do this, or drill before inserting the wires. Then with a pencil, carefully mark the position that correspond the the drilled holes to the wood board. Mind that the board, like the lower board, is larger than required. I did cut down mine to 8.5 x 13.5 cm in order to fit this design. Continue reading QUADLUGS MODULAR MULTIROTOR SYSTEM QUADCOPTER BUILD AND REVIEW – PART 4→
In part 1 and part 2 of this “build and review” article I made a general overview of the Quadlugs modular system and showed how to fully assemble a 480 mm frame. The whole process takes a few hours, especially the first time, when you have to figure out a number of things. I am sure that on my second build (there will definitely be one) things will go much faster. Also, since the things I had to figure out are all included in this review, if you follow instruction closely, and also check out the Quadlugs build videos, then the build of the frame should be really straightforward. Speed will also depends somehow on your personal DIY skill, although I promise that putting the frame together is something that anyone can do.
The frame is now ready, see part 2. Only the top plate remains to be secured in place, however this will be done after all the electronic equipment is mounted.
Let’s start by fixing the motors to the motor mounts. In this case, the motors came without the needed 3.5 mm gold connectors (link) pre soldered to the wires, so I had to solder the connectors myself:
Suppo motors 1100 KV, soldering of 3.5 mm gold bullet connectors in progress, 3 out of 4 motors done.
In part 1 of this build and review article I have been looking at the general features of the Quadlugs multirotor modular system and some preparation steps required before the actual frame assembly, namely the drilling of holes in some of the lugs.
2. Quadlugs quadcopter frame assembly
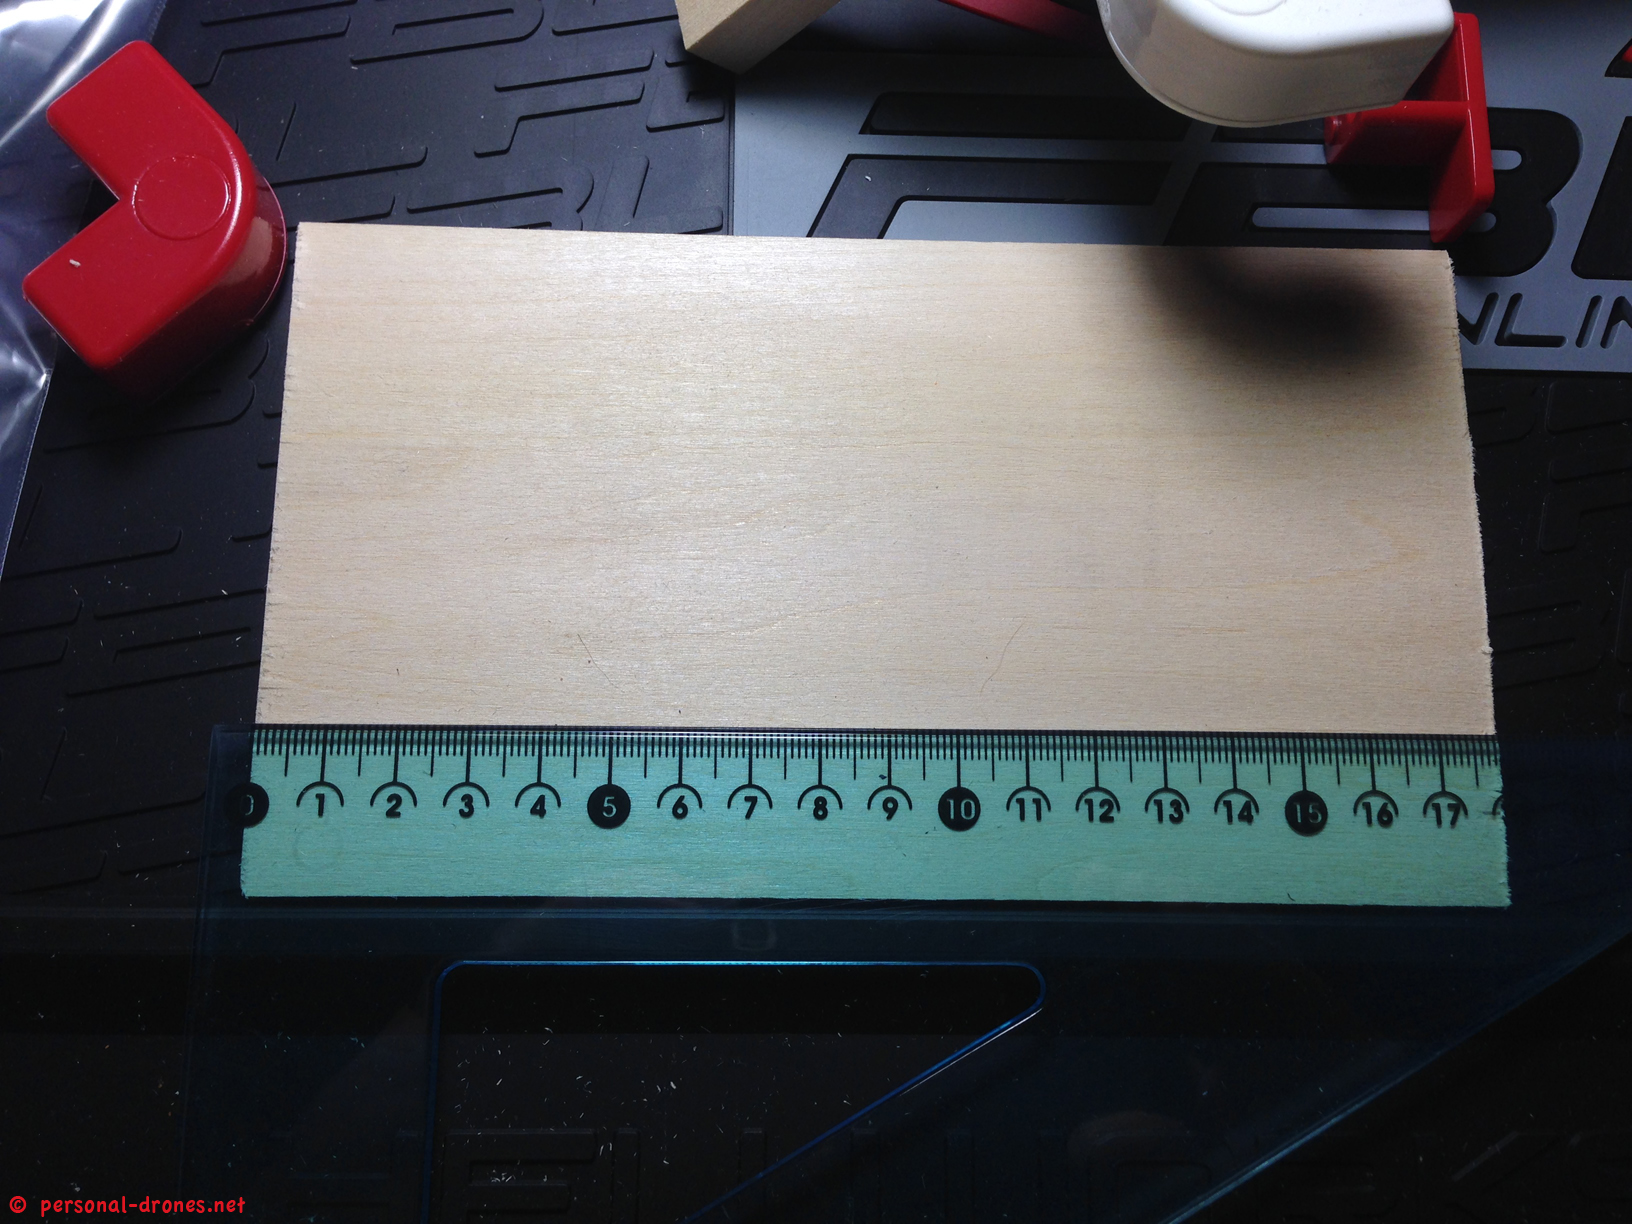
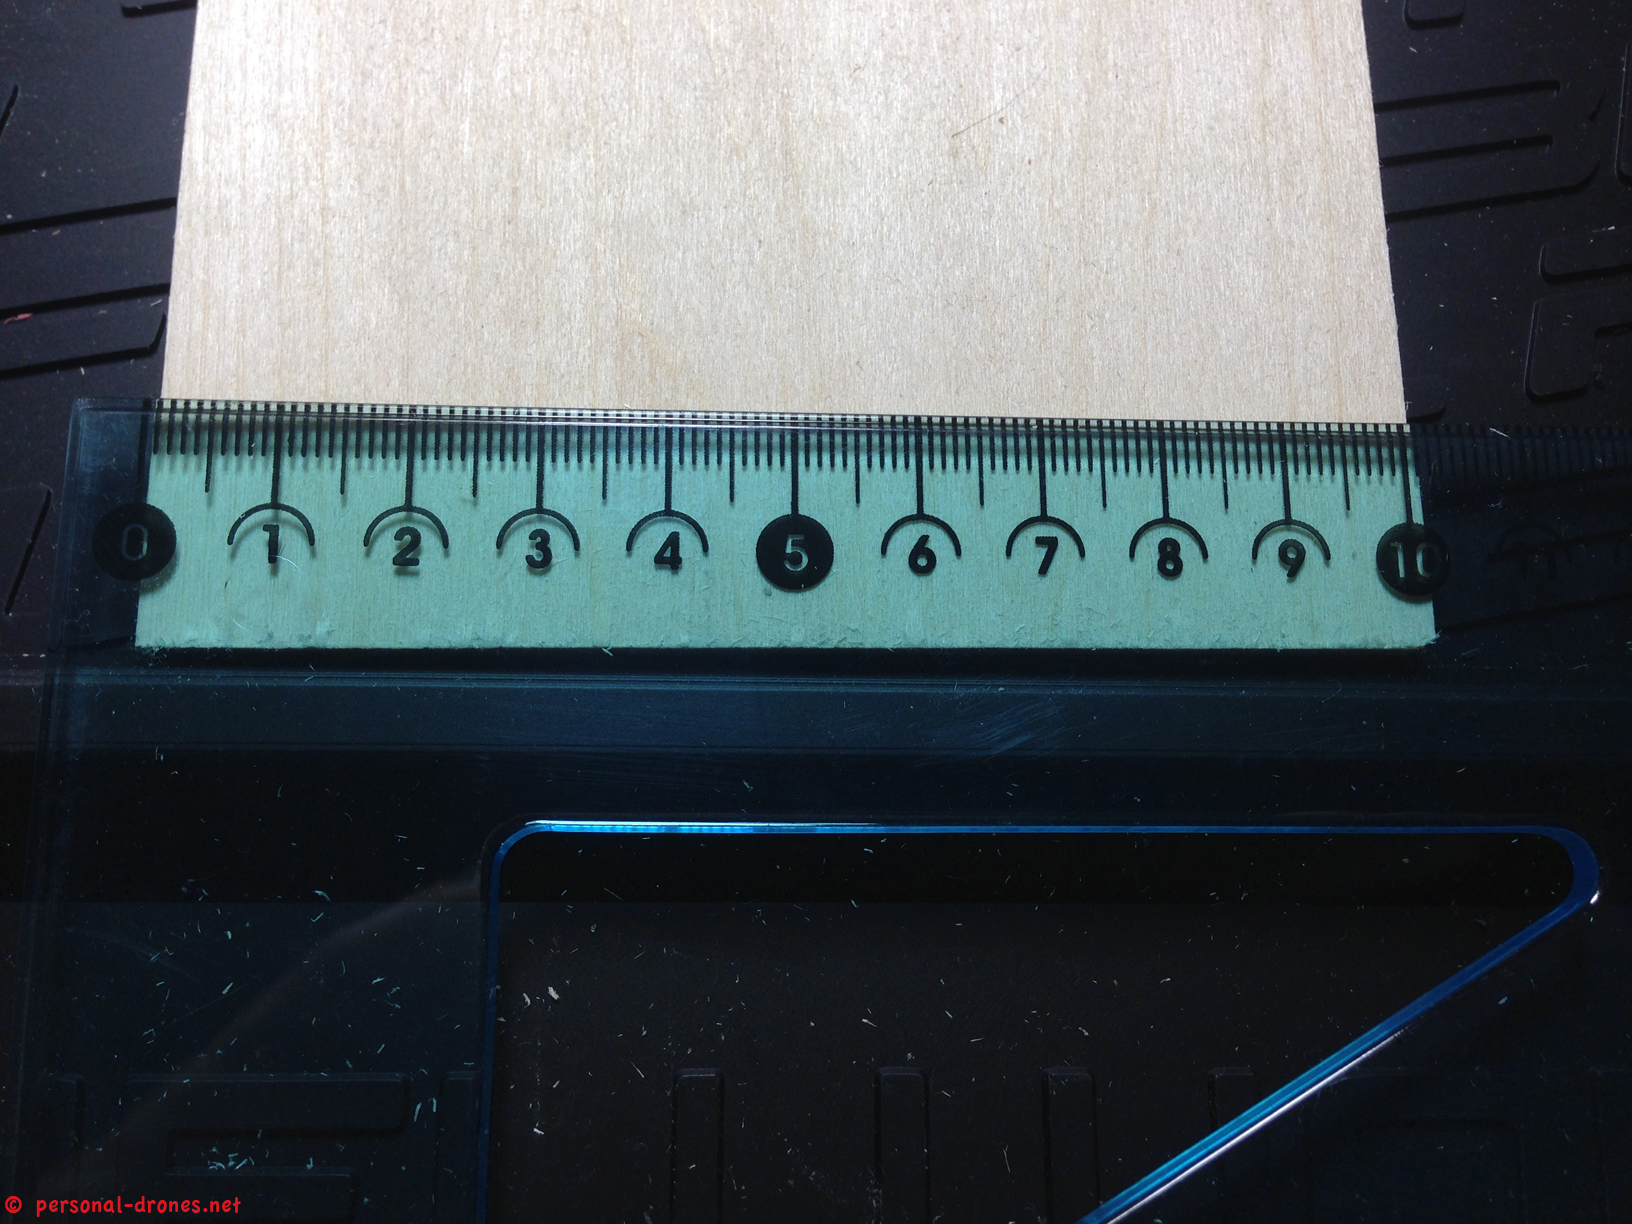
Before we actually assemble the frame, we have adapt the bottom plate, which is slightly larger than possibly needed.
The original size of the provided bottom plate is 17,9 x 10,1 cm (and 3 mm thick):
Measuring the bottom plate heightMeasuring the bottom plate width
I have received a nice USPS box from Danny, funder of the Quadlugs multirotor modular system and started a build with the main purpose of testing this original piece of technological equipment for strengths and weaknesses, report to our blog readers and providing a build blueprint for others that might want to built their own Quadlugs based multi rotor.
A packet from Quadlugs!A mounted Quadlugs frameThe result of quite some work on the packet contents: a Quadlugs 480 build for FPV, straight from the Personal Drones Blog! Stay with us and build yours by following our simple instructions
As it happens, care to details and sometimes the use of some dedicated, although simple and inexpensive devices can go a long way in protecting your expensive equipment. One piece of delicate equipment used in RC models, and in particular for FPV, are indeed video cameras, with their exposed lens.
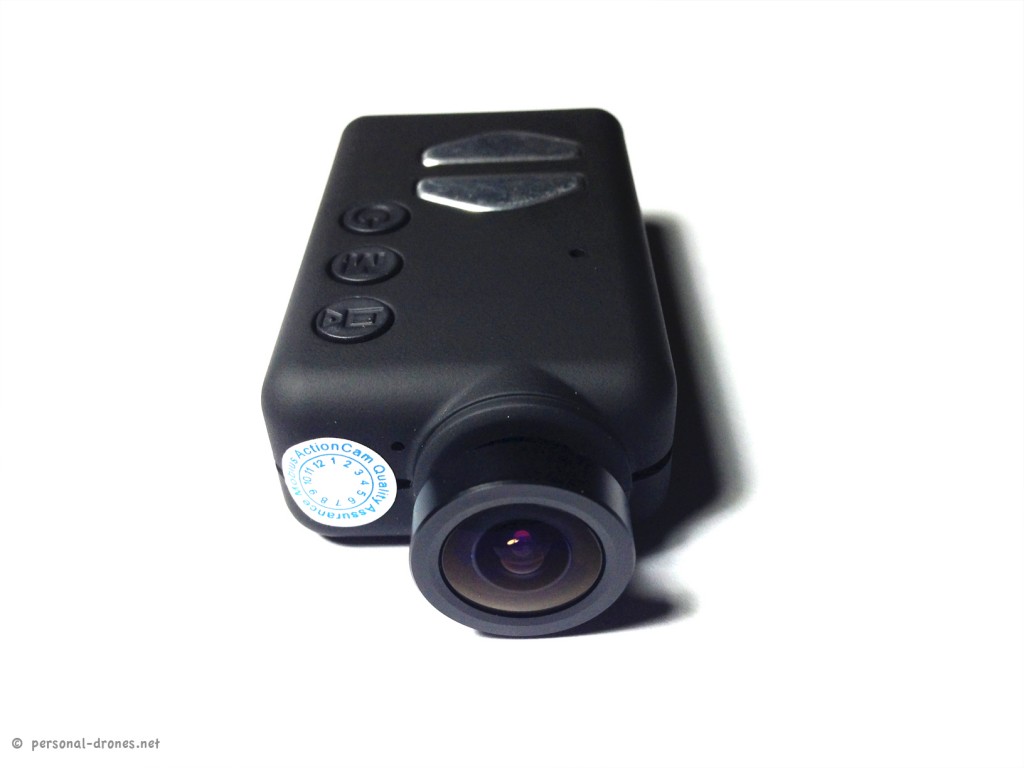
We have been discussing the setup of the Mobius camera for FPV in a previous post. Since then, a nice new model with wide angle lens came out:
Mobius camera, wide angle version
This is even better than the original version as for FPV it is great to have an as wide field of view as possible.
The wide angle lens is however somewhat bulky and protrudes prominently from the camera body. In the event of a collision, the lens will make for a great shock absorber for your multirotor, especially if the camera if mounted on the front of the aircraft, as it usually happens. But of course you see the point here: chances of damaging the precious optical element are significant.
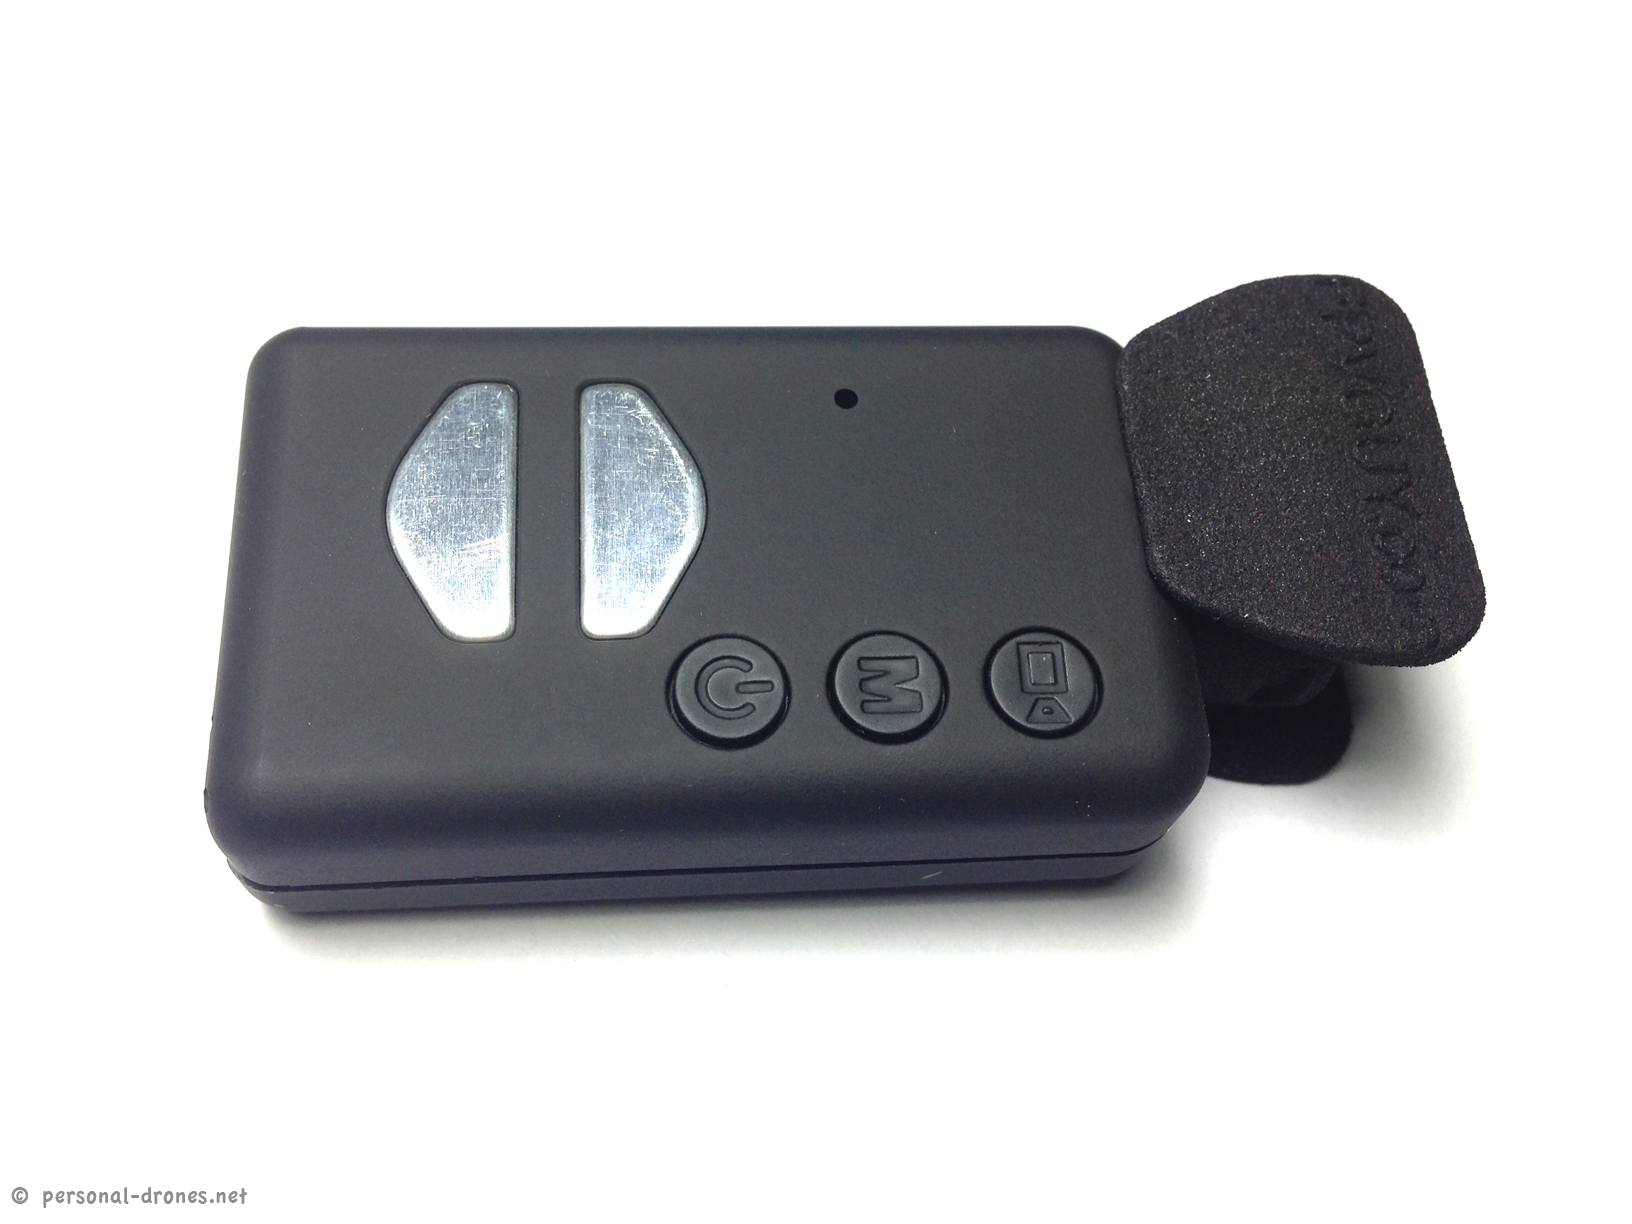
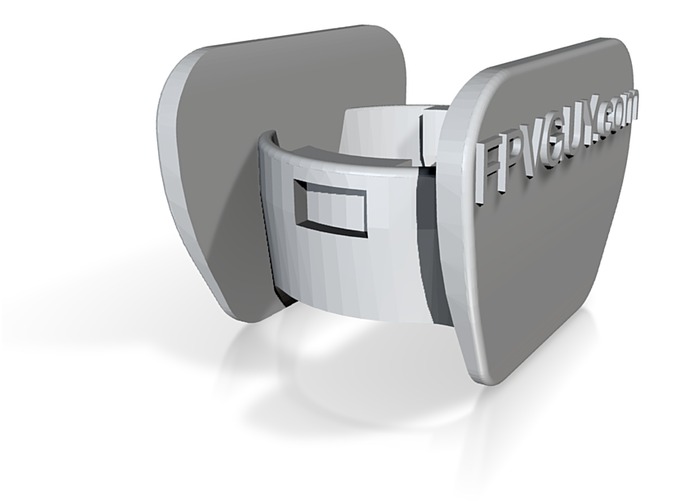
There comes to the rescue a great, lightweight, little custom piece of equipment designed by Bo Lorenzen (check out his Blog at FPVGuy.com) as a shock absorber / lens saver to protect the lens of the wide angle Mobius camera.
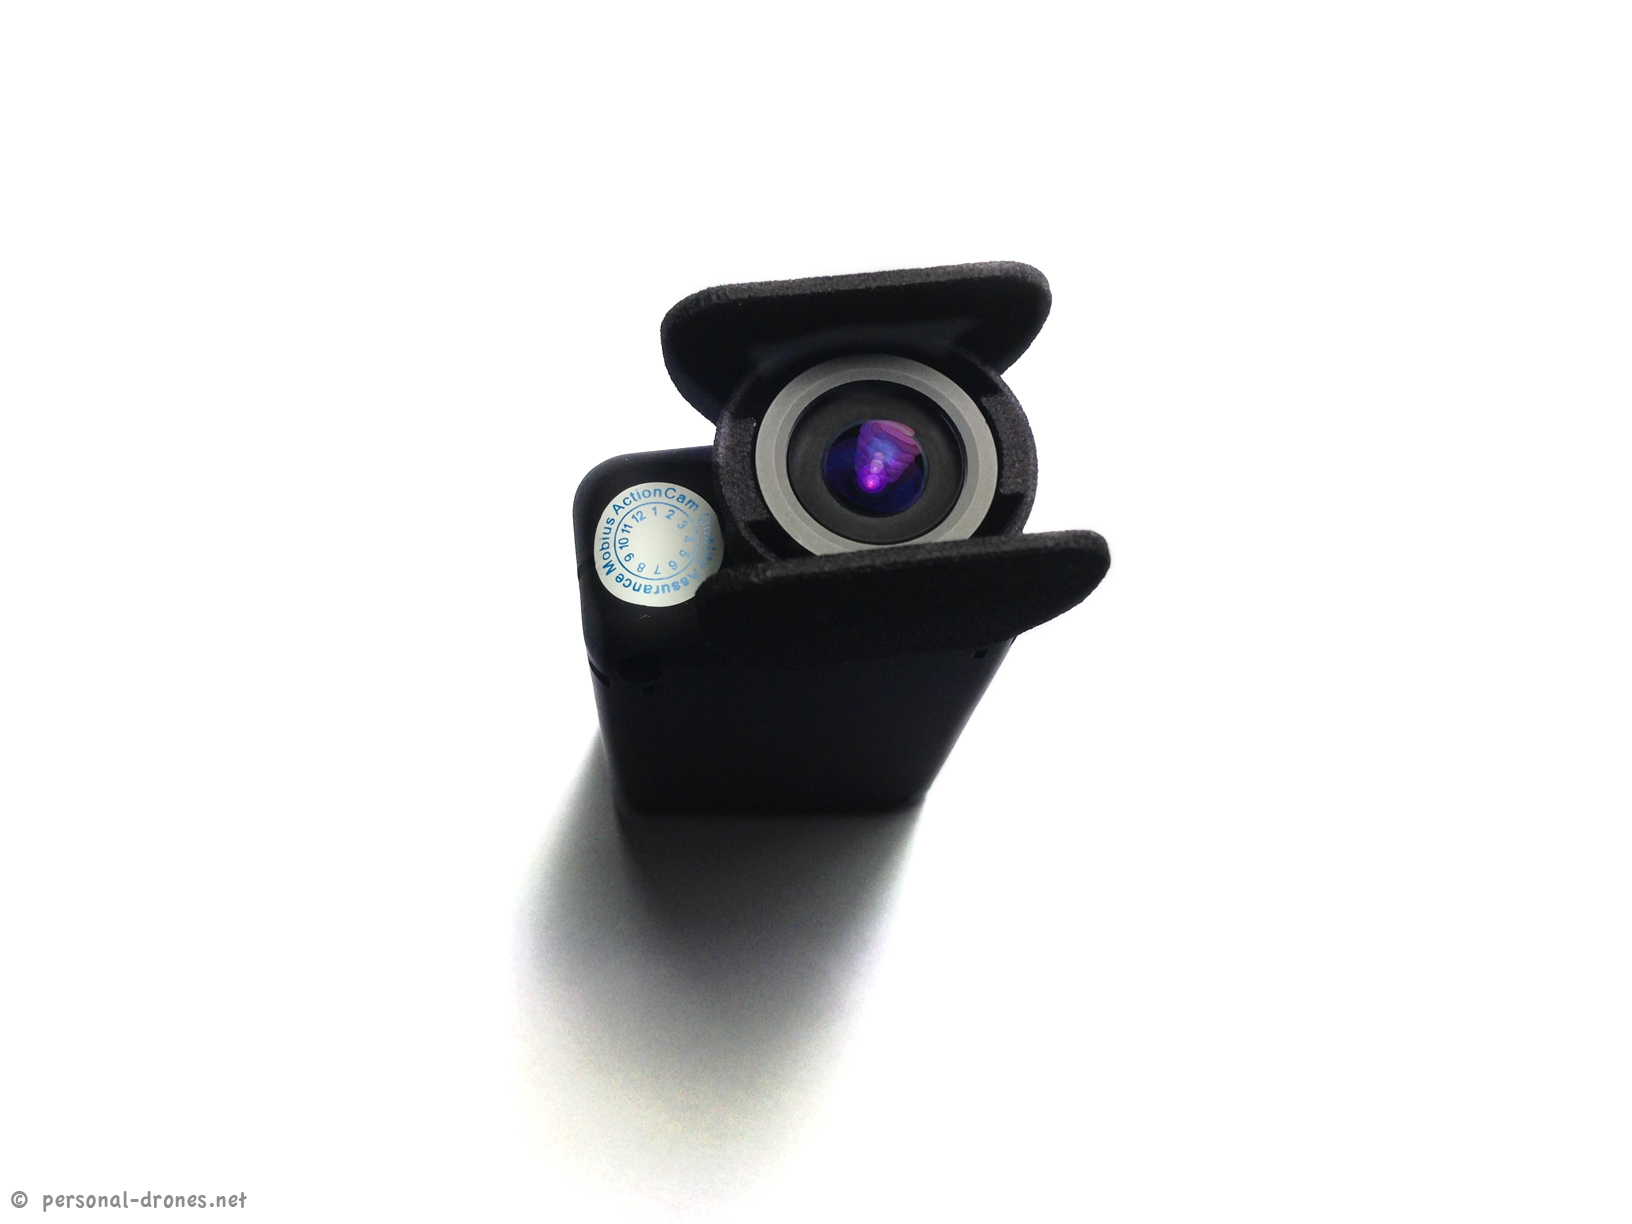
I tried it and it is a perfect fit. Once in place the piece will grip strongly to the camera. A little pressure on the two little “wings” will release grip and allow a smooth removal.
Wide angle mobius camera with lens protector from FPVGuy – Top viewWide angle Mobius camera with lens protector from FPVGuy – Front view
The mobius wide angle lens protector is described here and can be ordered from Shapeways. It is made with a 3D printer from the original Bo Lorenzen design.
At 7$ + shipping this little accessory simply cannot be missed if you use a wide angle Mobius camera for FPV.
A quest toward the perfect quadcopter or multirotor for aerial video and personal flying freedom and a permanent survey on the latest quadcopter news and multirotor news
This website uses cookies to improve your experience. We'll assume you're ok with this, but you can opt-out if you wish.AcceptPrivacy and Cookies Policy
Privacy & Cookies Policy
Privacy Overview
This website uses cookies to improve your experience while you navigate through the website. Out of these, the cookies that are categorized as necessary are stored on your browser as they are essential for the working of basic functionalities of the website. We also use third-party cookies that help us analyze and understand how you use this website. These cookies will be stored in your browser only with your consent. You also have the option to opt-out of these cookies. But opting out of some of these cookies may affect your browsing experience.
Necessary cookies are absolutely essential for the website to function properly. This category only includes cookies that ensures basic functionalities and security features of the website. These cookies do not store any personal information.
Any cookies that may not be particularly necessary for the website to function and is used specifically to collect user personal data via analytics, ads, other embedded contents are termed as non-necessary cookies. It is mandatory to procure user consent prior to running these cookies on your website.