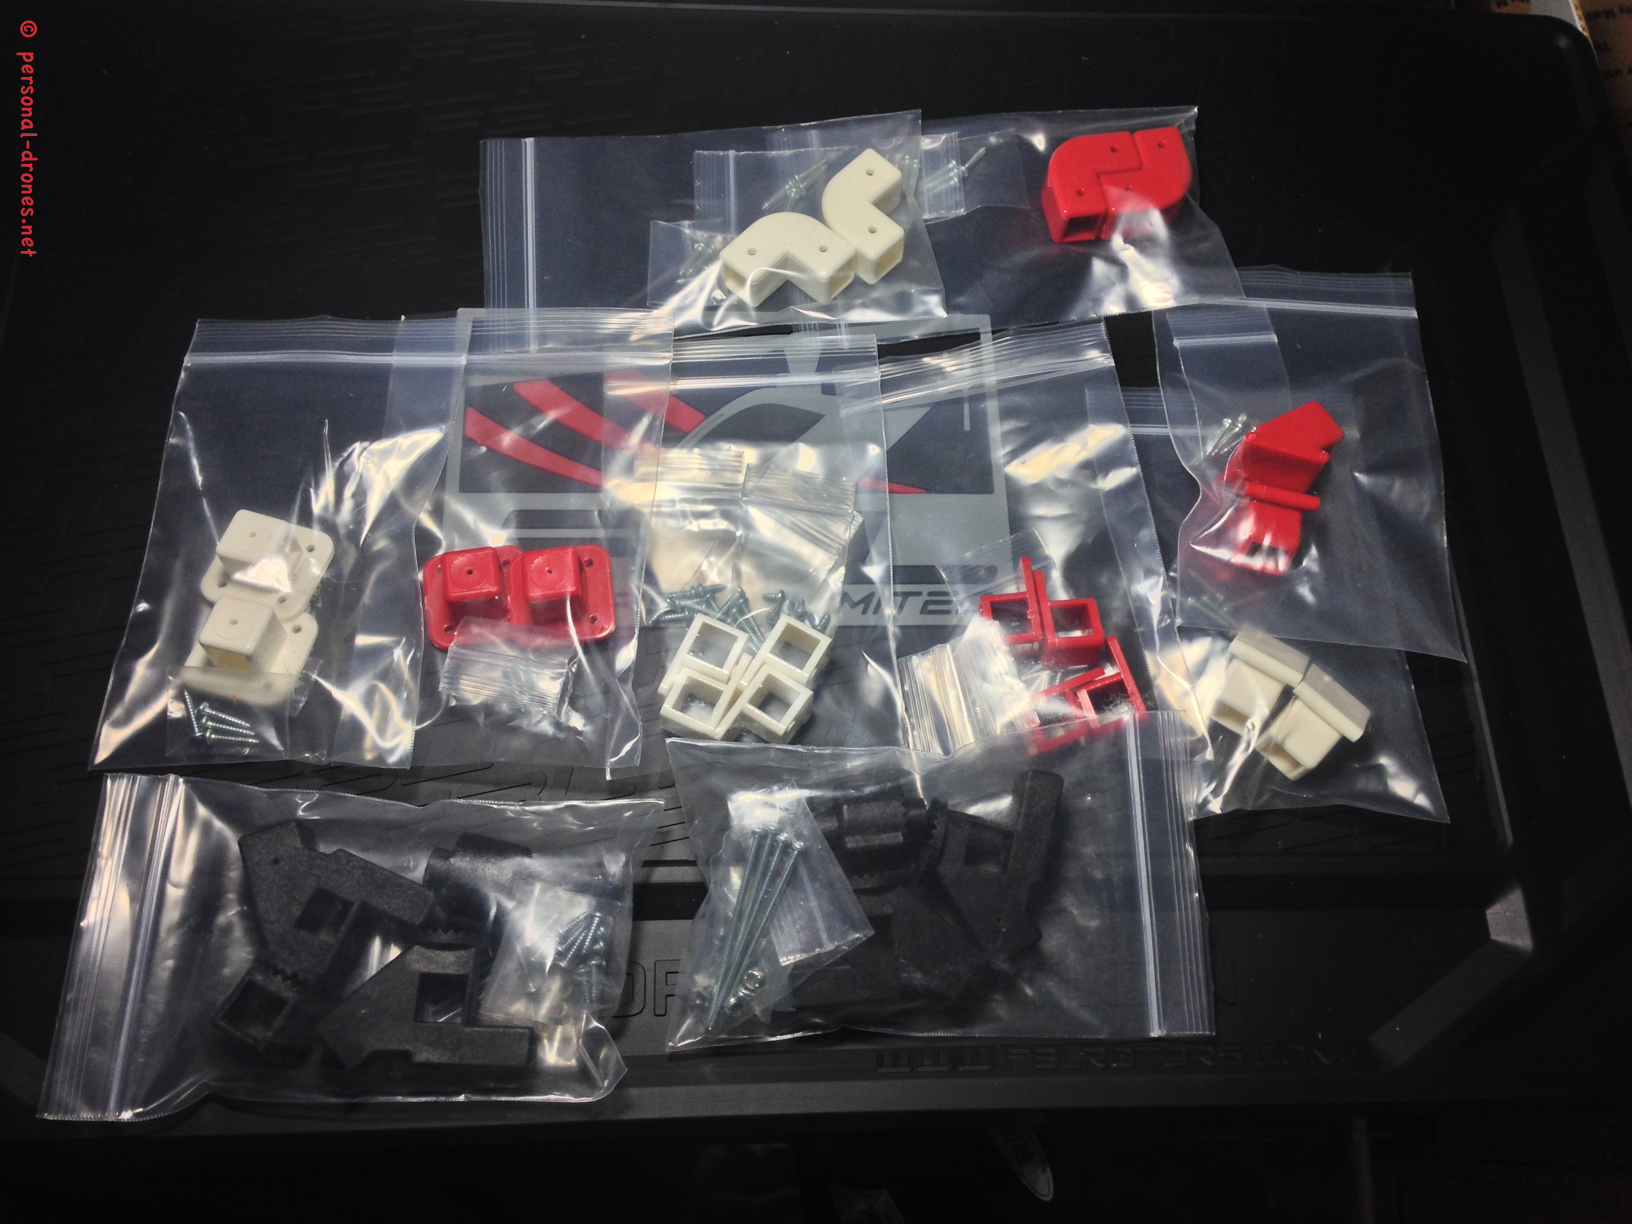
I have received a nice USPS box from Danny, funder of the Quadlugs multirotor modular system and started a build with the main purpose of testing this original piece of technological equipment for strengths and weaknesses, report to our blog readers and providing a build blueprint for others that might want to built their own Quadlugs based multi rotor.

Since the idea of a system based on a number of small pieces that can more or less freely assembled to create different machines is starting to be seen around, for example in the new RotorBits frames available at Hobbyking, we will also shortly discuss quadlugs in comparison to RotorBits as there are a few key differences that are worth highlighting.
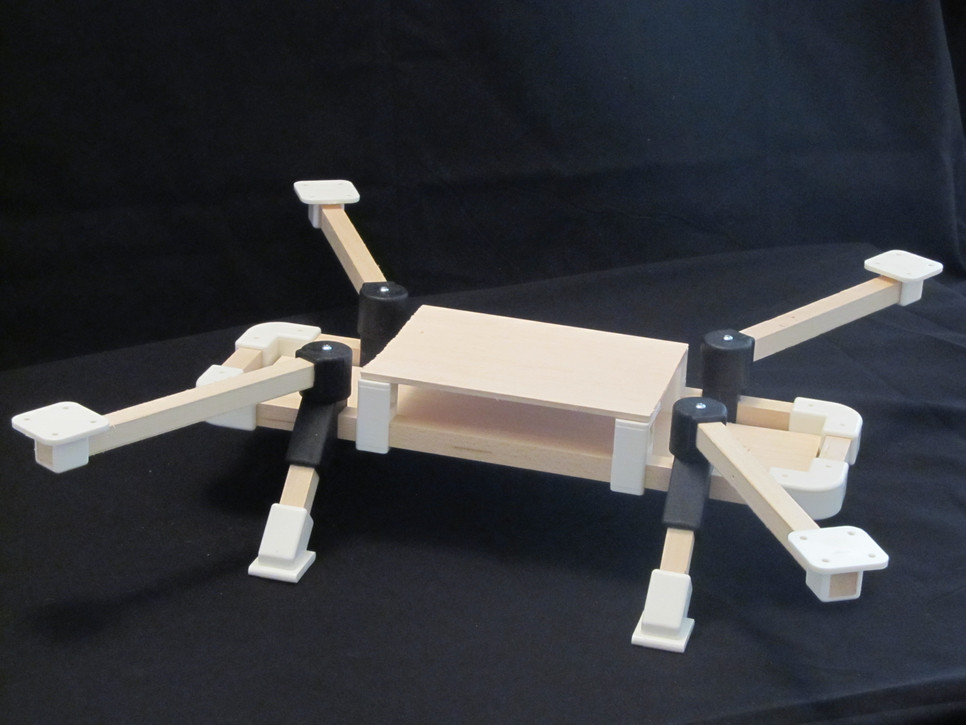
The build process is different from other “classic” frame systems, such as the DJI F450 or F550 and many others, so I will go through all the assembly steps, in pictures, to let you have a close look at what you can expect if you decide to build one yourself, and possibly provide some inspiration for your own creative build.
Indeed, as I have appreciated during the building process, Quadlugs is, or can be very much about personal creativity. When you build a DJI F450 frame, you pretty much exactly know where you will end up. Of course, no F450 build are alike, especially when equipment is added outside the standard DJI equipment, and lots of decisions can be made to customize an F450 build. However the very basic structure of the frame is “fixed”. You position the arms within the two center plates, tighten the screws, and this is it. The shape of the frame is pre-determined by DJI, you can’t really do much about it, unless of course you start to build custom pieces etc.. but this is not for everyone, with such a “rigid” system”.
Not so with Quadlugs. Of course you can get a “standard” wood pieces set from Quadlugs, I actually recommend you do to start with, and build a “standard” version. However since all frame parts except the lugs are made of wood, and have a quite simple design, squares, rectangles, the kind of simple pieces anyone, even with no special wood crafting experience, can build easily with simple tools. So once you get familiar with the system, you can so easily shape it to your own custom needs, by just sourcing a few new pieces of wood. Simple, inexpensive, rewarding and fun. A full DIY experience, if you wish. Otherwise you can just stick to the default frame kit and still enjoy a custom build by making some decisions, as I have done for my own build described here.
Mind that you can click on the pictures on this article to view them full size, they are much bigger and informative than the thumbnails that you see here!
Enough talking for now, let’s go to the solid stuff.
Build Components
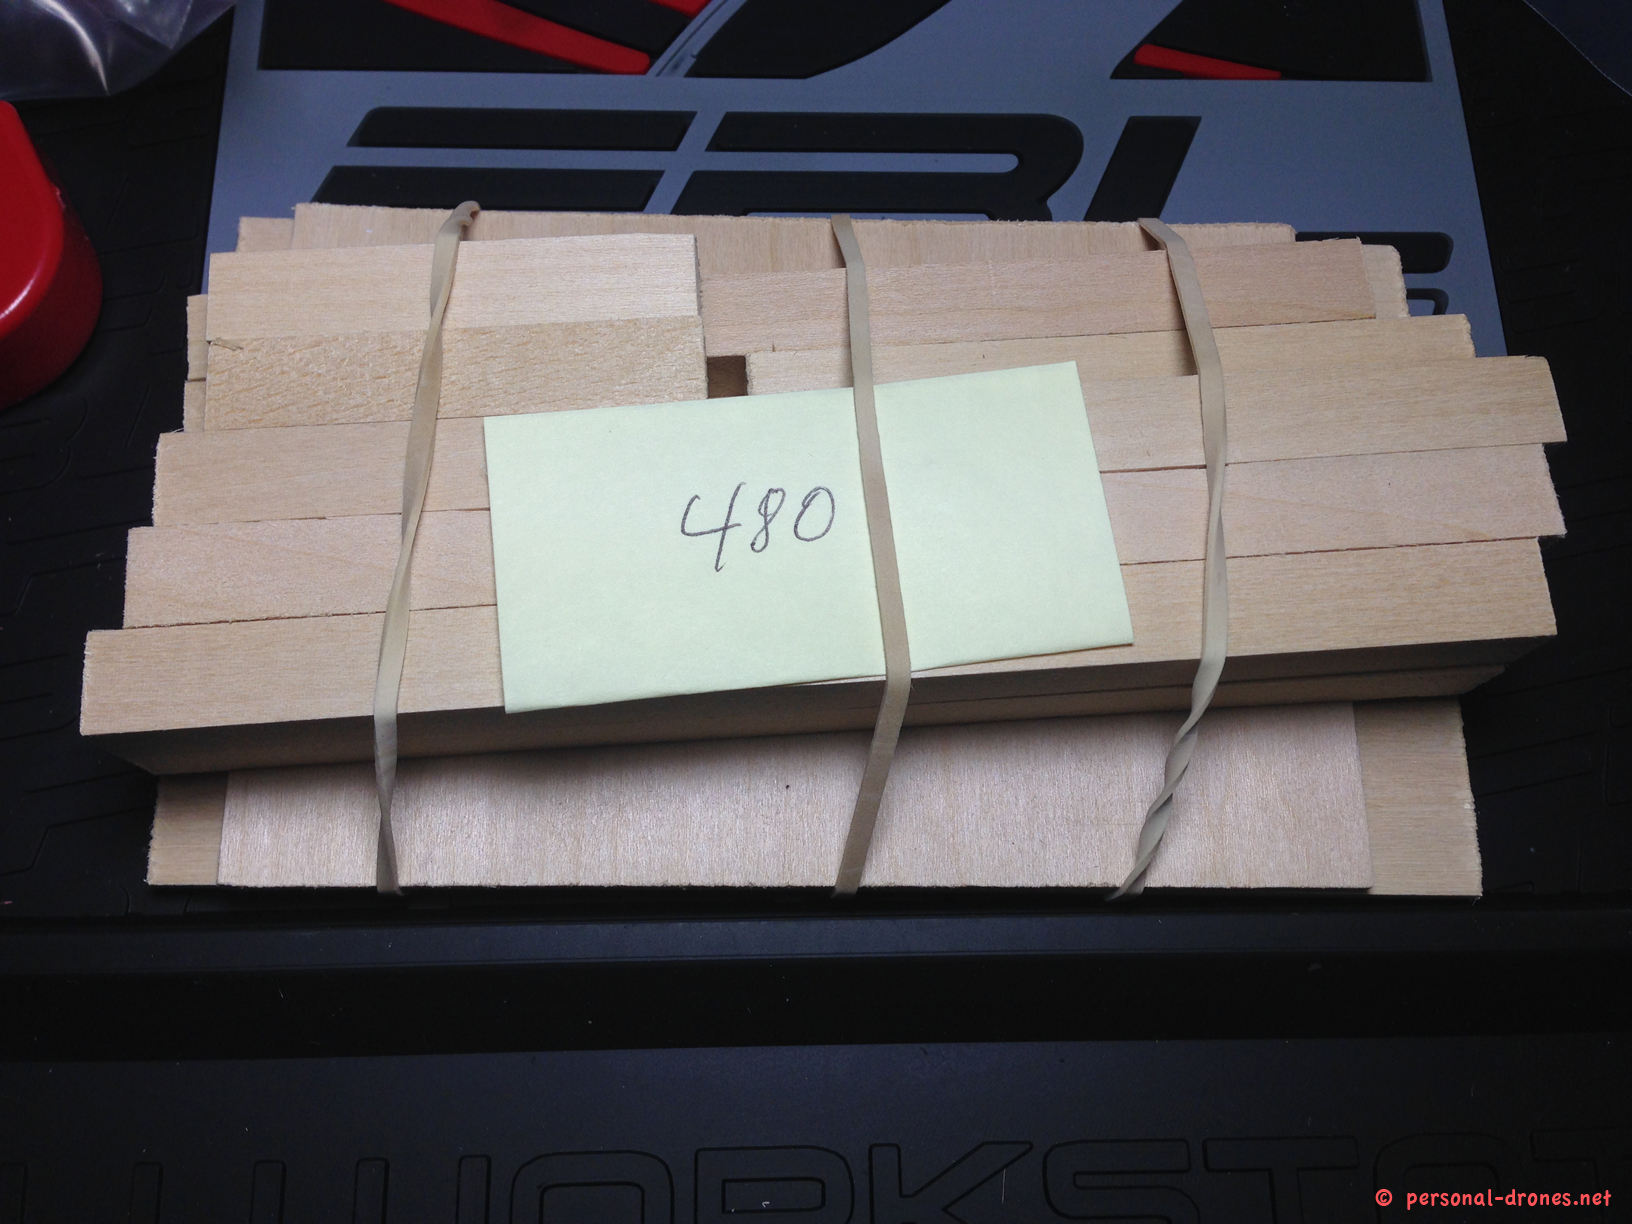
- Frame: Quadlugs multirotor modular building system, 480 mm – includes a full lugs set and the wood to make a 480 mm quadcopter
- ESC: Hobbyking Q Brain 4 x 20A Brushless Quadcopter ESC 2-4S 3A SBEC
- Brushless motors: Suppo motors 1100 KV
- Propellers: 8 x 3,8 Slow Flyers
- Camera: Foxtech FPV Horizon HD V3 an awesome FPV camera with embedded full HD video recording
- Video Transmitter: FatShark 250 mW, 5.8 GHz
- Polarized Antenna: 5.8 GHz Bluebeam Omni Antenna Set (RHCP) (IBCrazy)
- KK2 board Flight controller and receiver enclosure: Quadlugs
- Battery holder/mount: Quadlugs
- Flight Controller: Hobbyking KK2.1 board – flashed with firmware 1.14S1. Check out our tutorial on how to update the KK2 board firmware to the last version
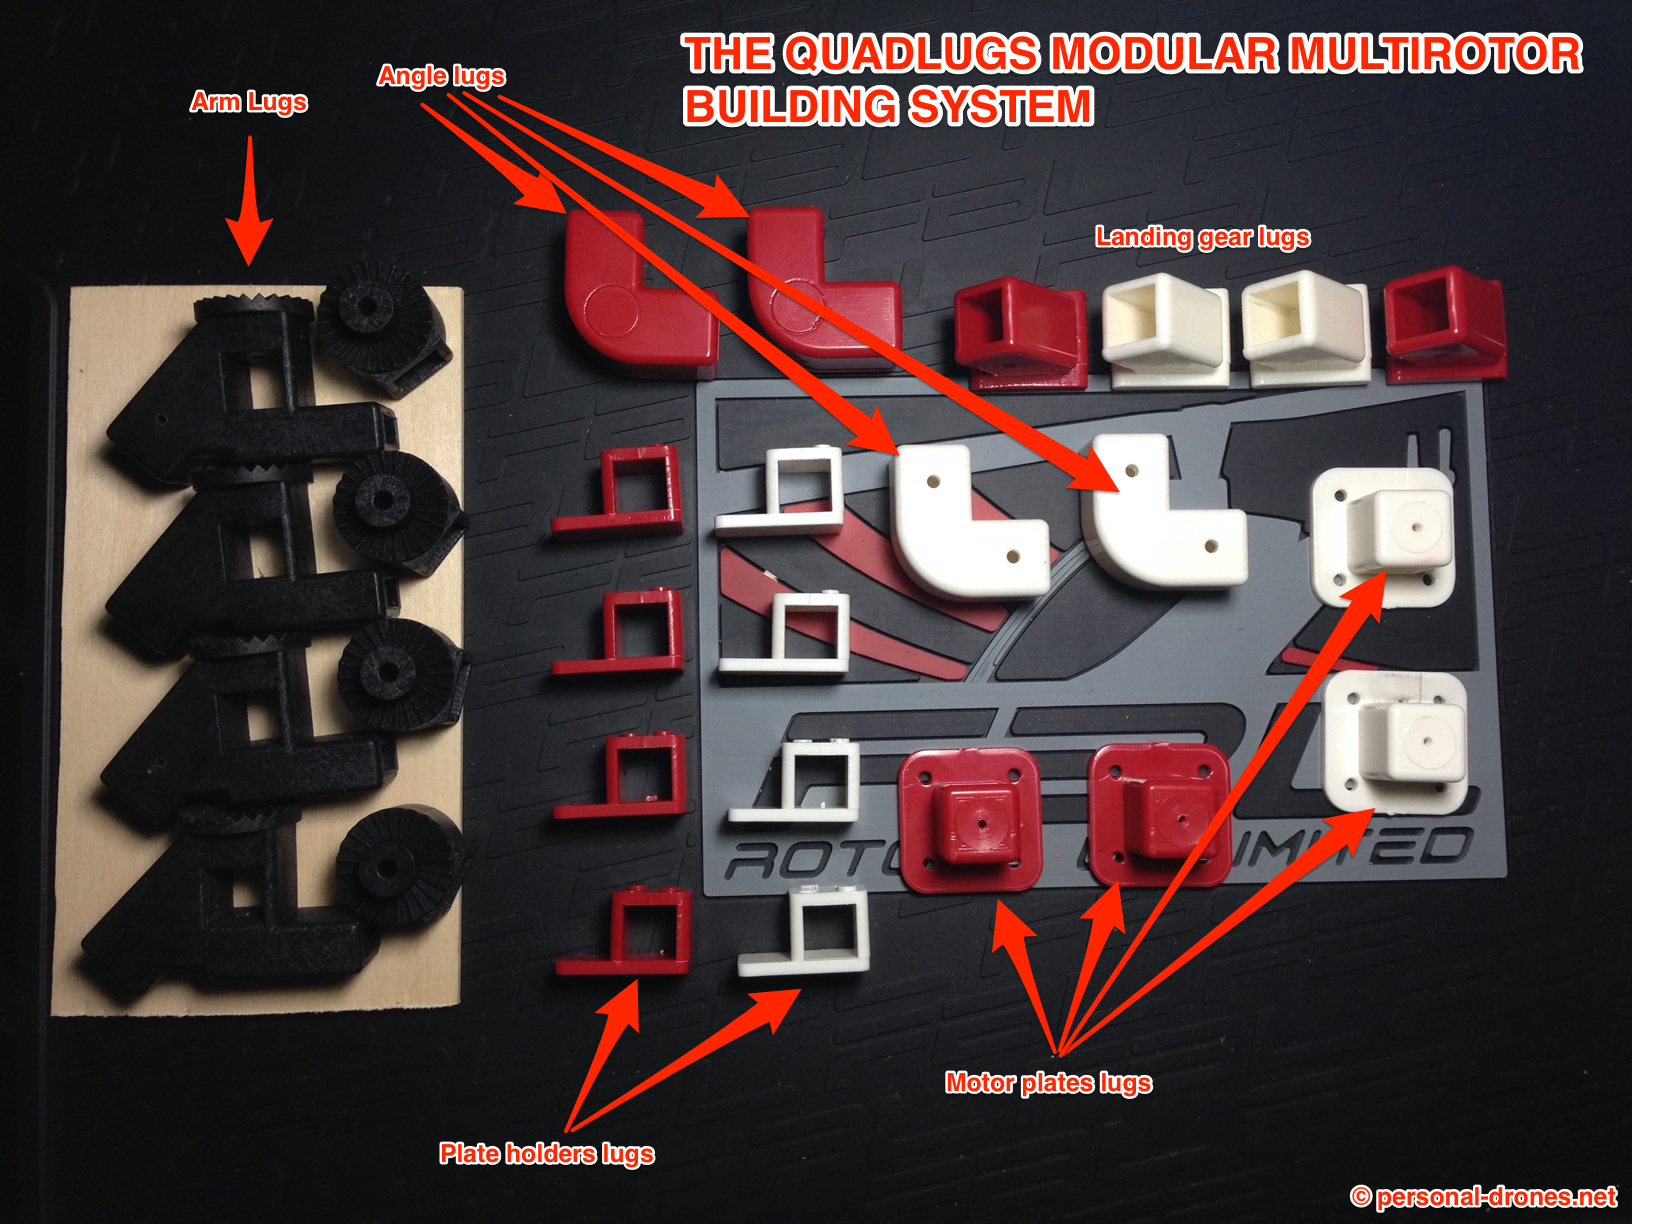
The lugs
Before we get into the build itself, let’s briefly introduce the lugs, the main components of the Quadlugs system, and how they we can fit them together with the wood components in order to build the quadcopter.
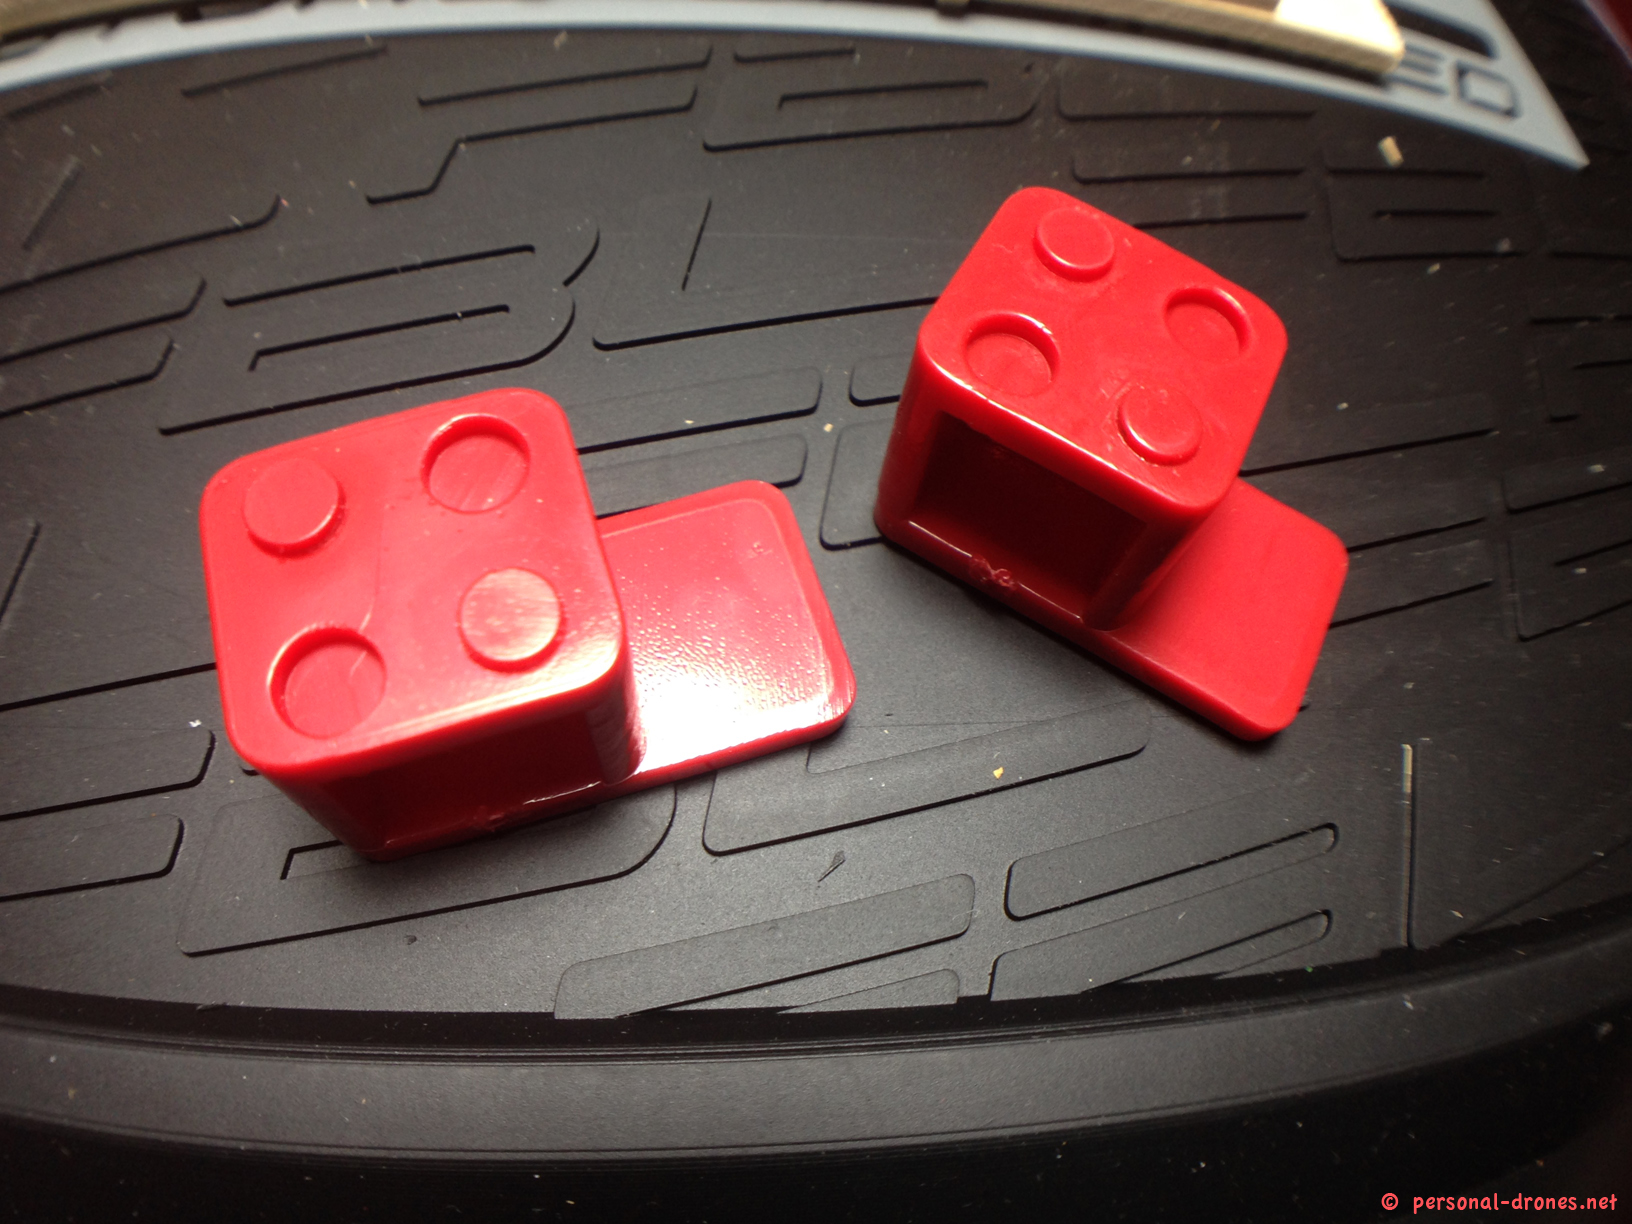
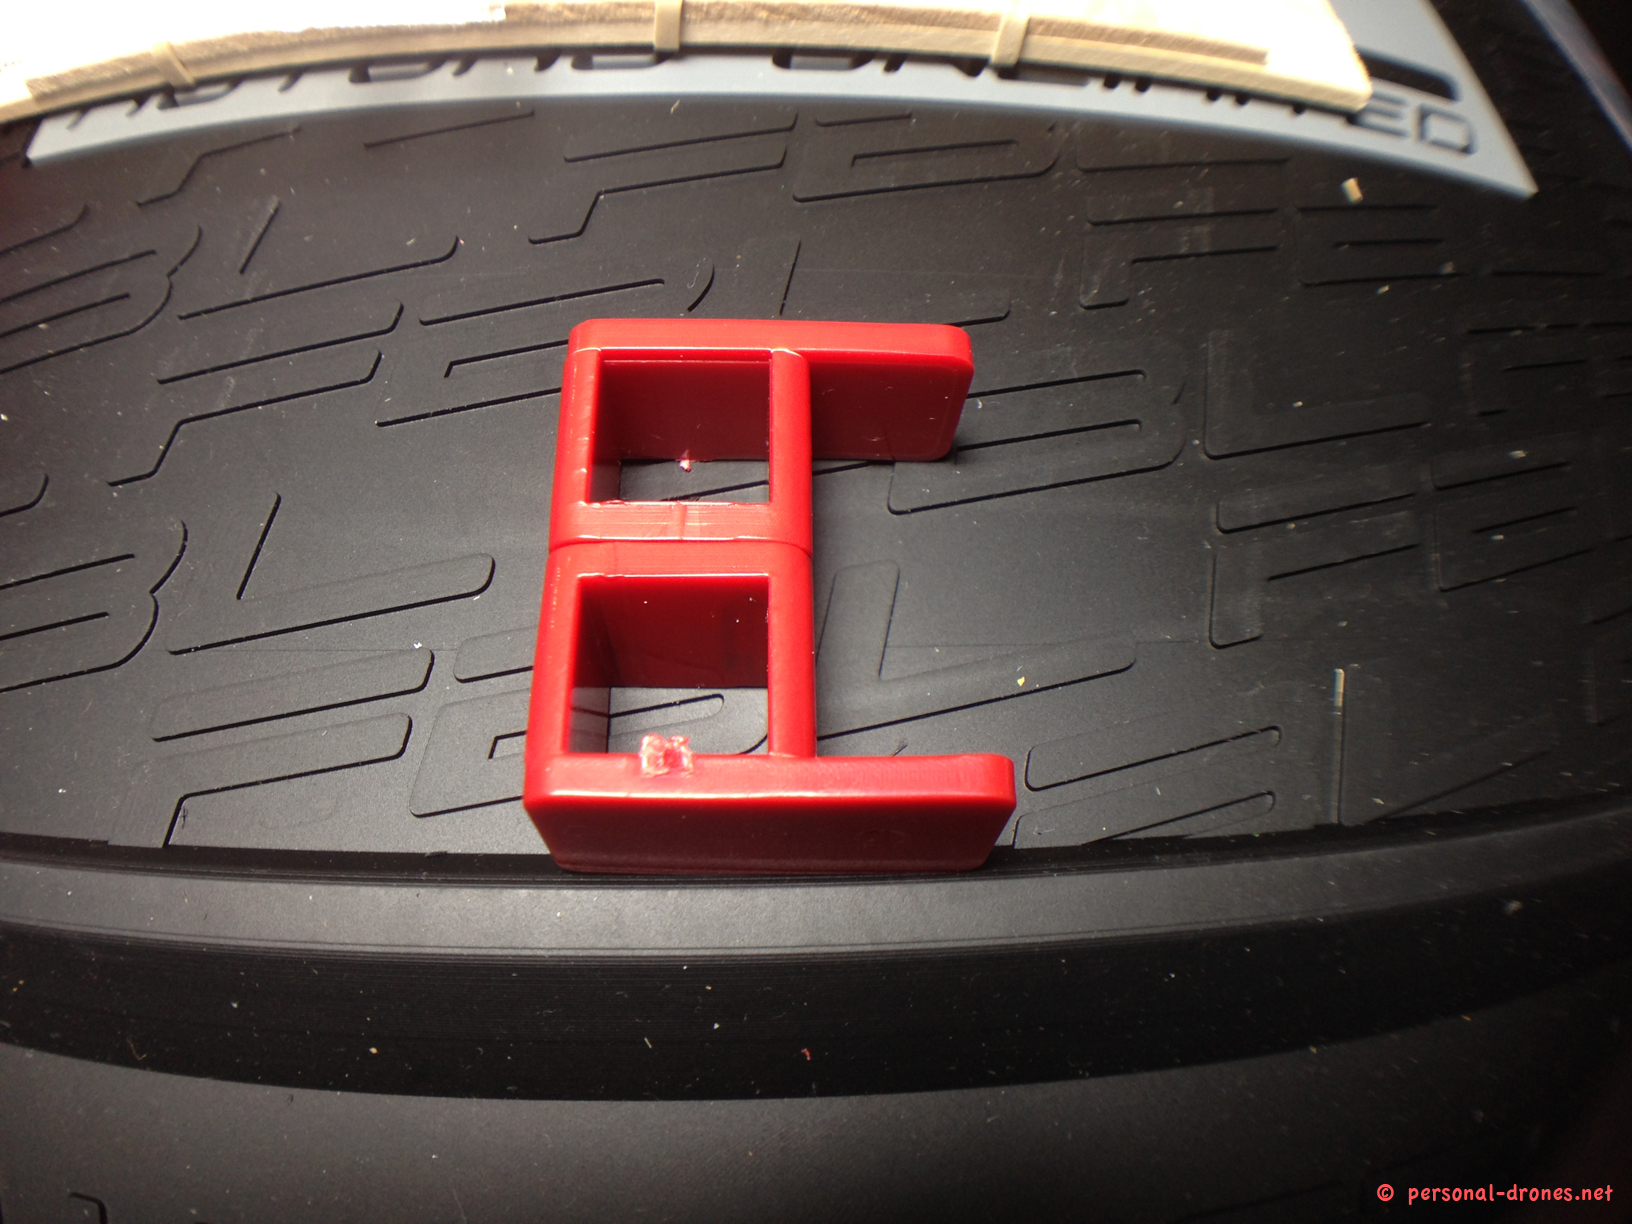
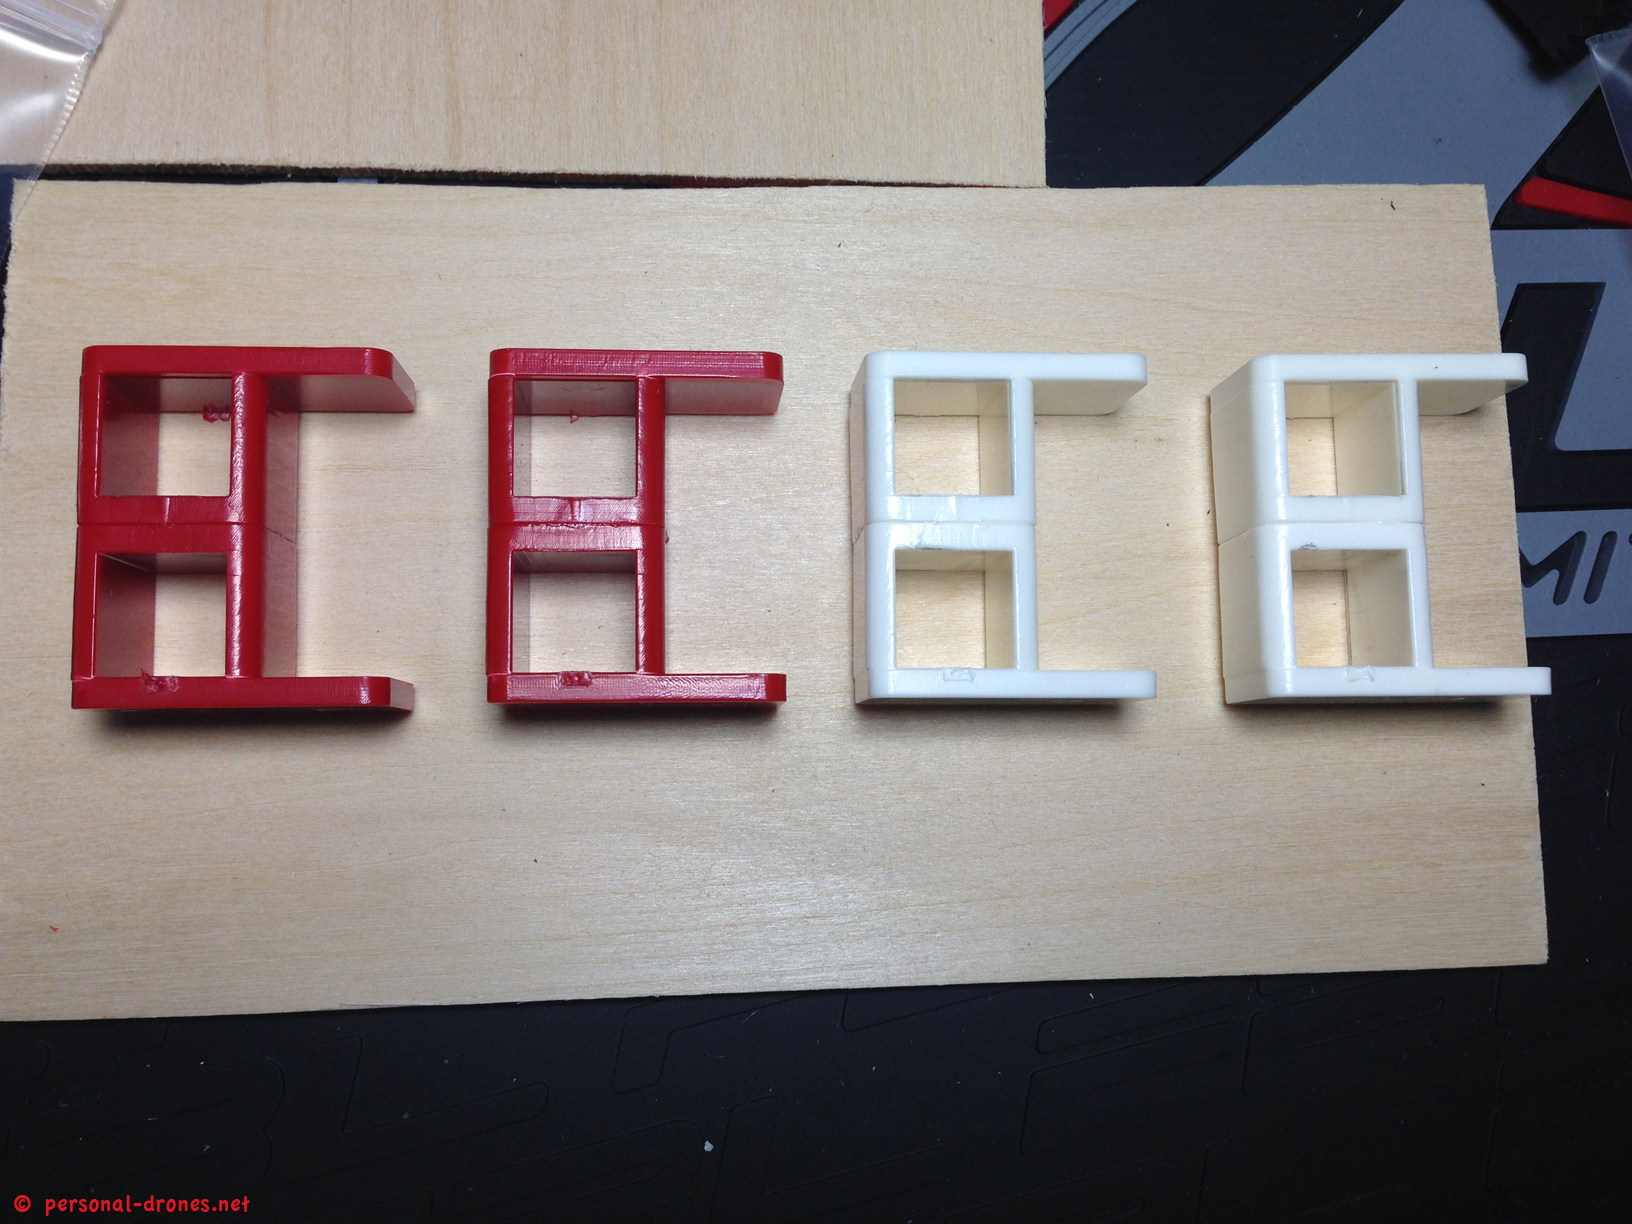
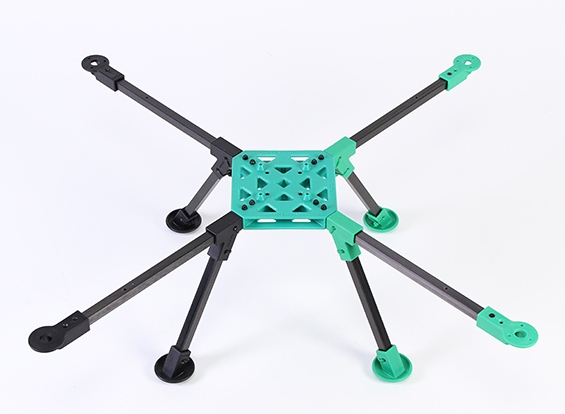
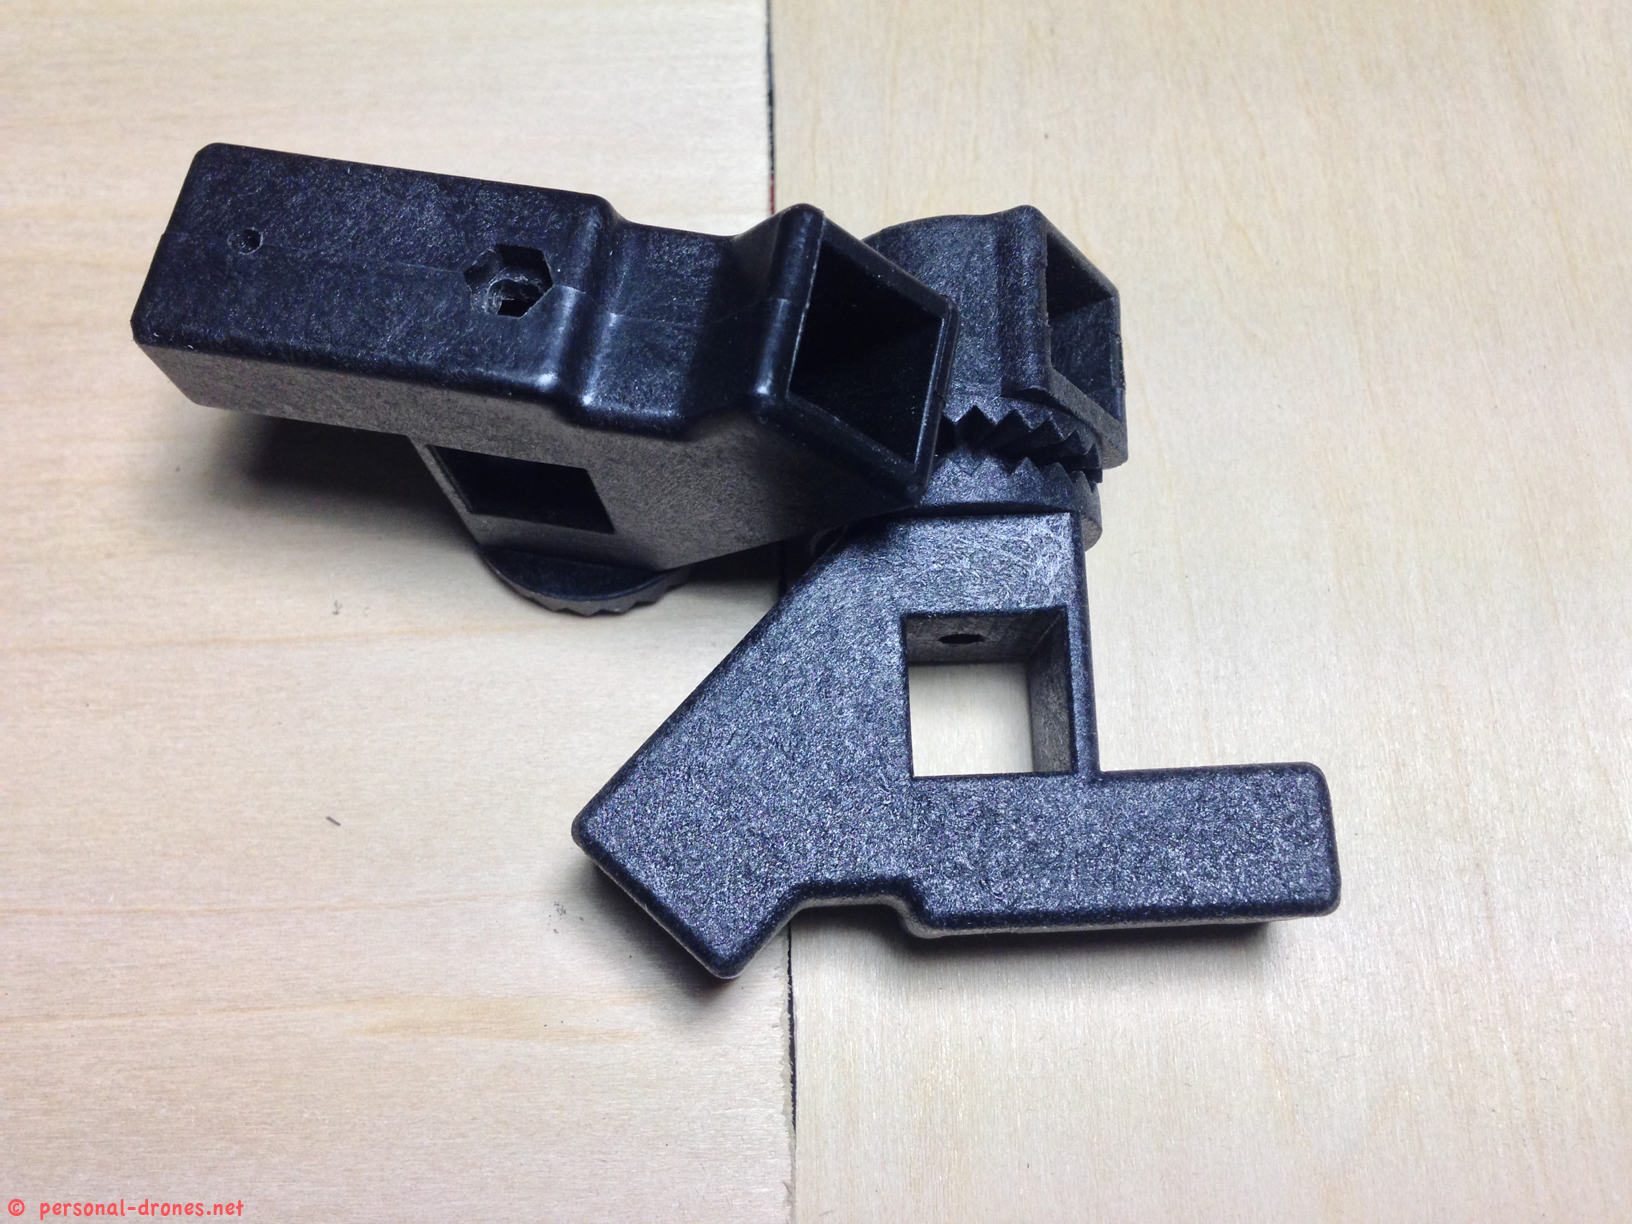
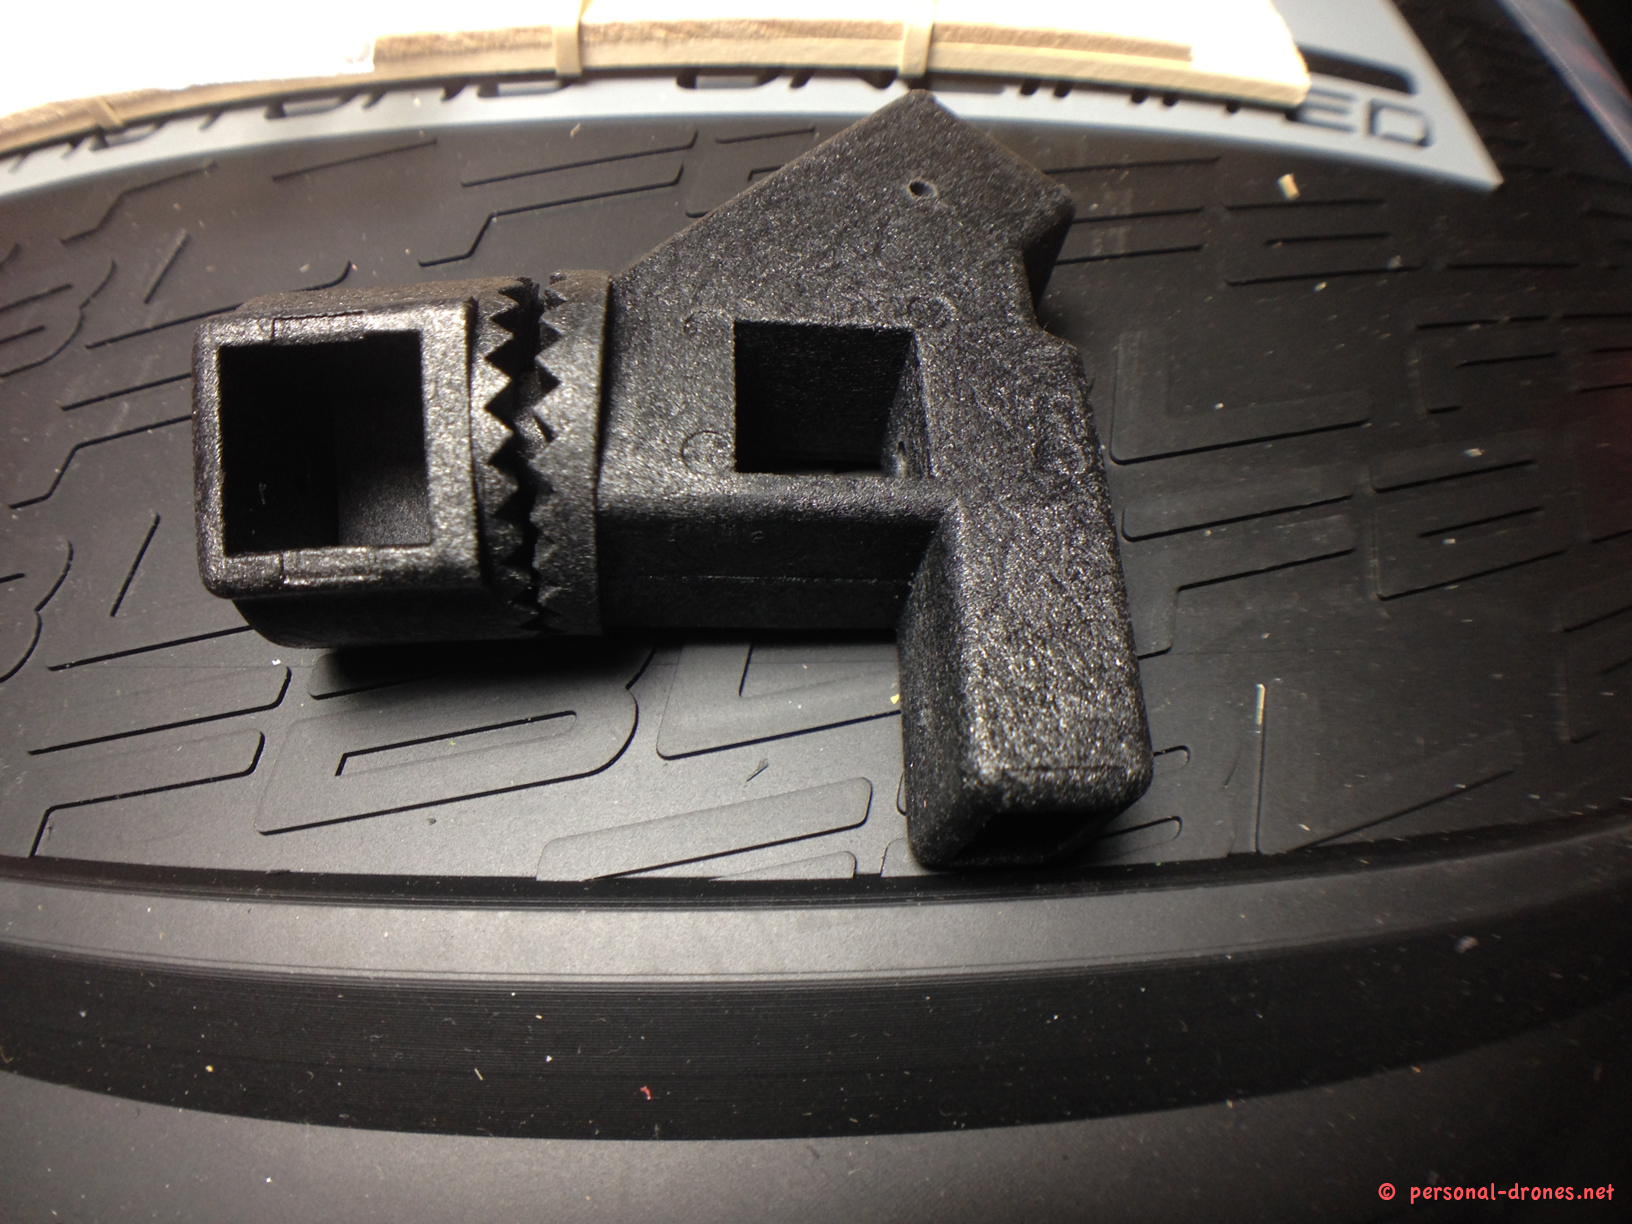 Quadlugs arm lug. This are sturdy pieces made of nylon and are especially robust. The other lugs are made of ABS plastic. See how the head can be rotated in 15 degrees increments with respect to the base. This is an AMAZING and unique feature that allows the angles of the 4 arms to be customized at will, and so easily changed at any time, to experiment new configurations. Arms angles can have a strong impact on flight characteristics and the Quadlugs platform, thanks to this special feature of the arm lugs, is just a few screwdrivers turns away from experimentation in this area.

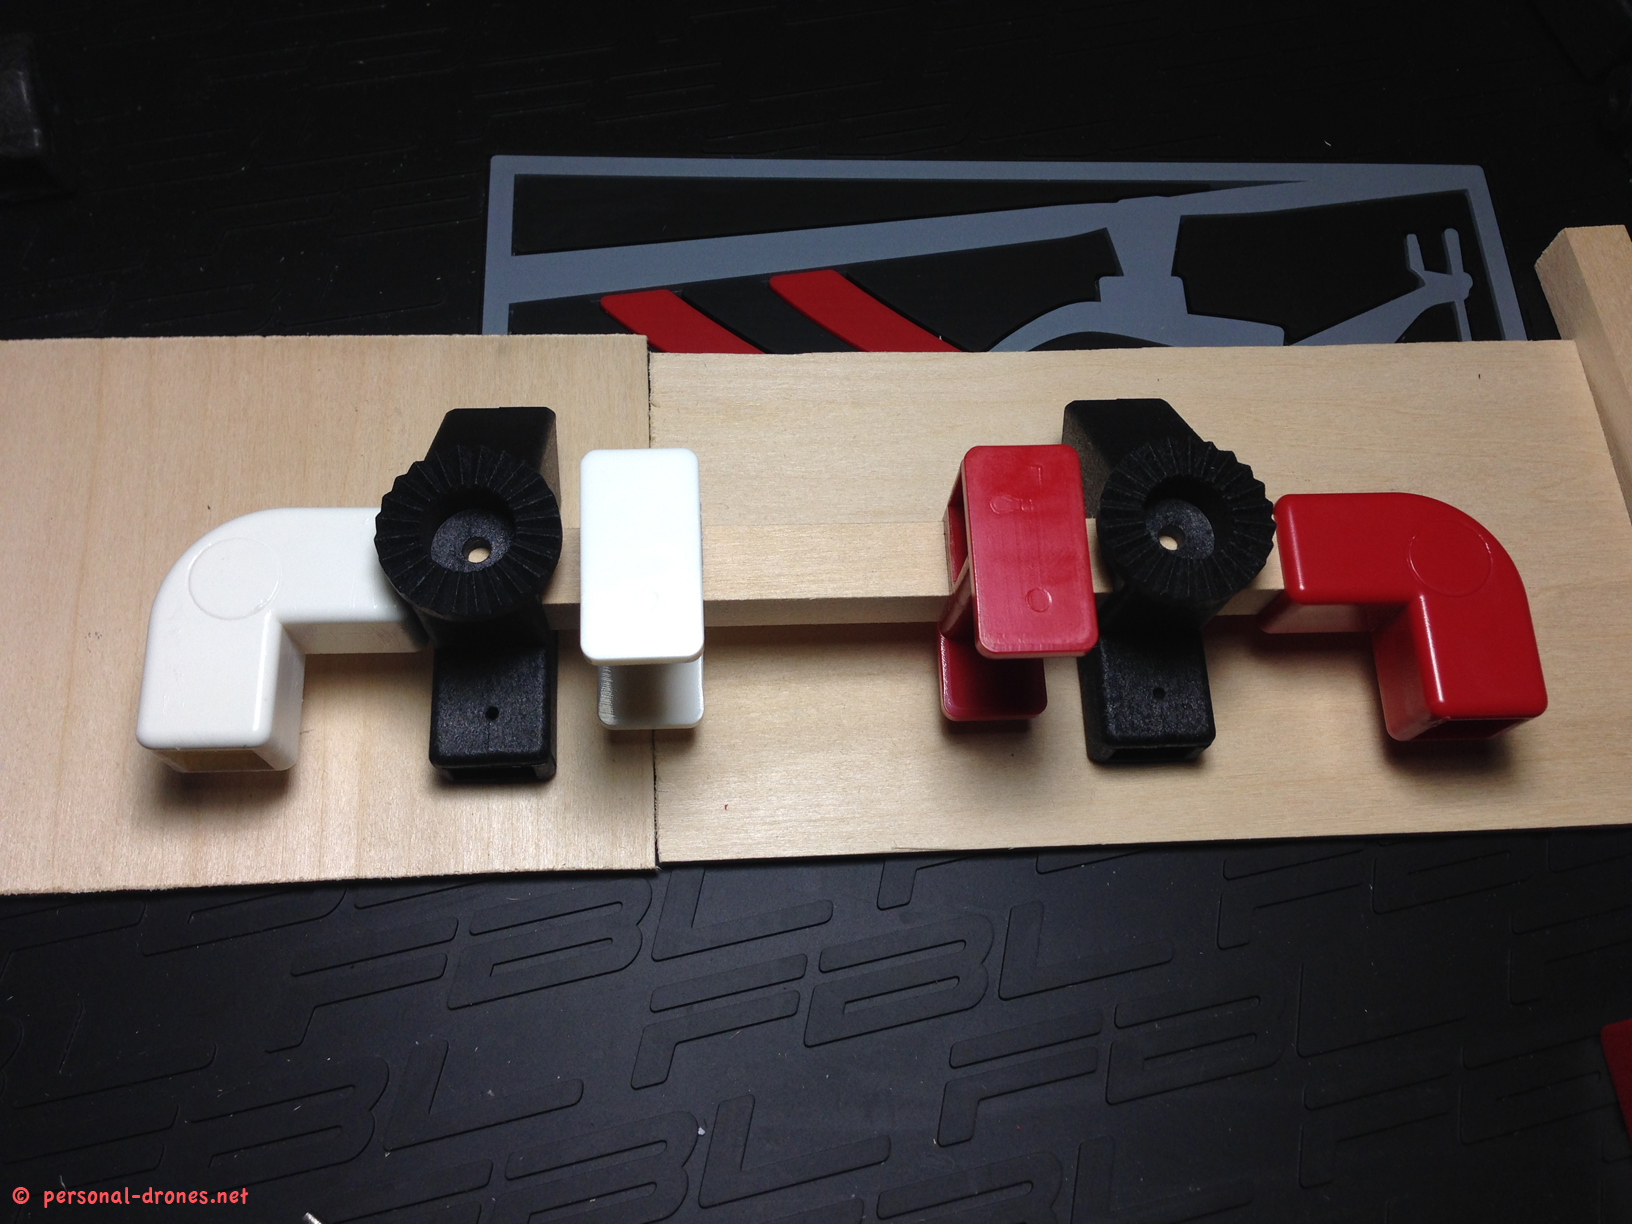

So now you should start to have a first rough idea of what the lugs are and how they fit into the scheme. Let’s now make a step back and look at the details related to the assembly of a Quadlugs system from the very beginning, as there are a few operations to be carried out before the actual frame assembly.
Building the Quadlugs quadcopter
We can divide the build in 3 main “sections”.
- Drilling parts
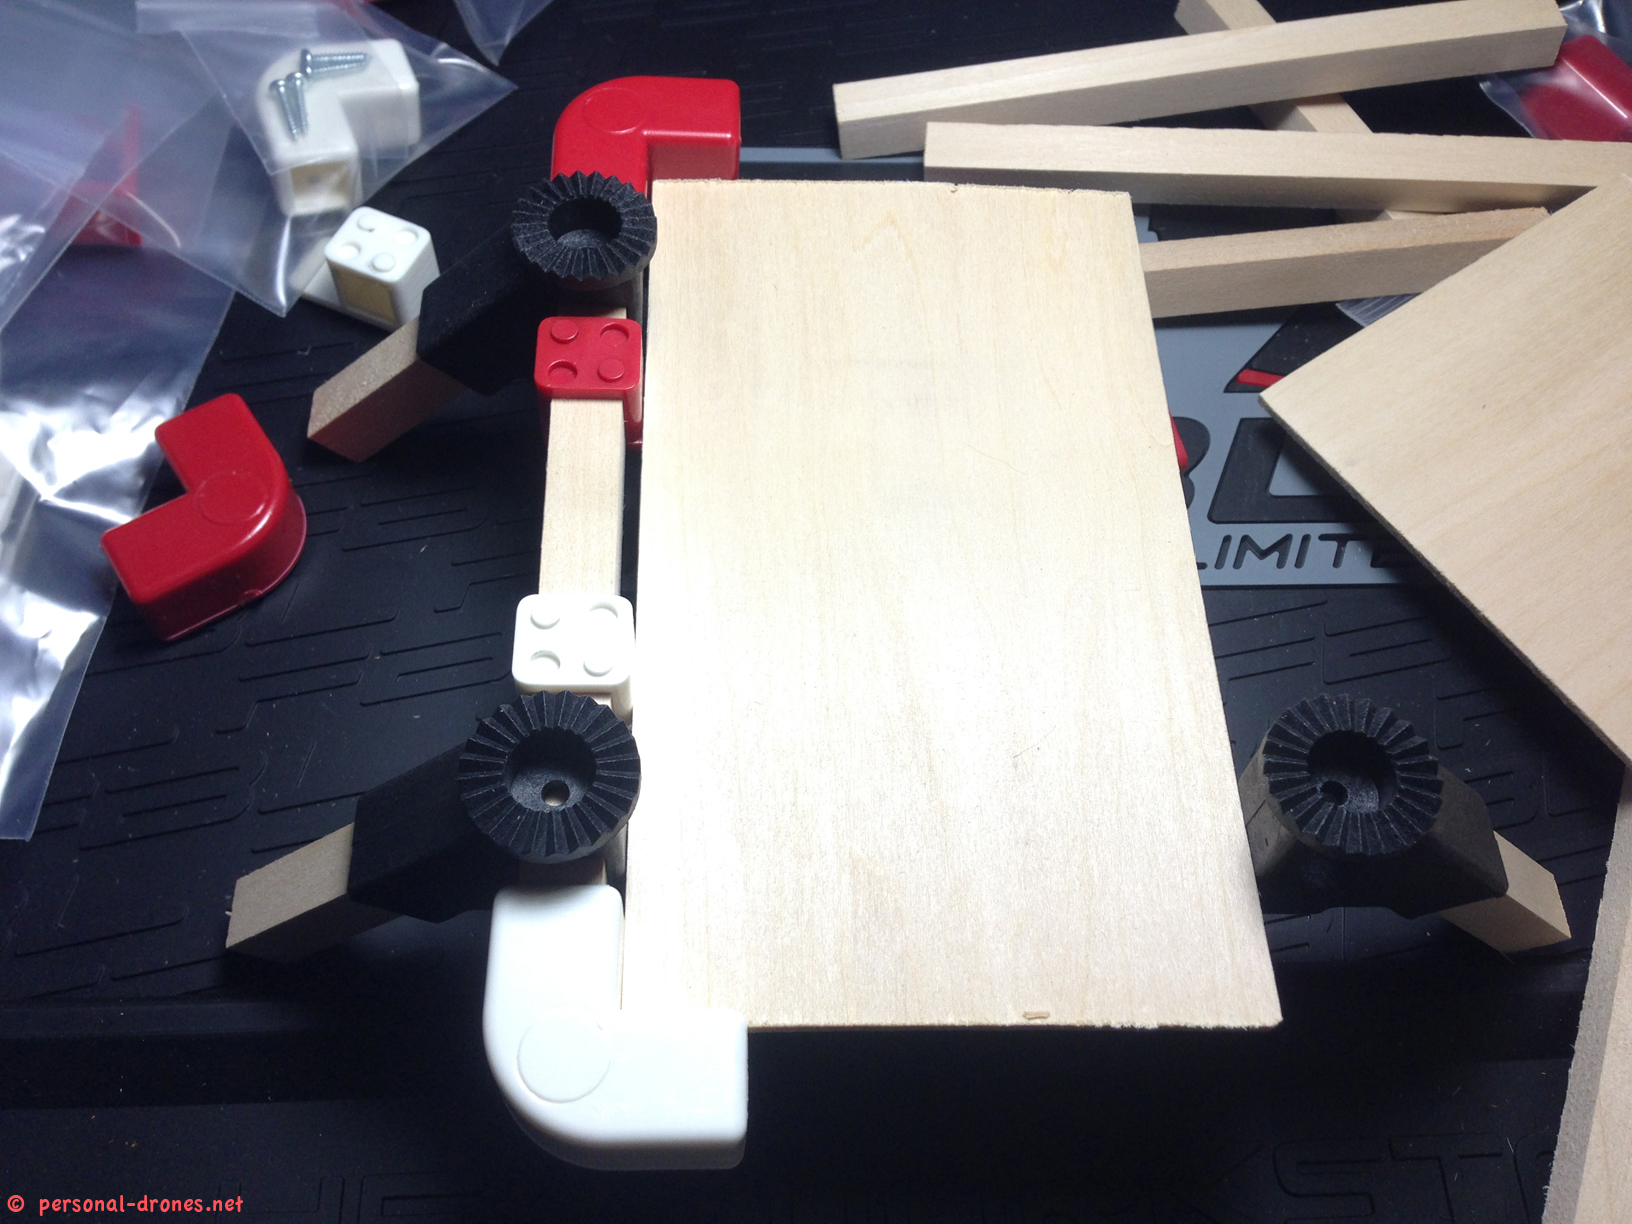
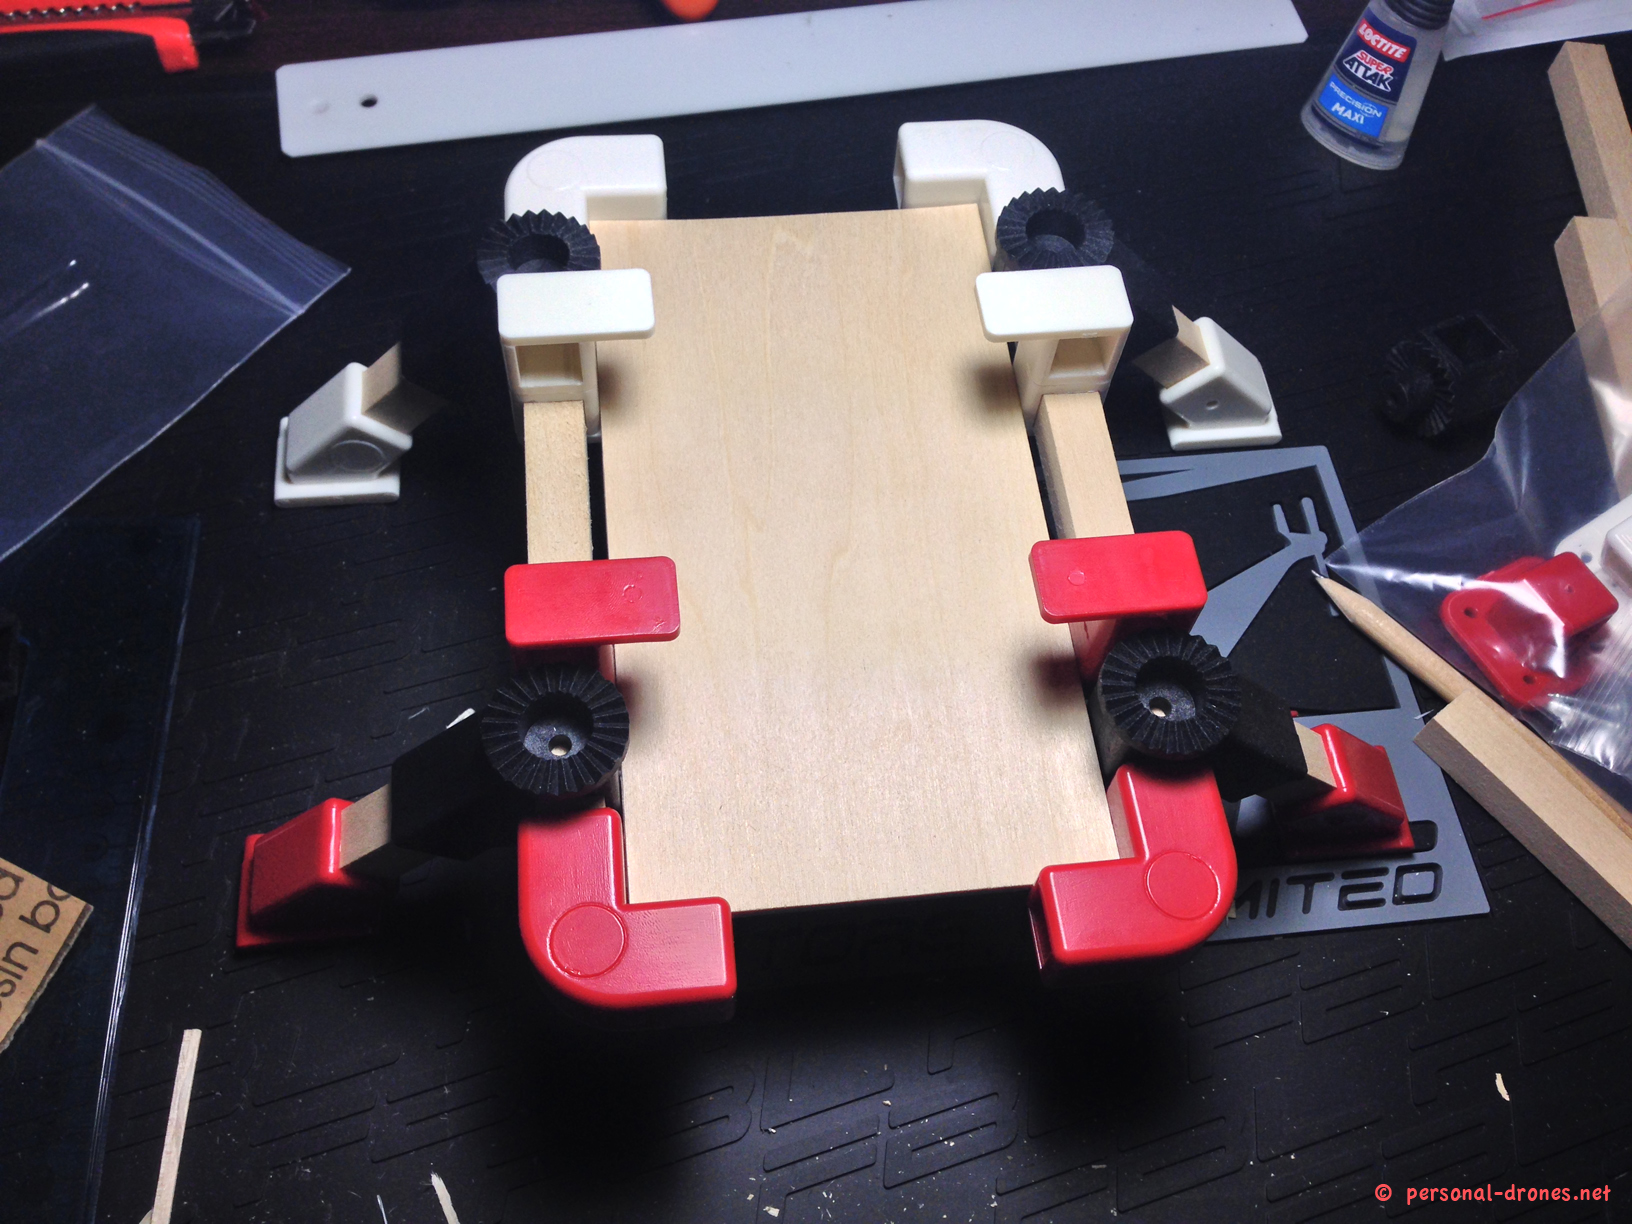
- Mounting the frame
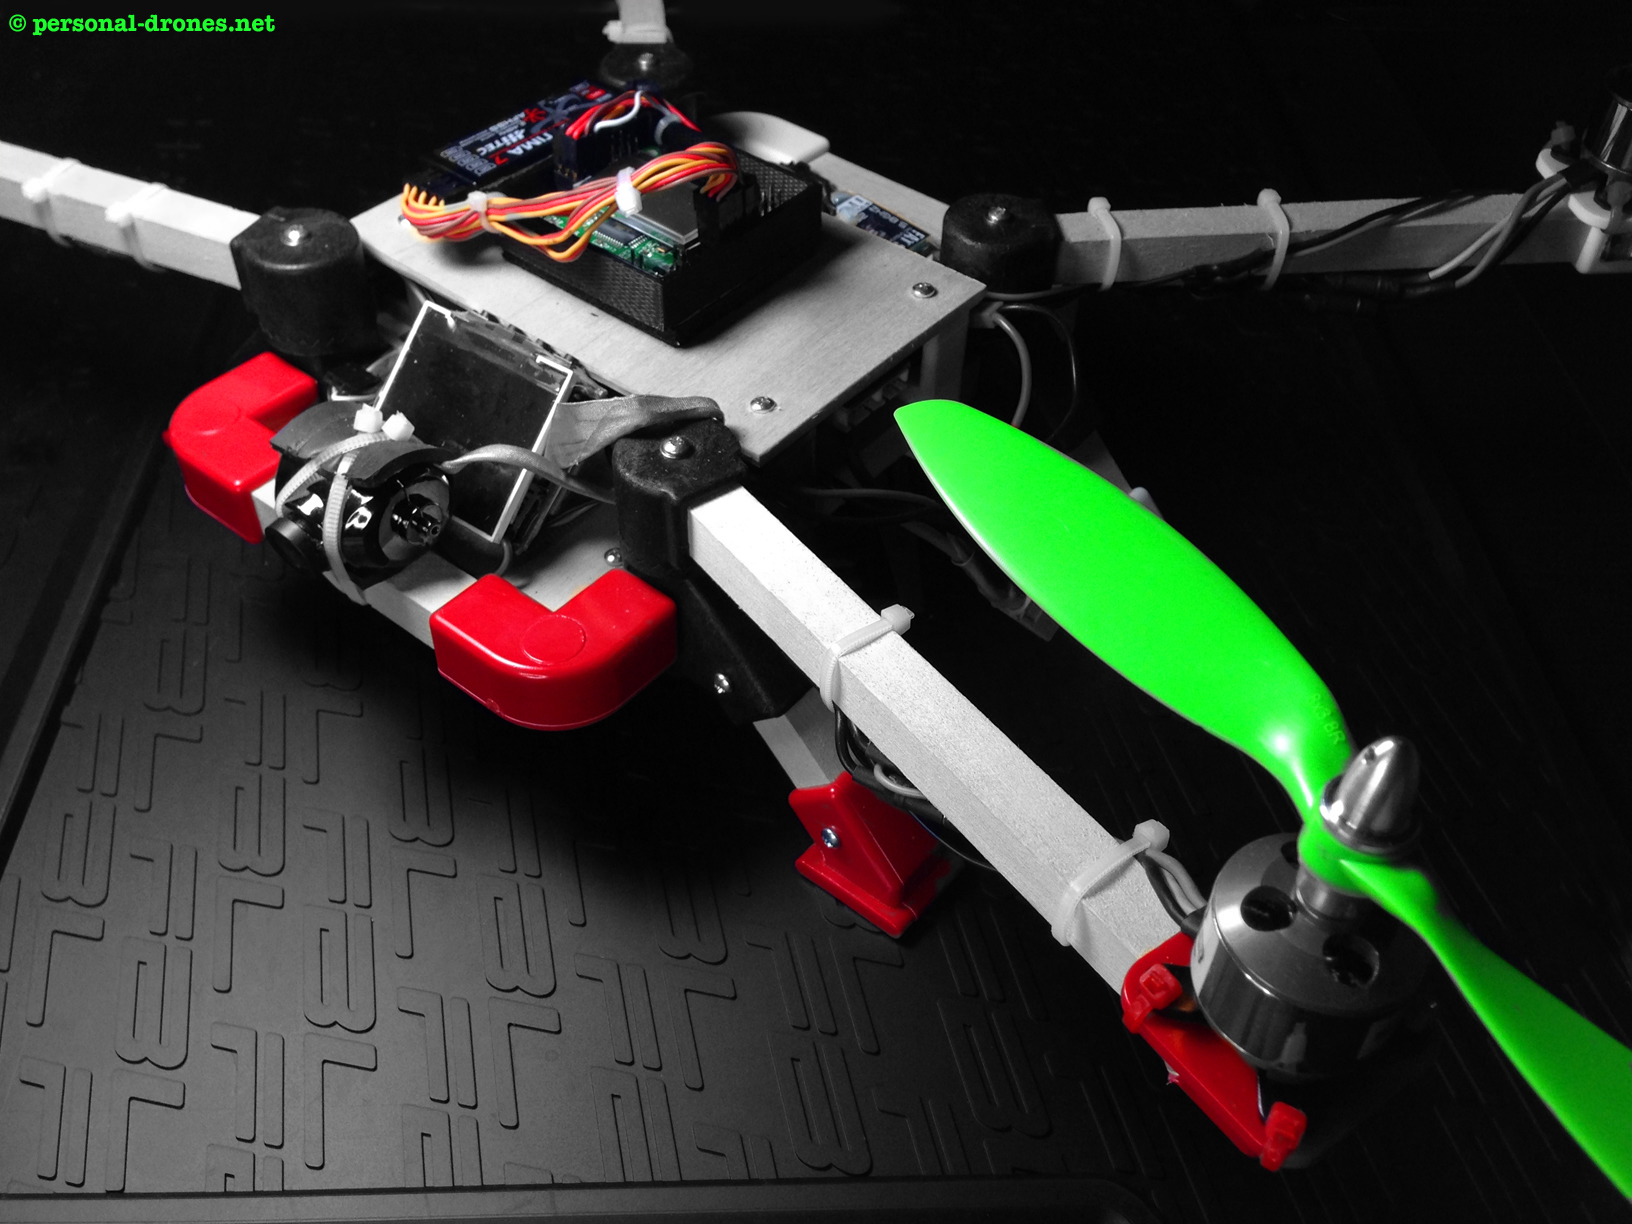
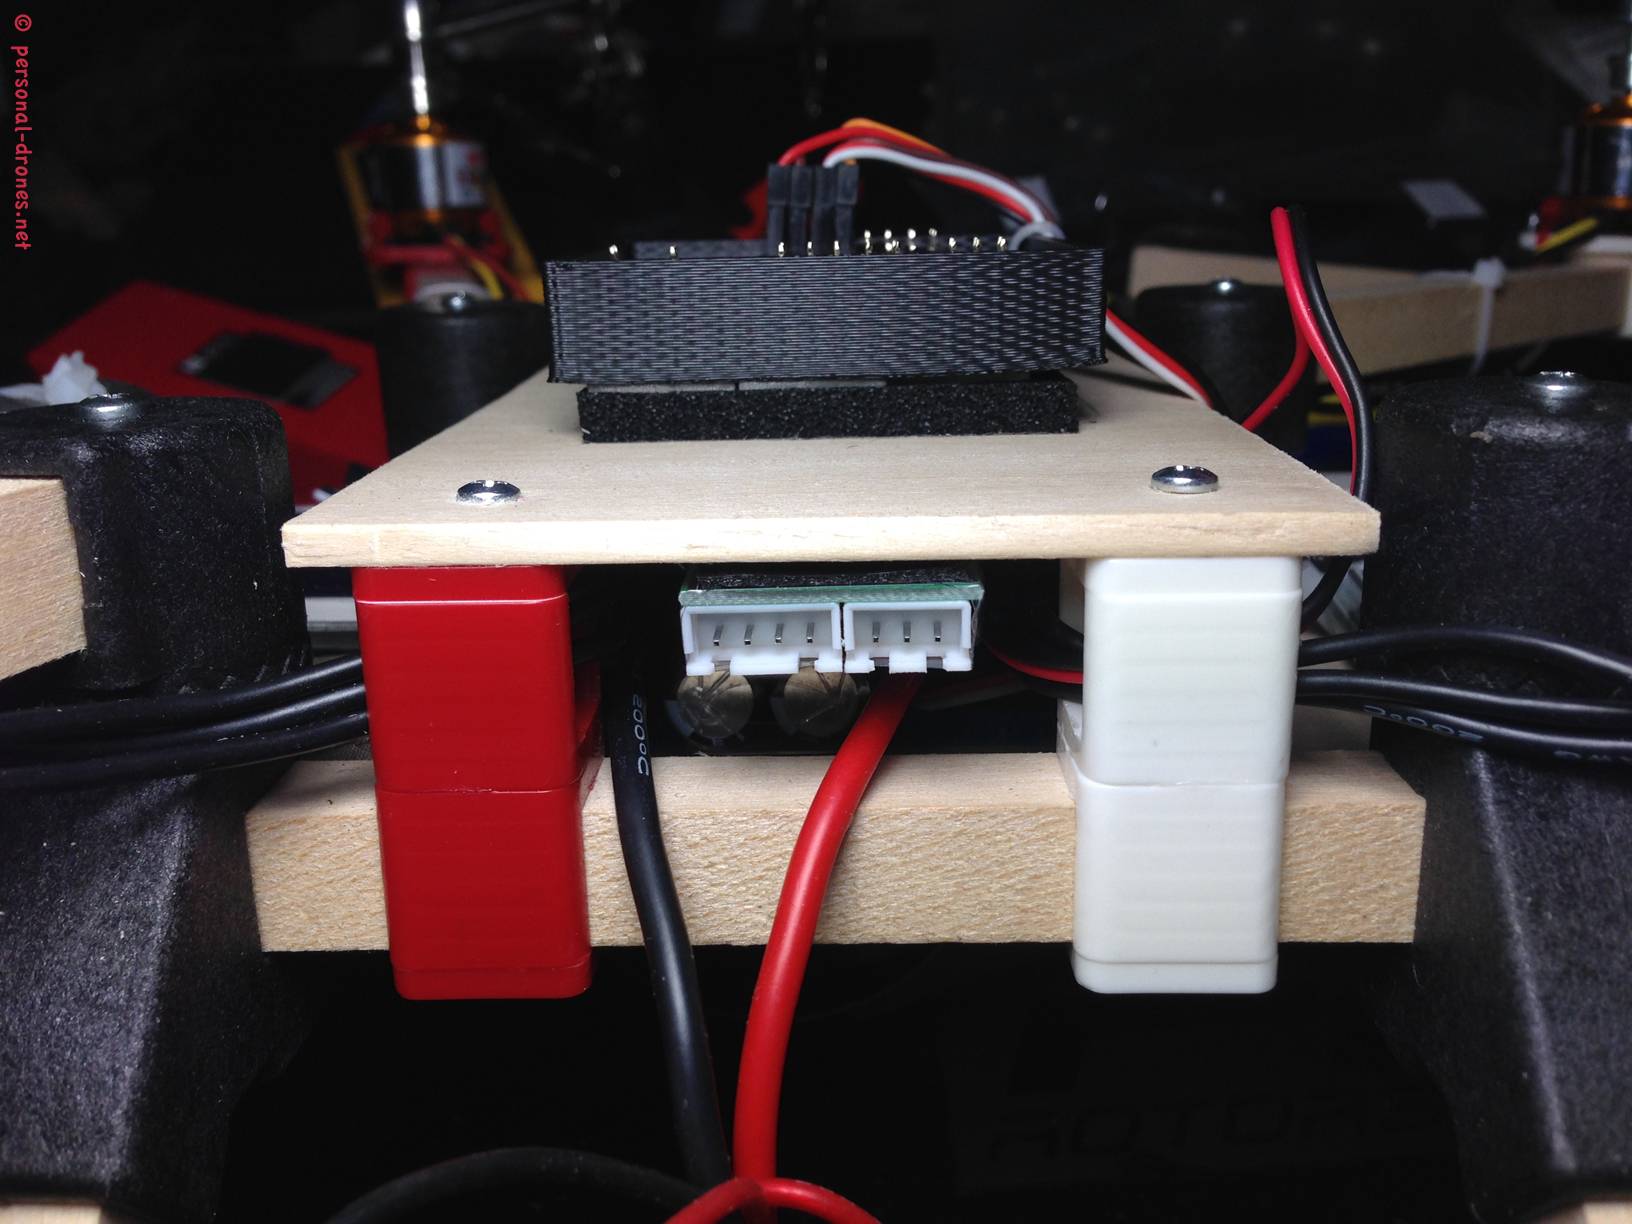
- Mounting electronics and the FPV system
1. Drilling lugs
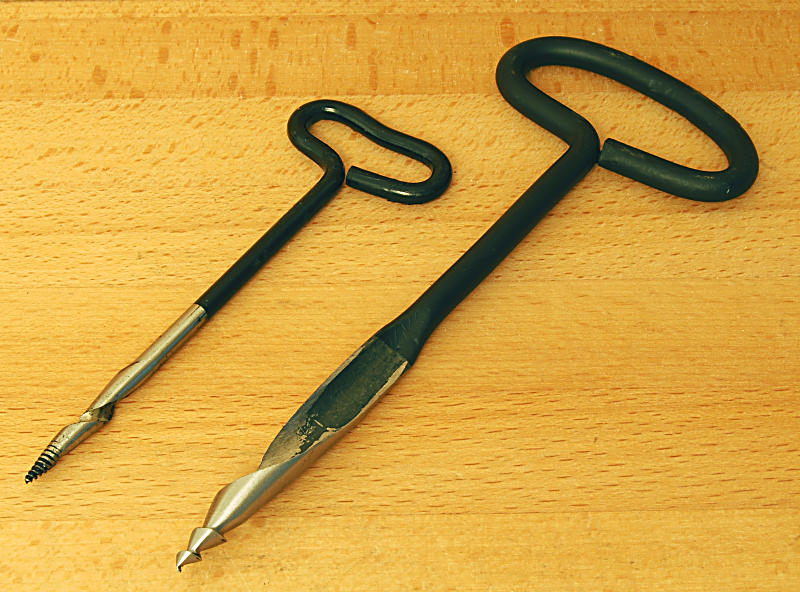
First, some parts will need a little bit of drilling. Not an experienced driller? No worries, you are like me then. All you need is a drill and correctly sized drill bits and you can’t really go wrong. Also, a good old fashioned manual gimlet can be very hand to pre mark holes positions, to better center them with the drill bit later on, nice tool to have at hand during the bild.
There are a total of 4 holes, at minimum (found myself drilling a few more during the build) that we need to drill. 3 on each arm lug, and one on the bottom of the motor plates, to allow screwing those to the arms. Let’s start with the 3 holes on the arms lugs.
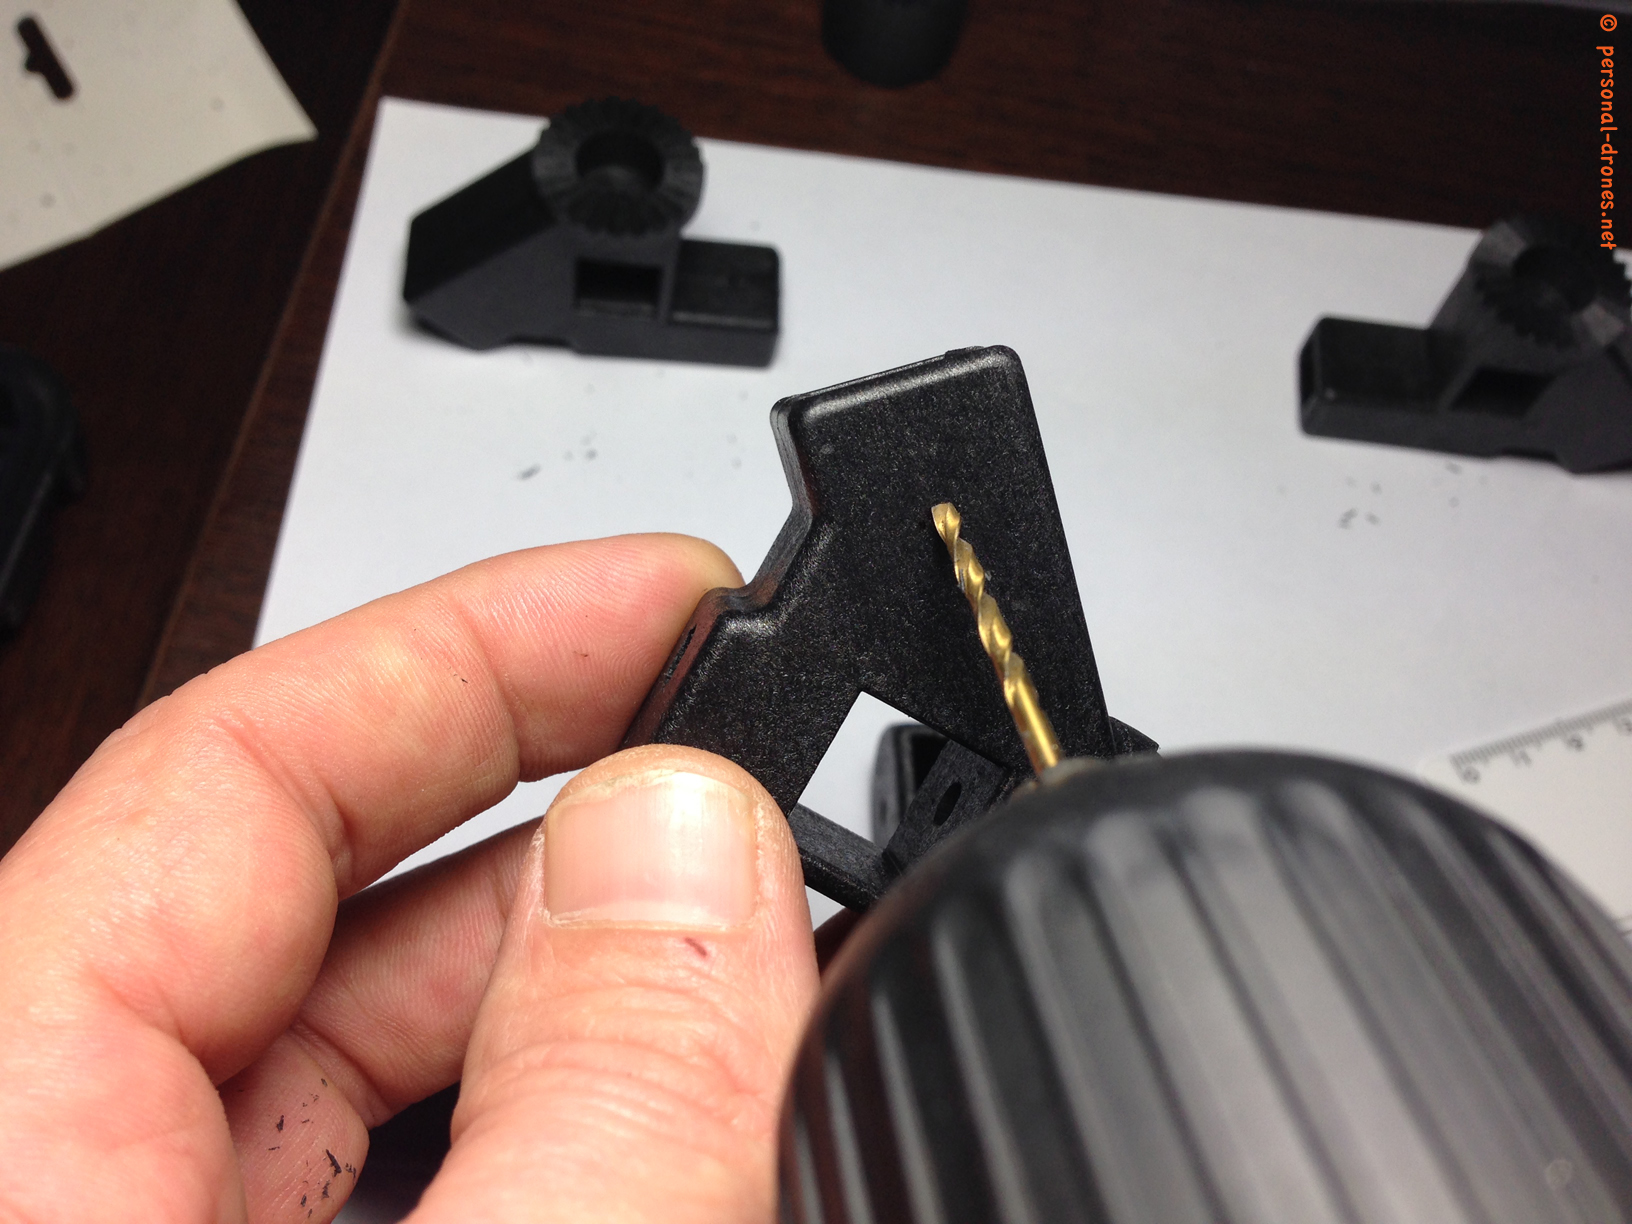
Hole 1

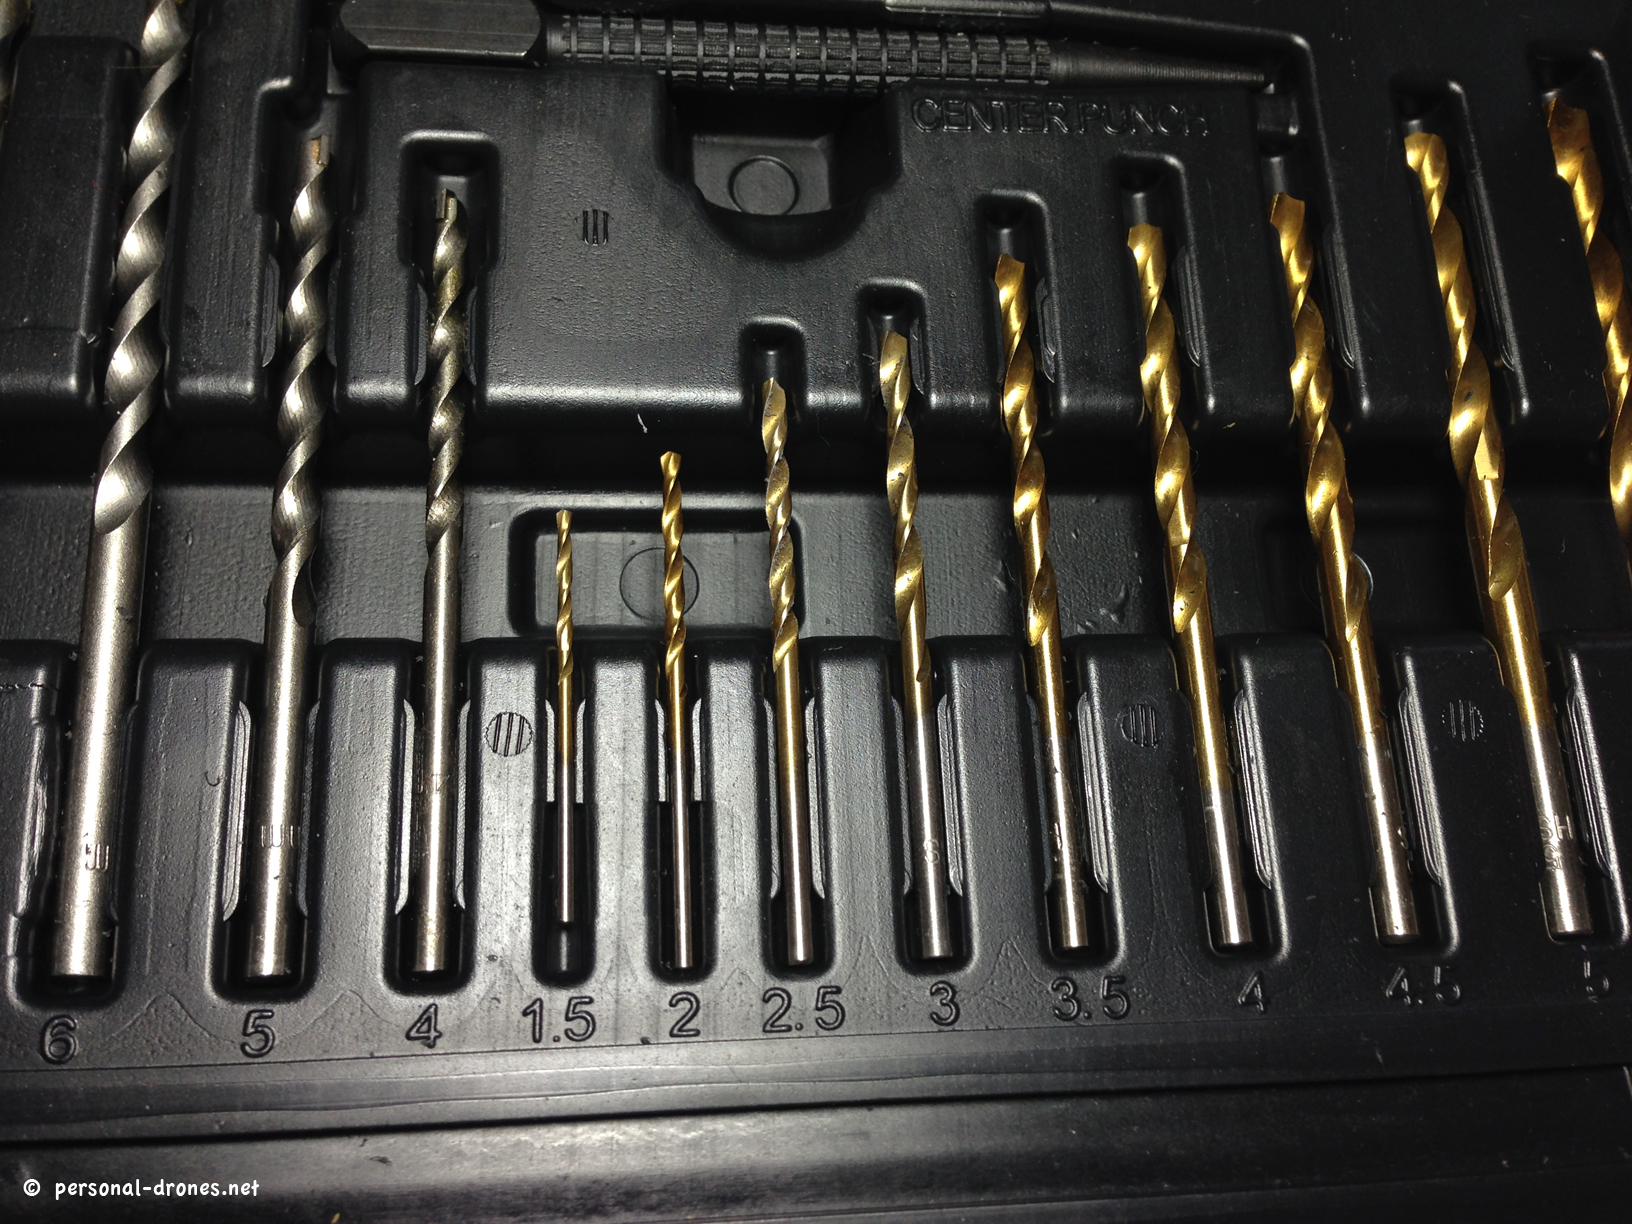
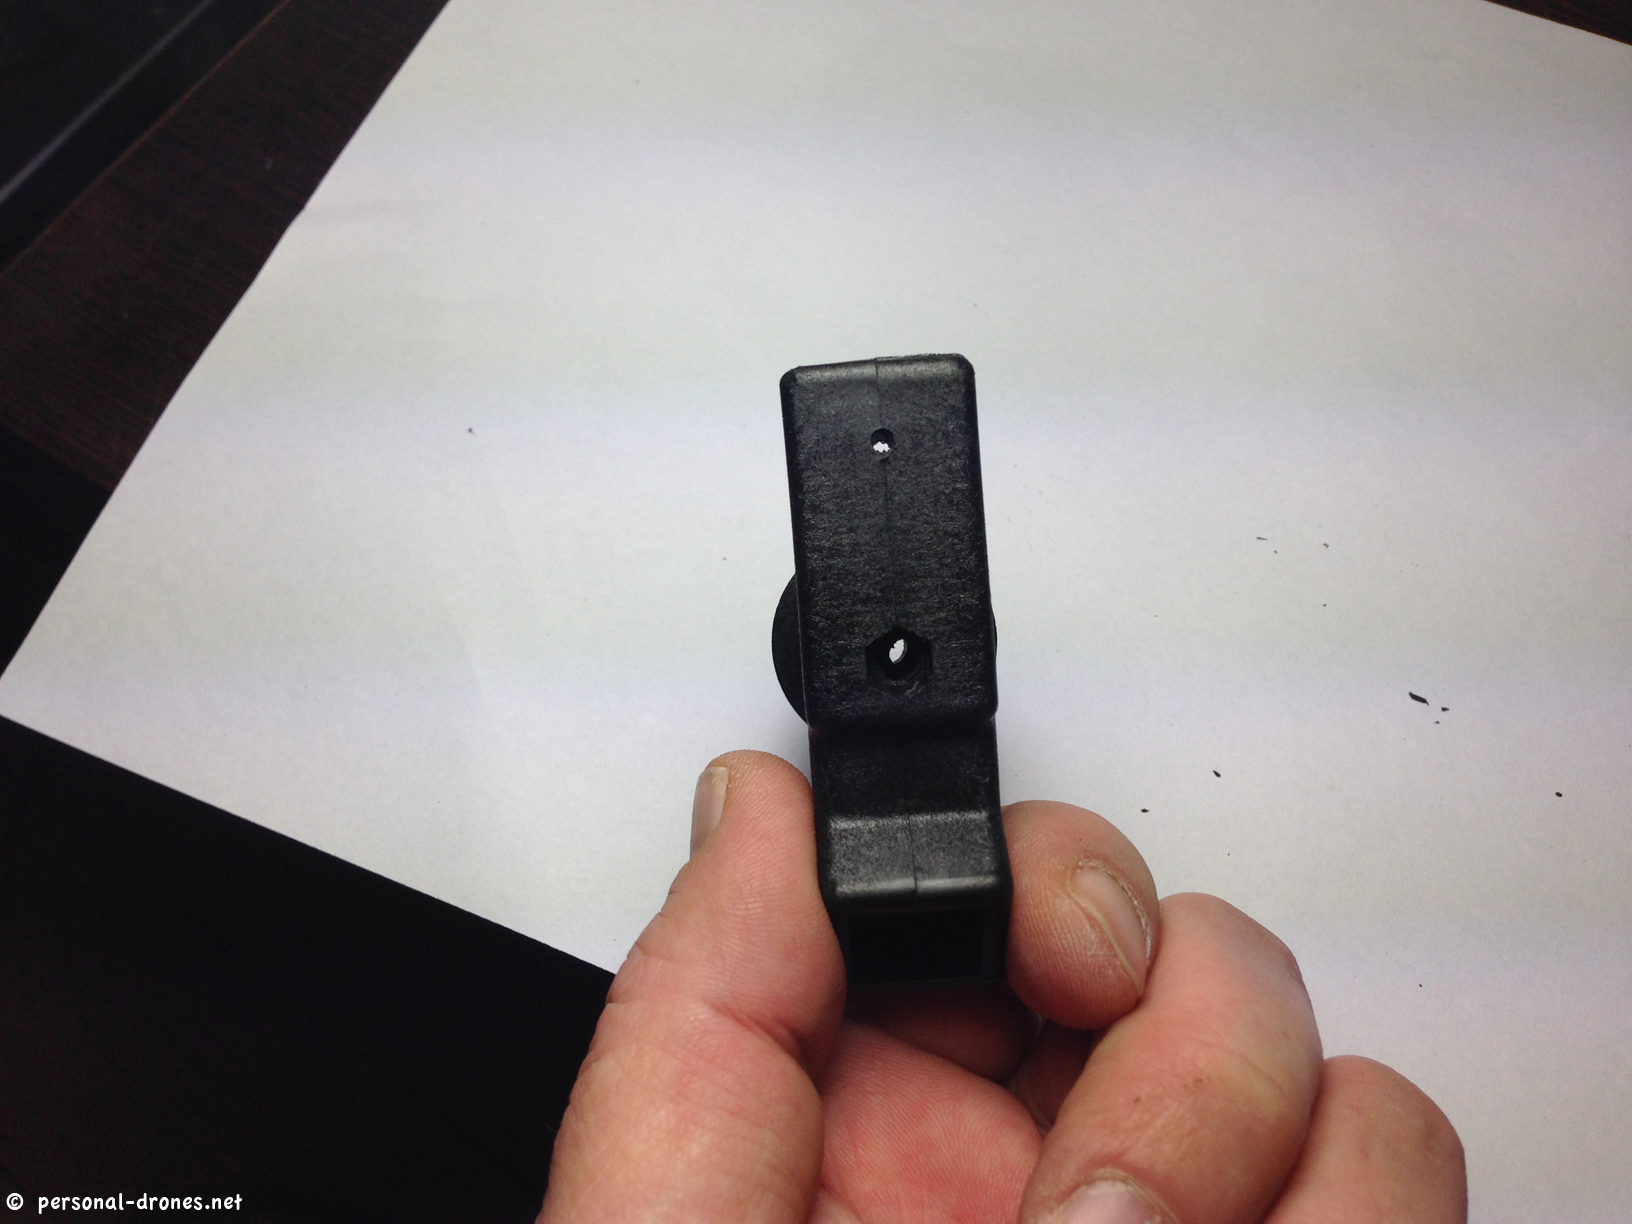
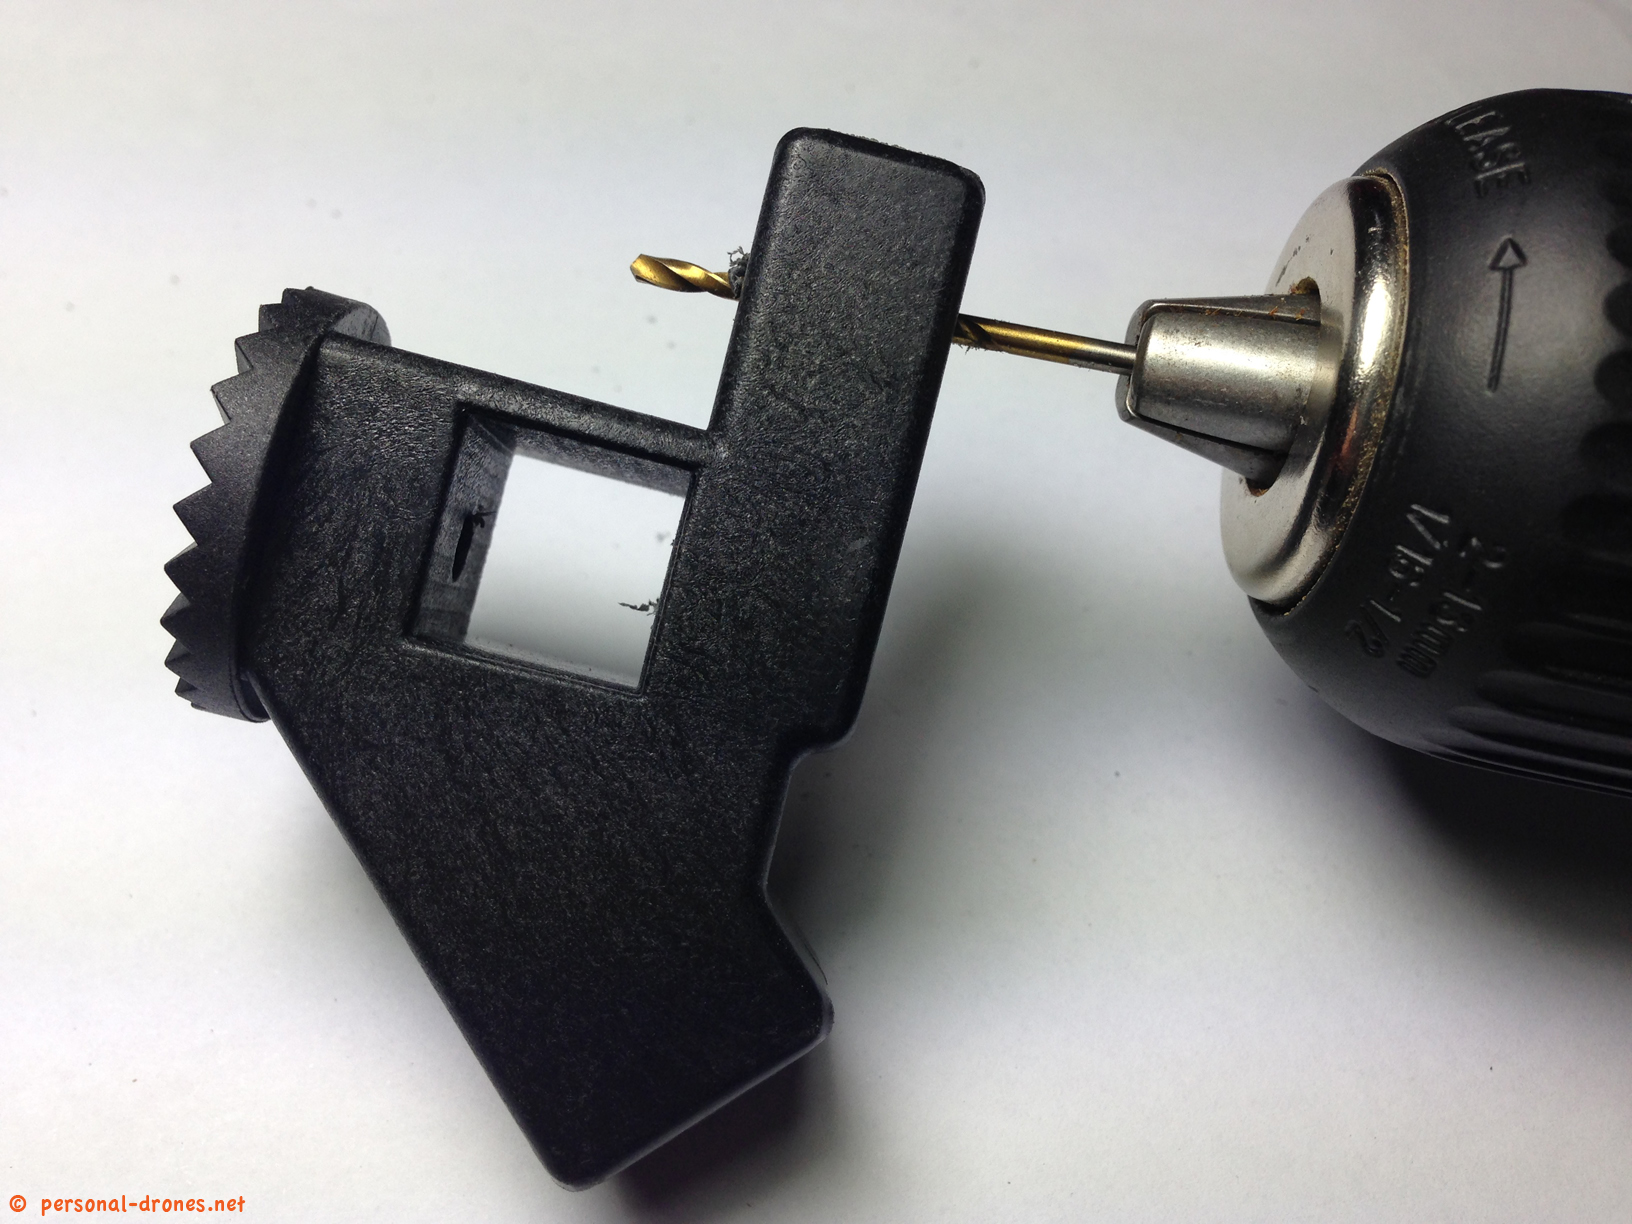
For this hole, I found that the best bit size is 3, see the bits picture above. It basically closely fit the available home in the top part of the arm lug where the bit is inserted. In the figure above a 2.5 is portrayed. This is before I found out that 3 is better, as it leaves less room for wrong drilling angles and facilitates going straight down. There is always some room for a slightly bad drilling angle here, so I suggest you perform this operation carefully and not not rally go deep until you are sure you are getting the angle right. A lug with this first hole drilled (and also the second hole) is shown in the picture below.
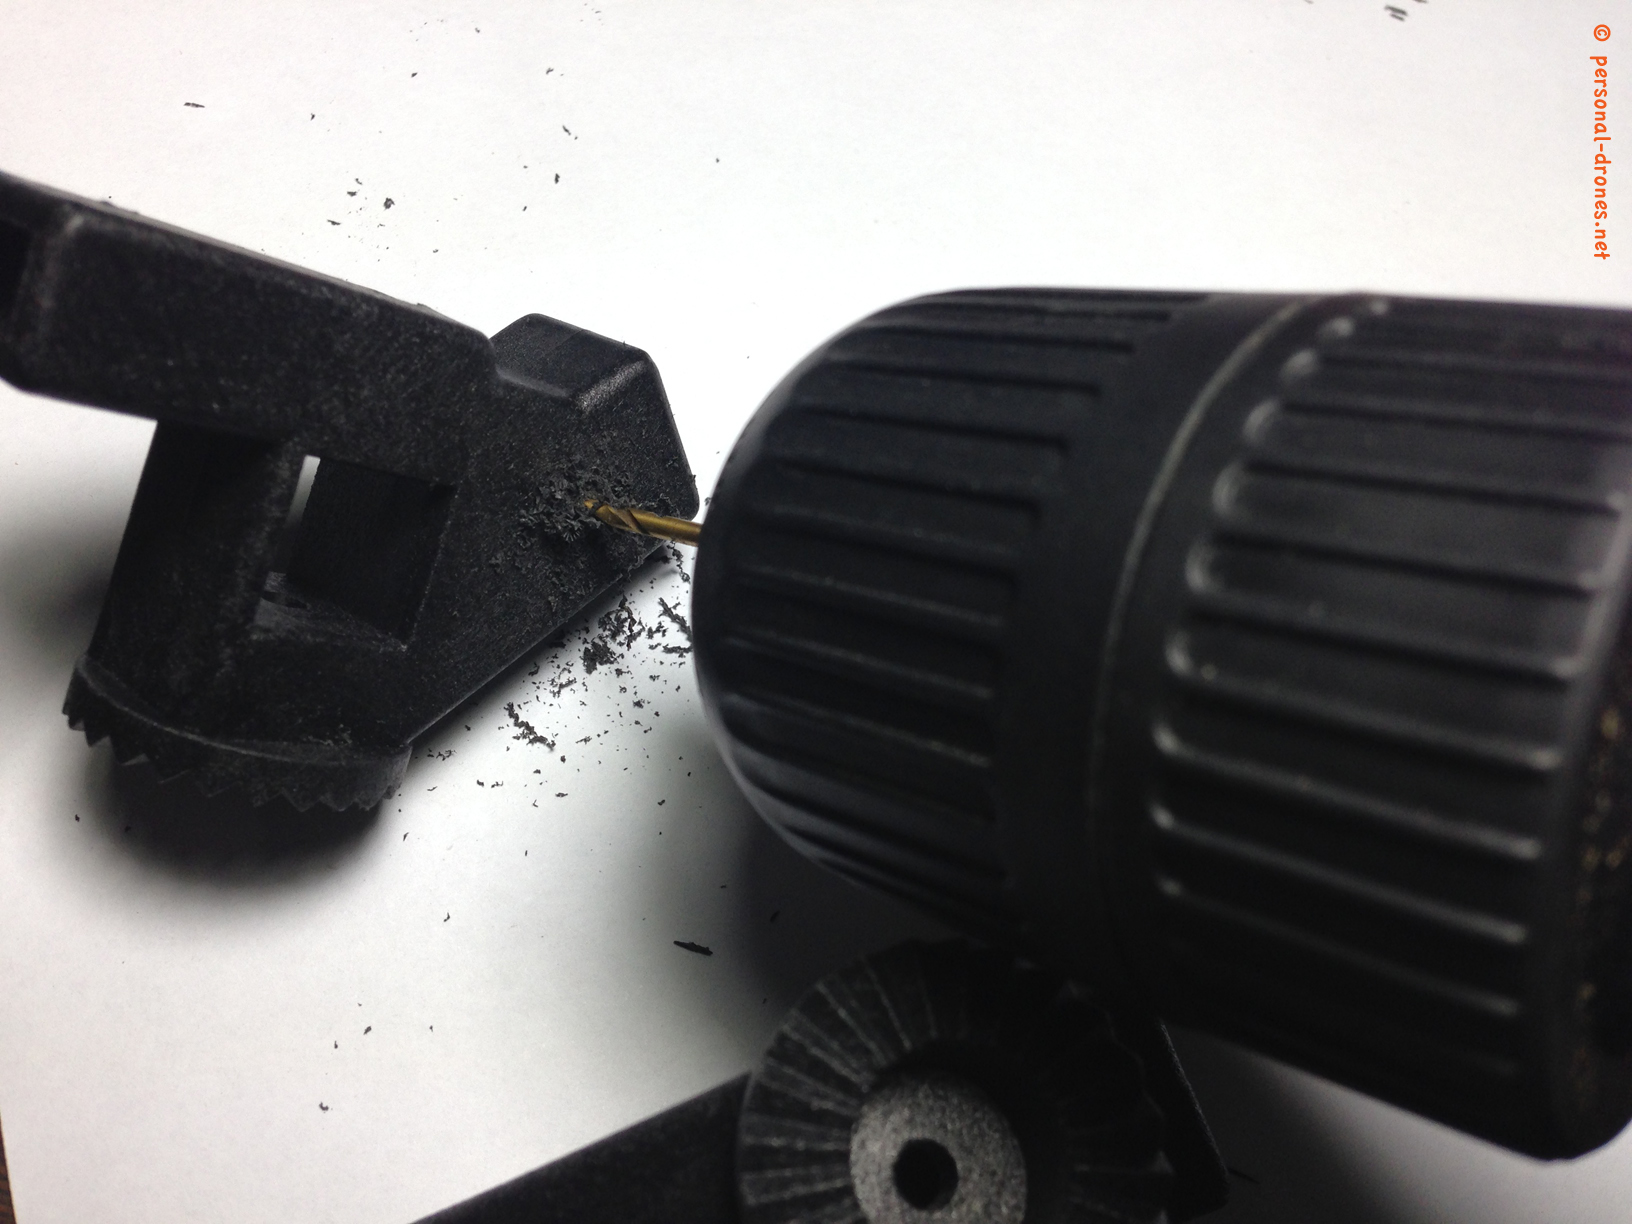
Hole 2
Hole 2 can be drilled with bit size 2. It is pretty much straightforward.
Hole 3
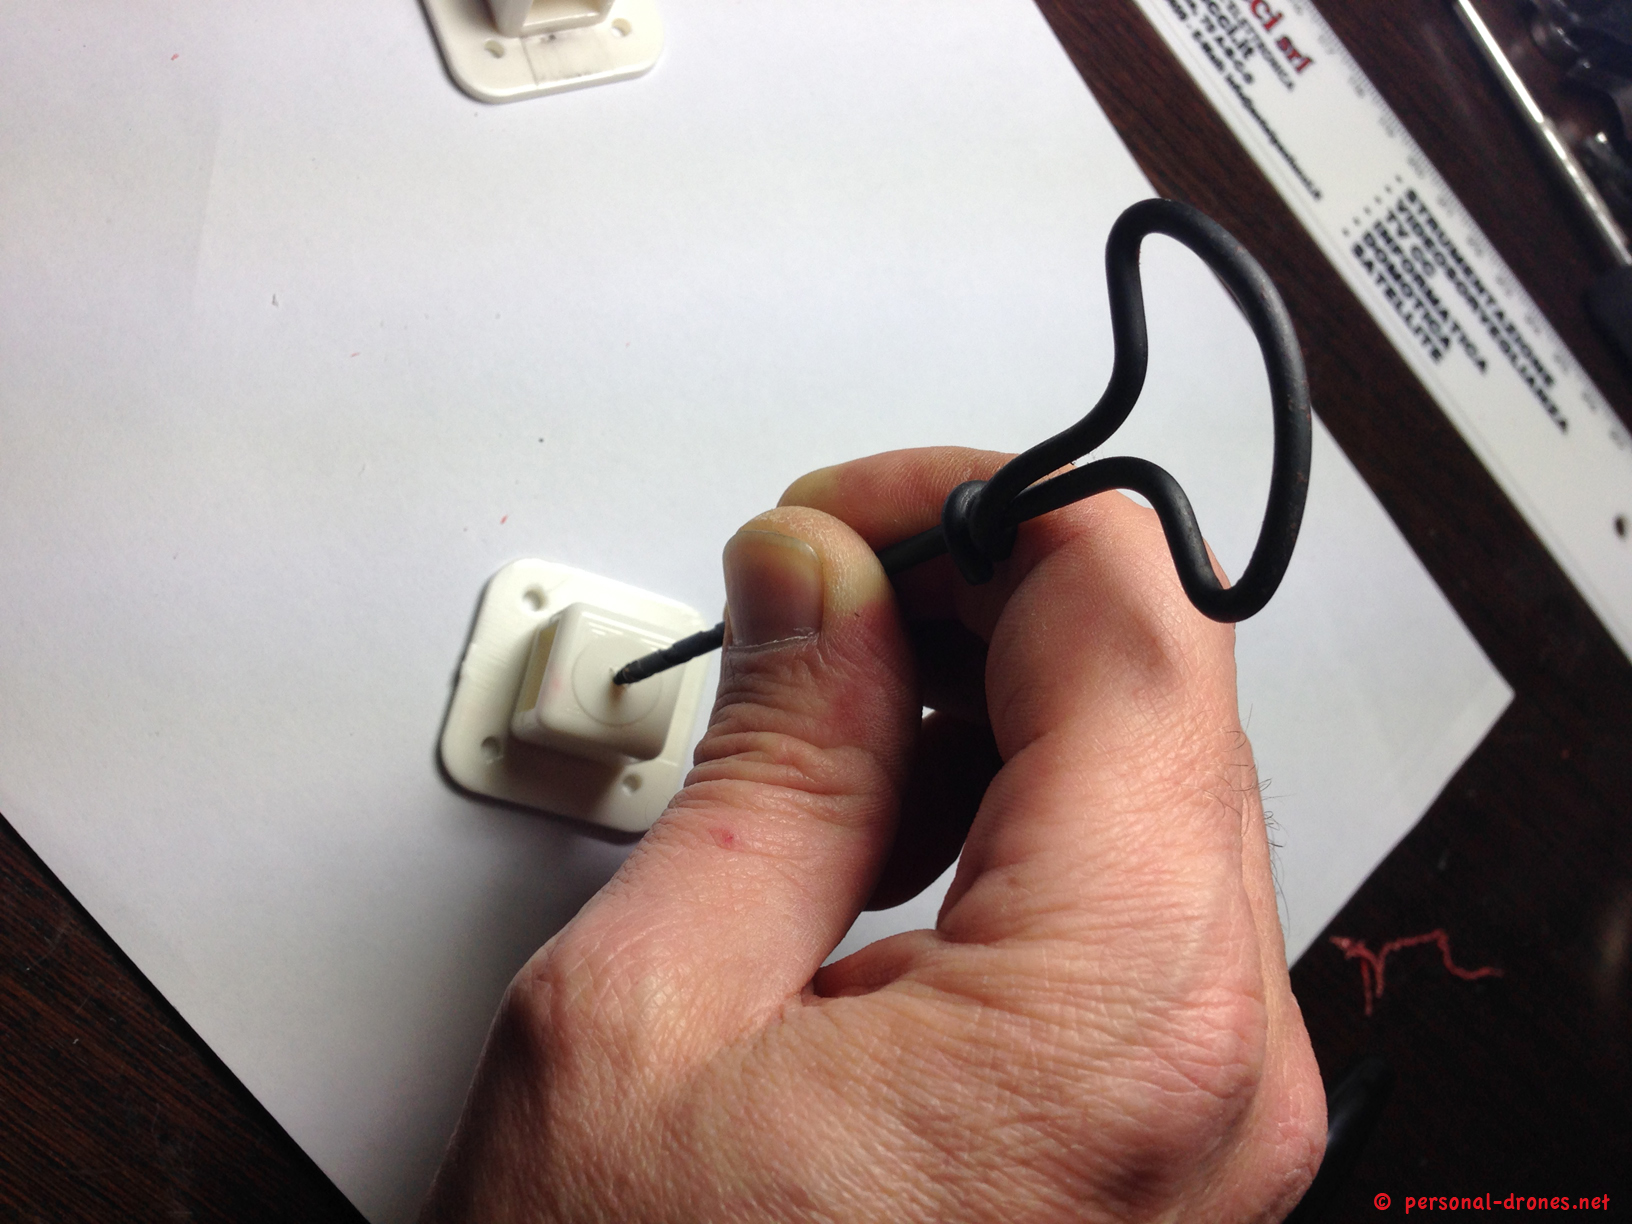
For hole 3 there is not a precise guide. It serves as insertion point for the screw that fixes the landing gear leg into each arm lug.
For this third hole, you have the option drilling it on either side of the lug . This is where a screw will go and you can decide if you want these leg screws on the inside, facing each other, or maybe on the outside. So before drilling those, do a simulation of frame mounting ad pick up the right side for the hole on each of the 4 pieces.
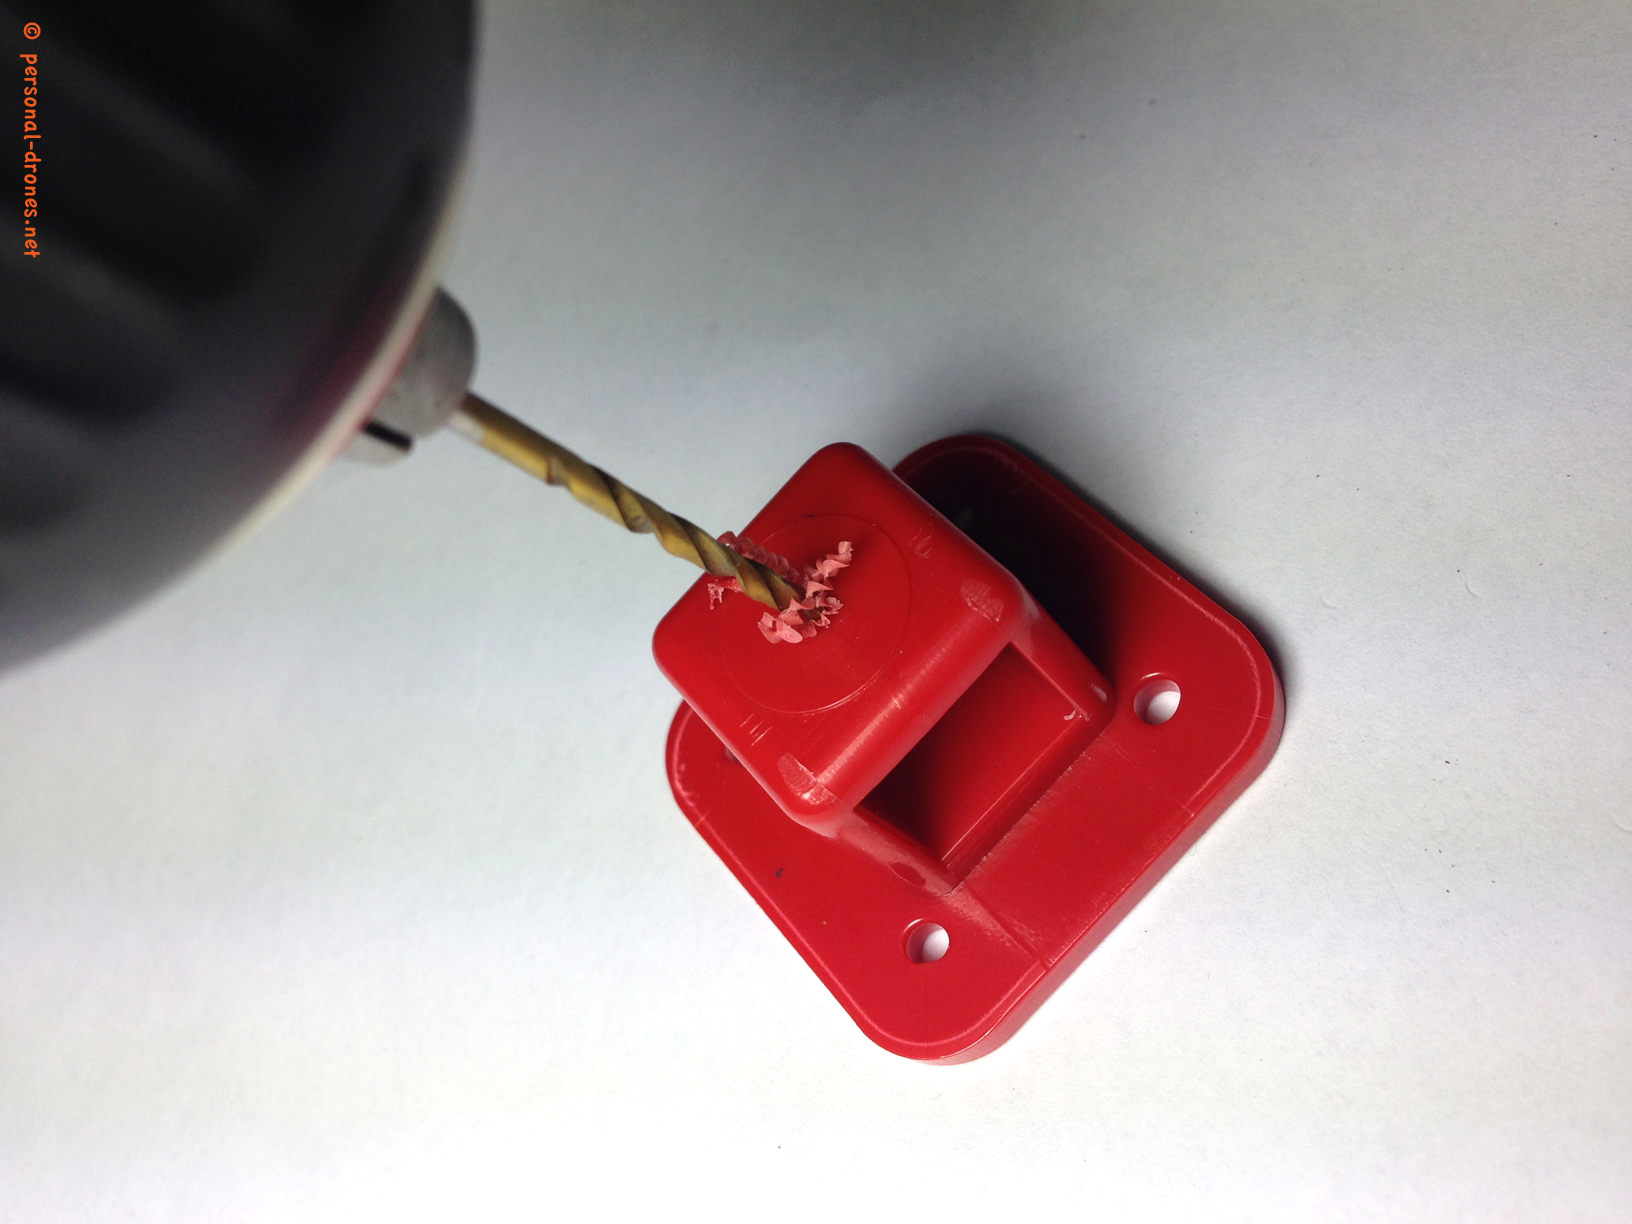
Hole 4
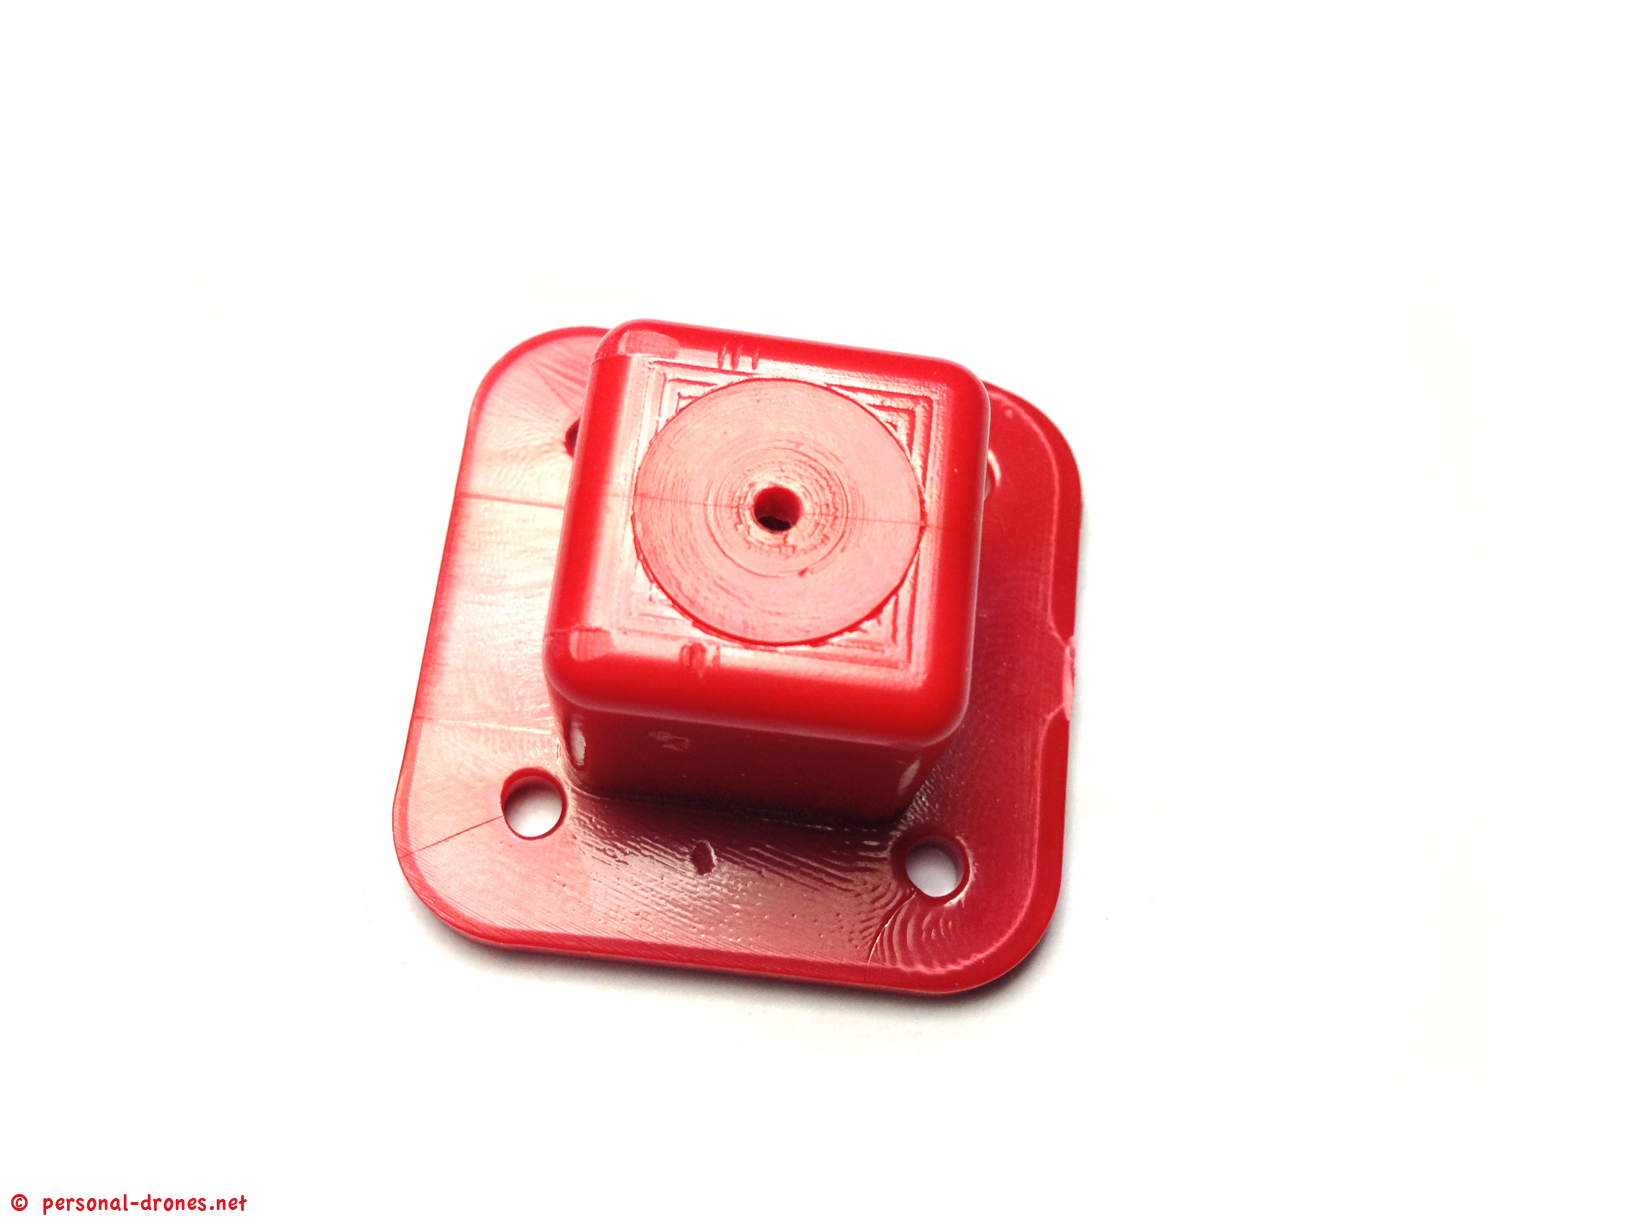
Hole 4 is to be drilled with bit size 2 on the bottom of the motor plates. Since the correct position to drill is already marked by a light depression, you can’t miss it:
Now that we have drilled the plates, we are ready for the actual frame assembly, that will be covered in great detail in part 2 of this review, please stay tuned on the blog for the follow up of this article, to come during the next few days.
In the meanwhile make sure you check out the Quadlugs web site and the Quadlugs build videos, that are very rich in details and provide step by step build instructions for the Quadlug system.
Quadlugs modular multirotor system review
Nice, love the concept of a totally modular quad. does the free modularity inspire solutions that is not typically thought about in a regular build.? maybe better solutions?
Bo excellent question. I am no artist and no object creator, so in terms of creativity, it surely inspires me that I can decide the size of the plates and length of arms and legs. Except that, the plates will still be rectangles and the shape of the pieces will more or less follow the original kit. If however you are able to imagine your own shapes and create your own design, what the lugs system does if to provide firm points of attachment of the arms and legs to the frame, these are the so called “arm lugs”. I think you could just build your original shaped base and then use the arm lugs to finish it off with arms and legs. For instance you could very well, I guess, build something more similar to a TBS discovery than a classical Quadlugs build, by building the plates in wood with arm lugs attachment points to add arms and landing gear.
An idea I like about the Quadlugs system is that you could build “disposable” and cheap wood frames, that you could adapt or change according to requirements over time. Need a bigger quad? No problem. Smaller quad? Can do. H quad? Easy. It adapts well to the concept of having, rather than one or more quads, a certain amount of the required equipment that you can recombine to build, each time, something new.
A limit of the system is that it is probably unreasonable to build anything smaller than say, a 330, because the arm lugs do have a weight, so you cannot build micro quads with this system, at least not with the 13mm hole provided now. I think they plan to extend the range of dimensions available, however I am not sure if they are planning smaller lugs or larger. I suspect larger.
And if you can design and print your own pieces and components (a growing army of geeks can, including a friend of mine that leaves in Hollywood), then you could possibly have some special fun with the system.
Bo,
yes, the modularity offers the ability to design and experiment, that doesn’t exist that I know of, as of yet. Body size and more so motor arm degree angles. I am finding that the handling characteristics are greatly enhanced and degraded by the motor arm angles. I am also finding that the motor to motor dimensions i.e. (610,480,450,550,350) when achieved in part by the body width, allows for a more stable multi-rotor. In our 480 the body is 7″ long and 4″ wide, the motor arm are 7″ long(very stable). In our 610 the body is 10″ x 8″ and the motor arms are 7″ (super stable). I do no tweaking of the controller, I fly all with factory default settings to compare the stability. This is just one part of the QuadLugs system I am finding so interesting, not only in what I am finding but having the ability to. I love the flying aspect, however I am becoming just as much interested is the experimentation. In the future we have smaller and bigger sizes in the works, along with different corner angles and colors. The upcoming corners will allow for even more variants in body design and experimentation with flight characteristics.
We also have a new motor mount that will be used for the Tri-Copter swivel motor mount. It will also serve as and adjustable motor mount when the servo is not installed. I have been trying different motor mount angles and with the ability to adjust the motor arm angles as well, wow, it really opens up the ability to test a multitude of combinations. I am finding some of them very interesting. I really look forward to all the different designs to come. That is why I say that these components are – a new multi-rotor experience.
be creative
Danny